Tangrams
April 05, 2021
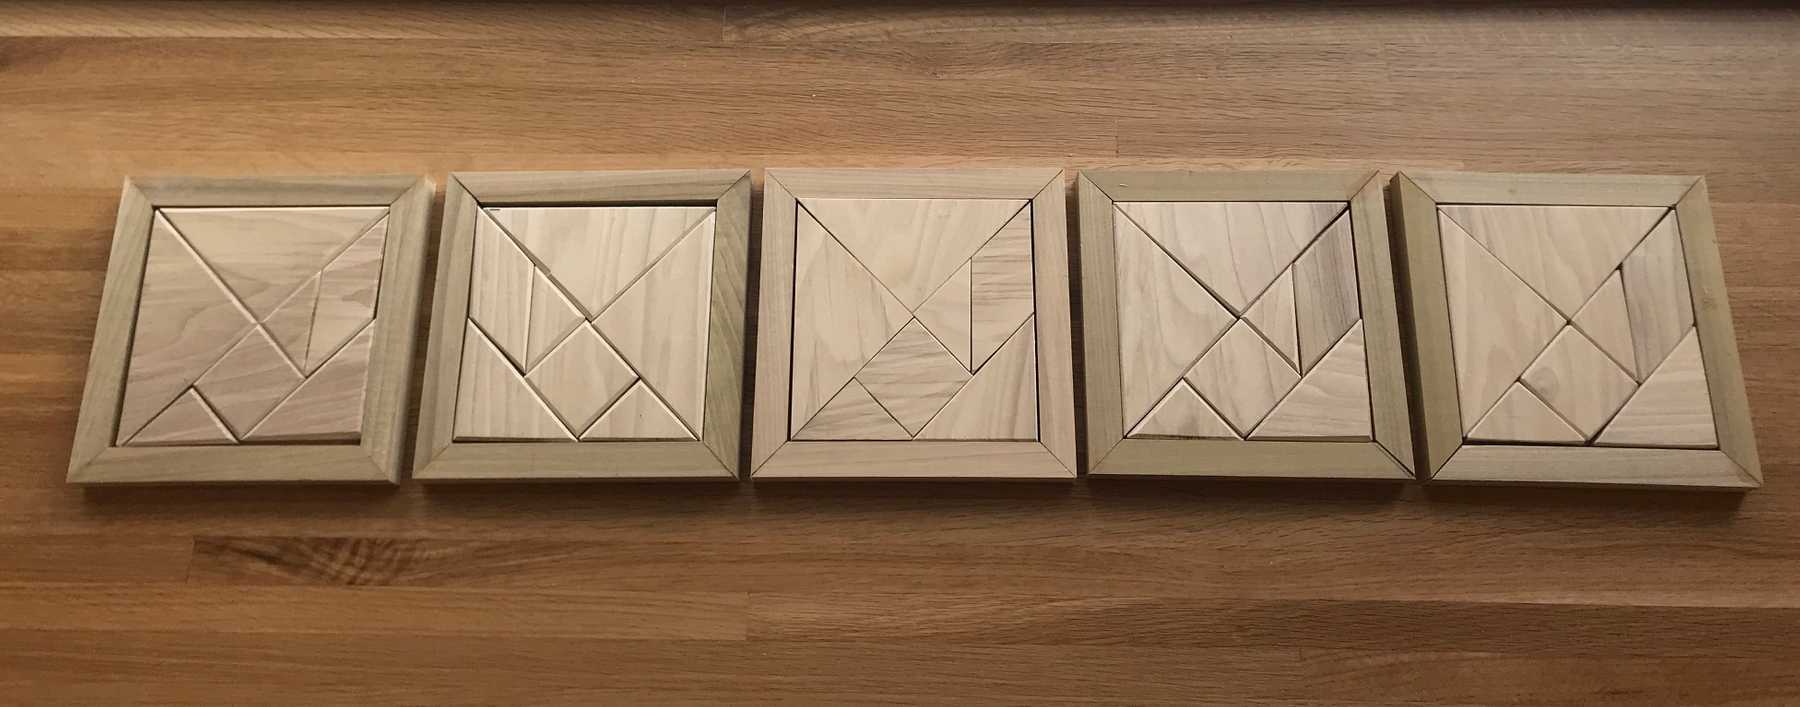
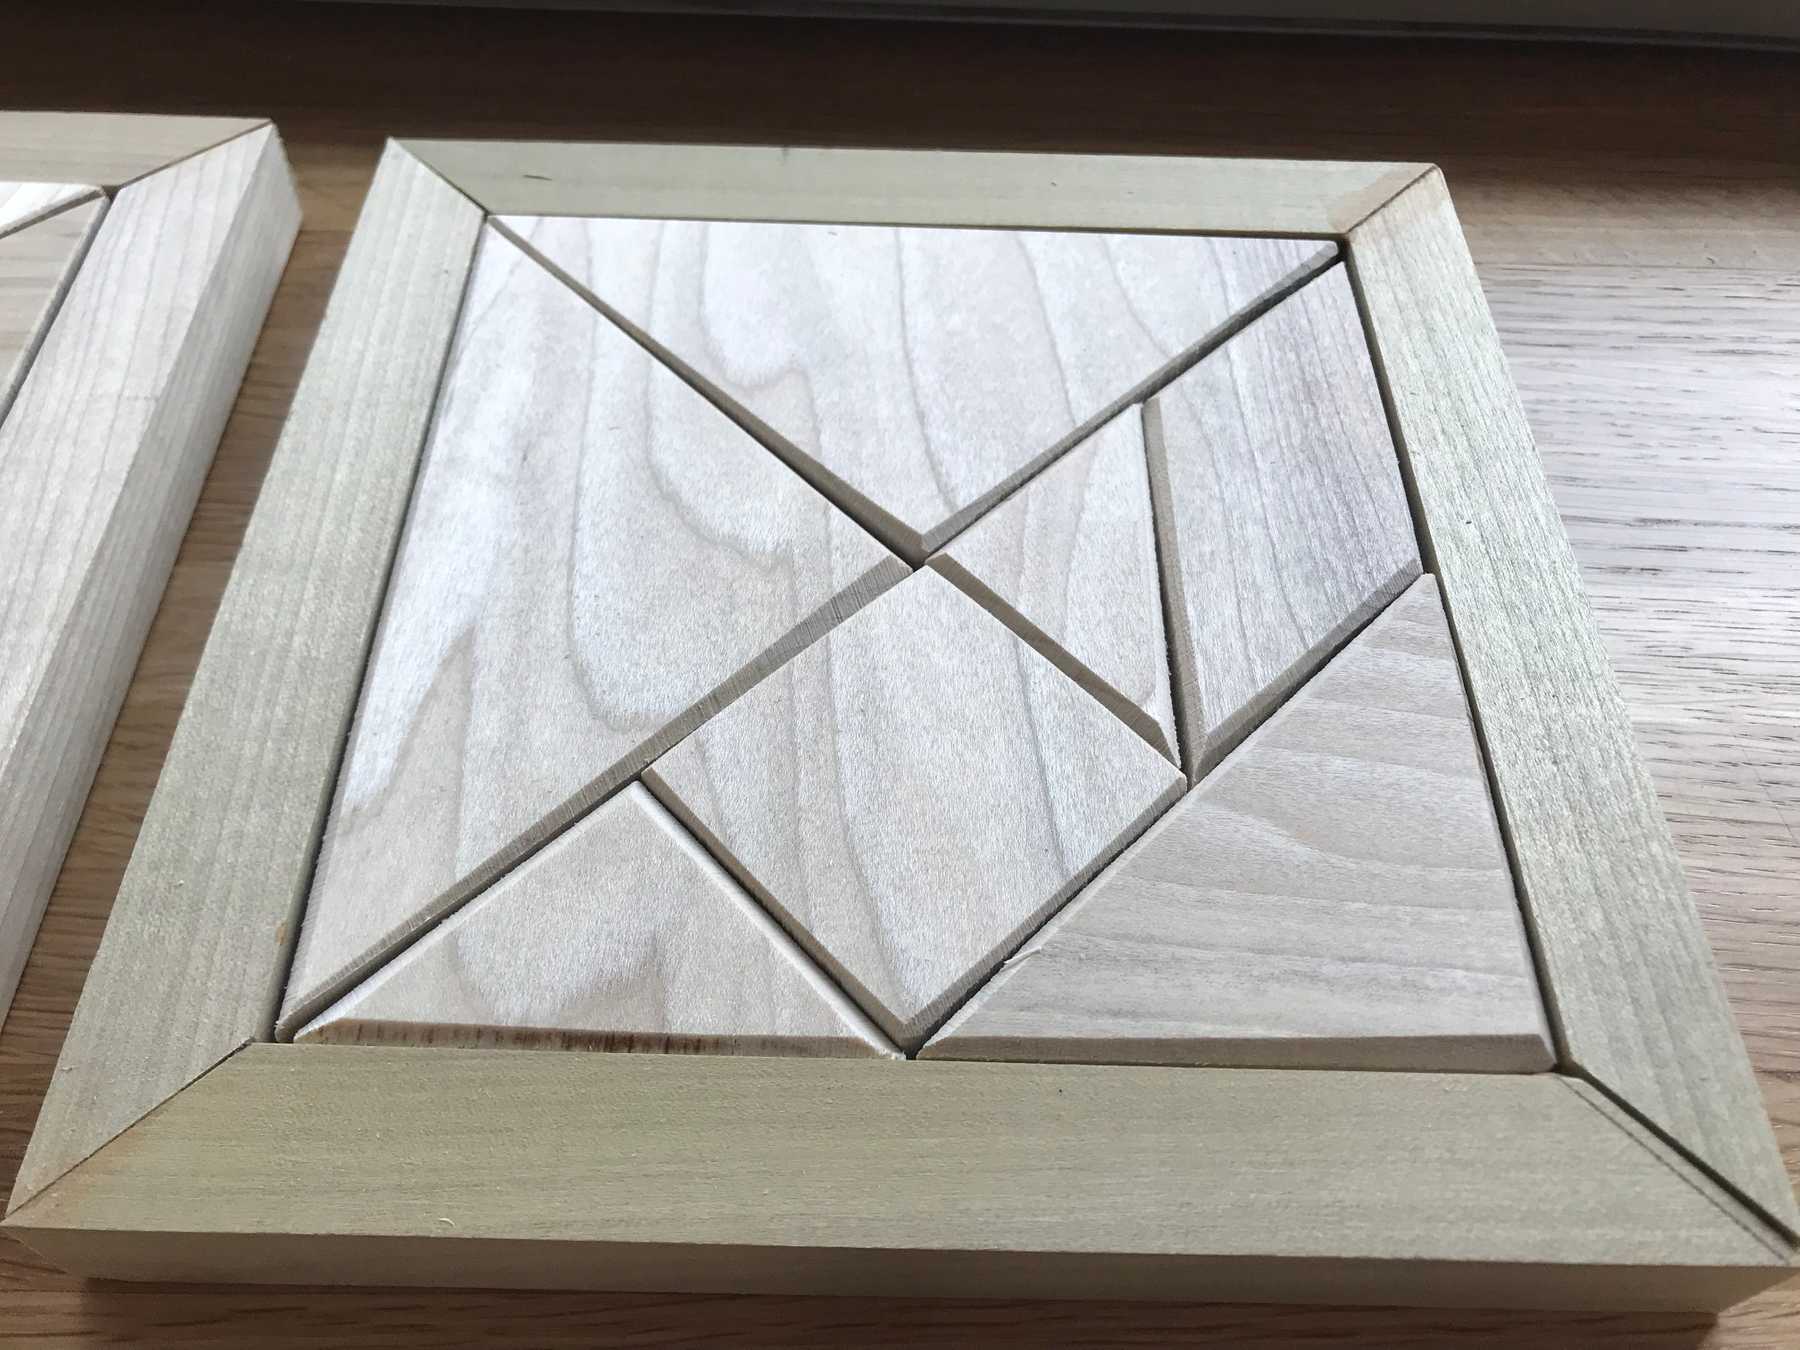
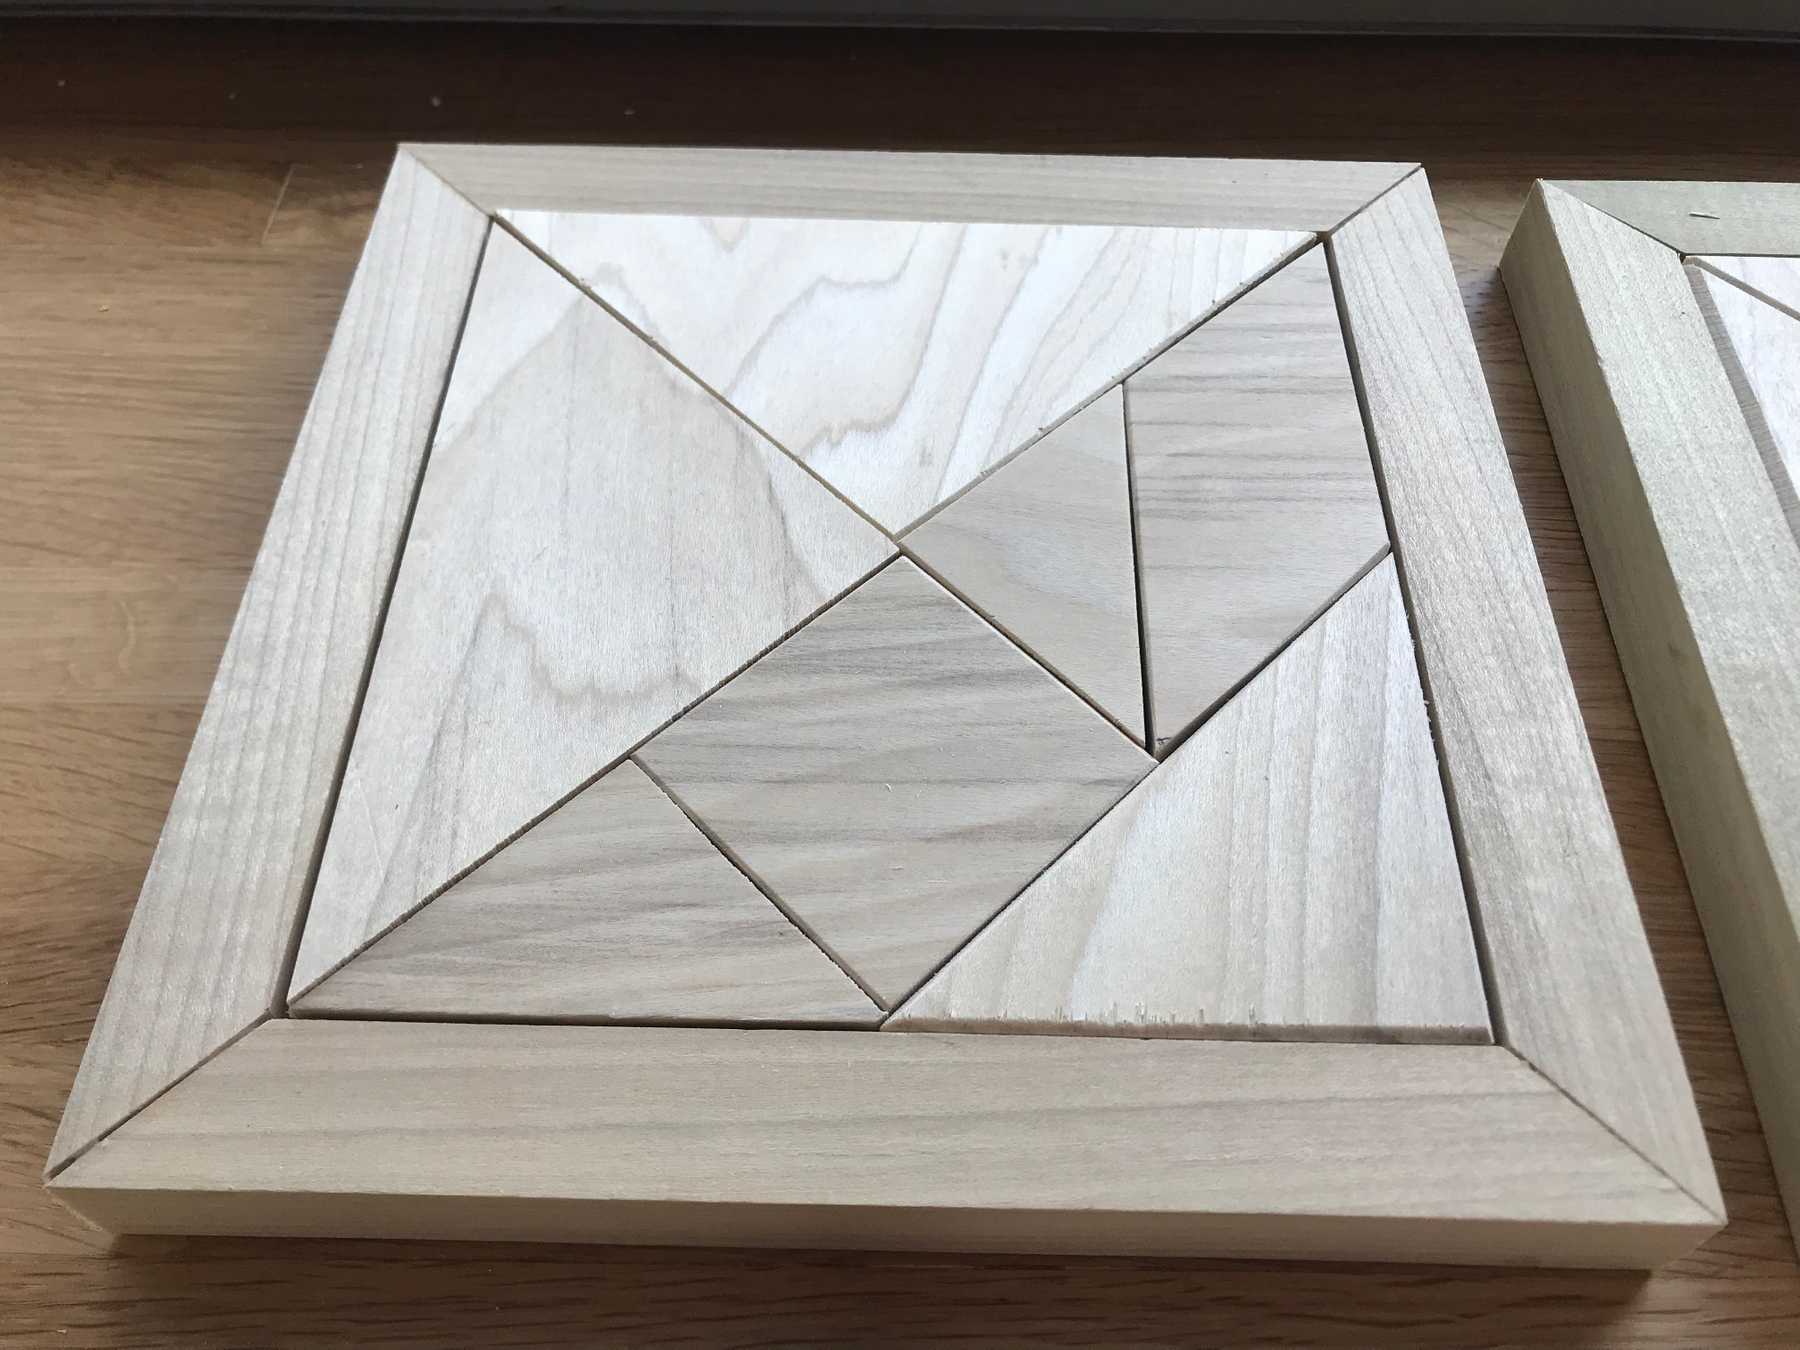
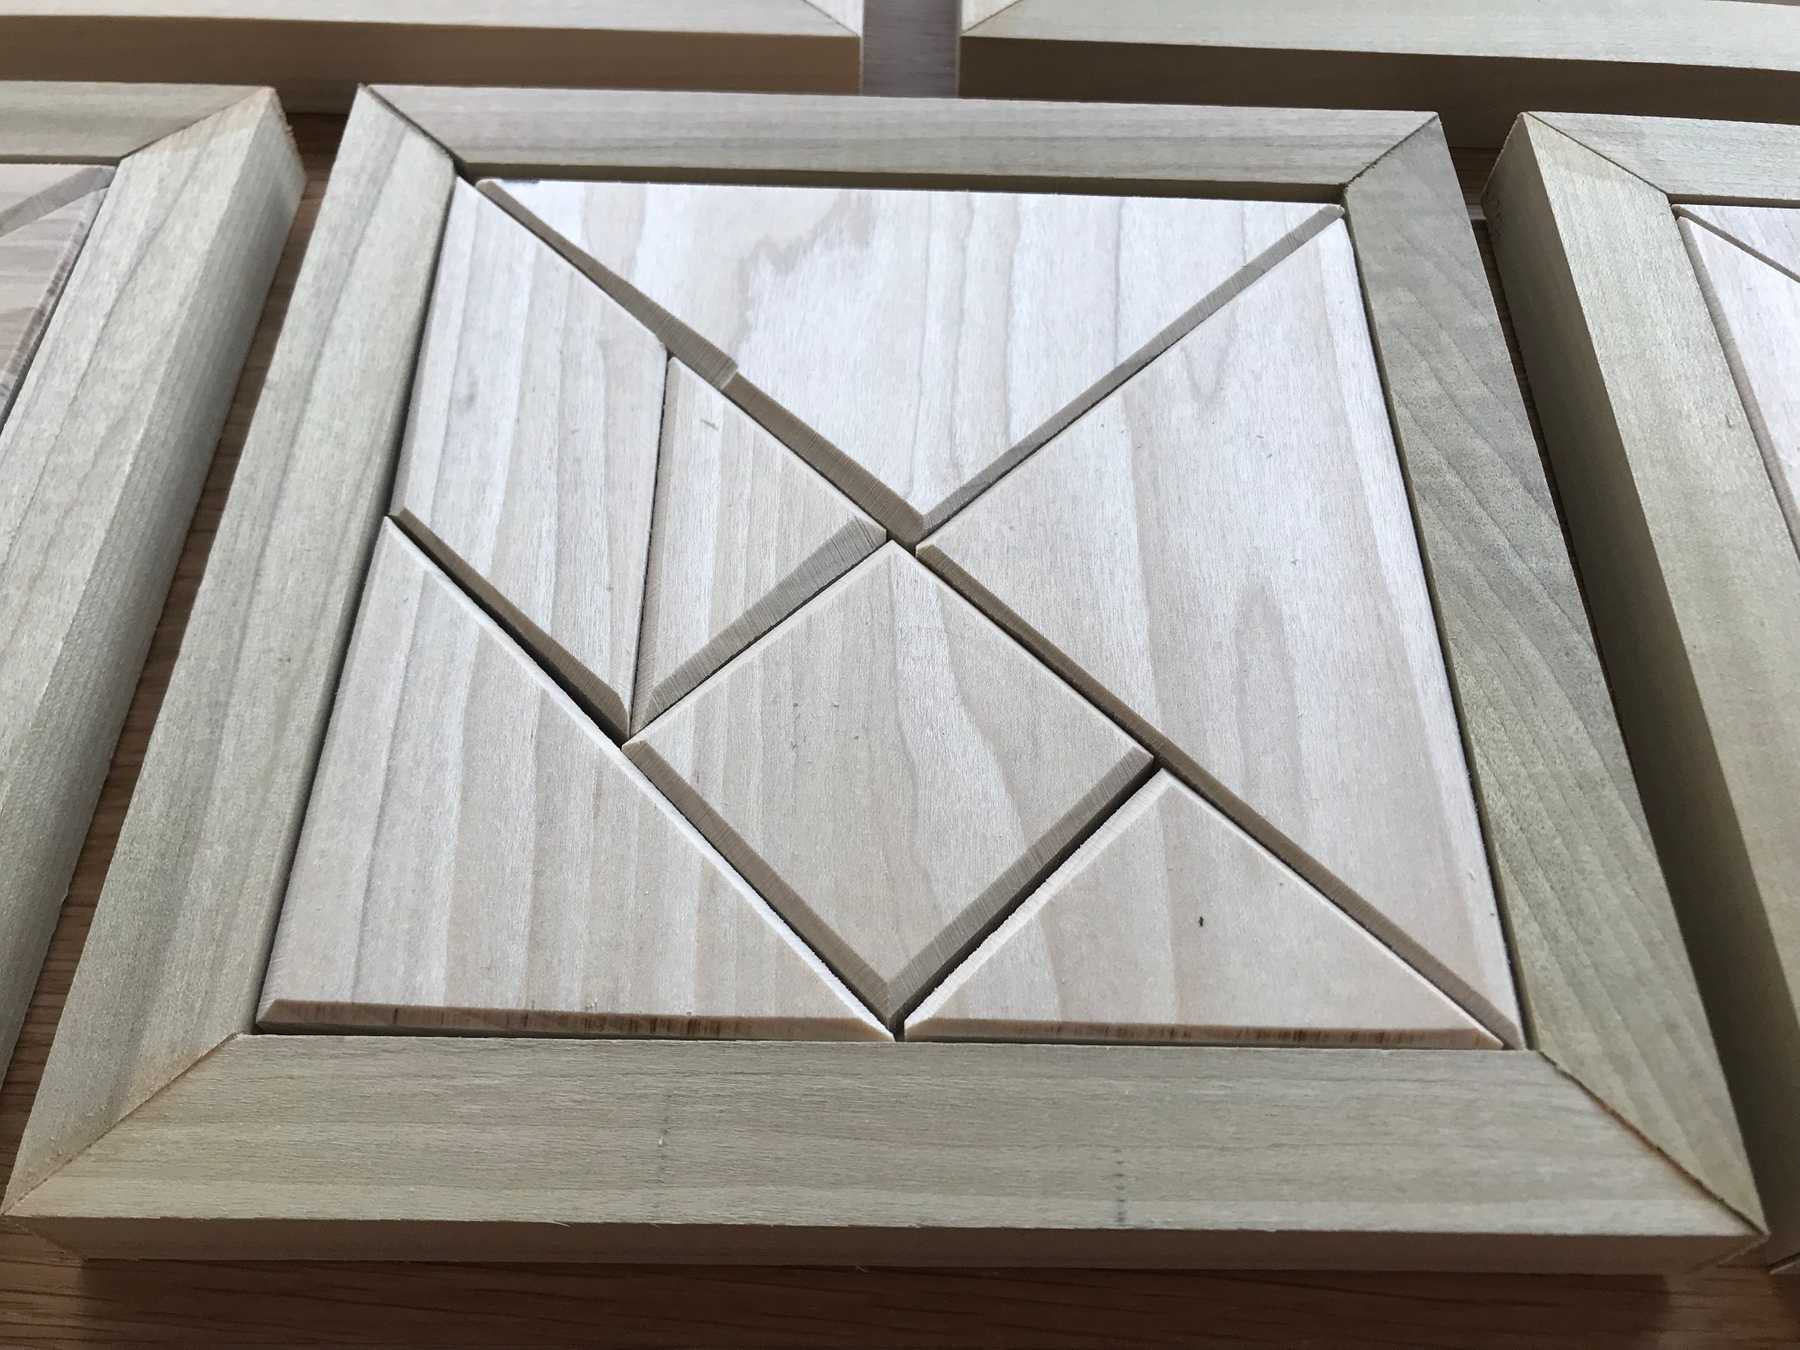
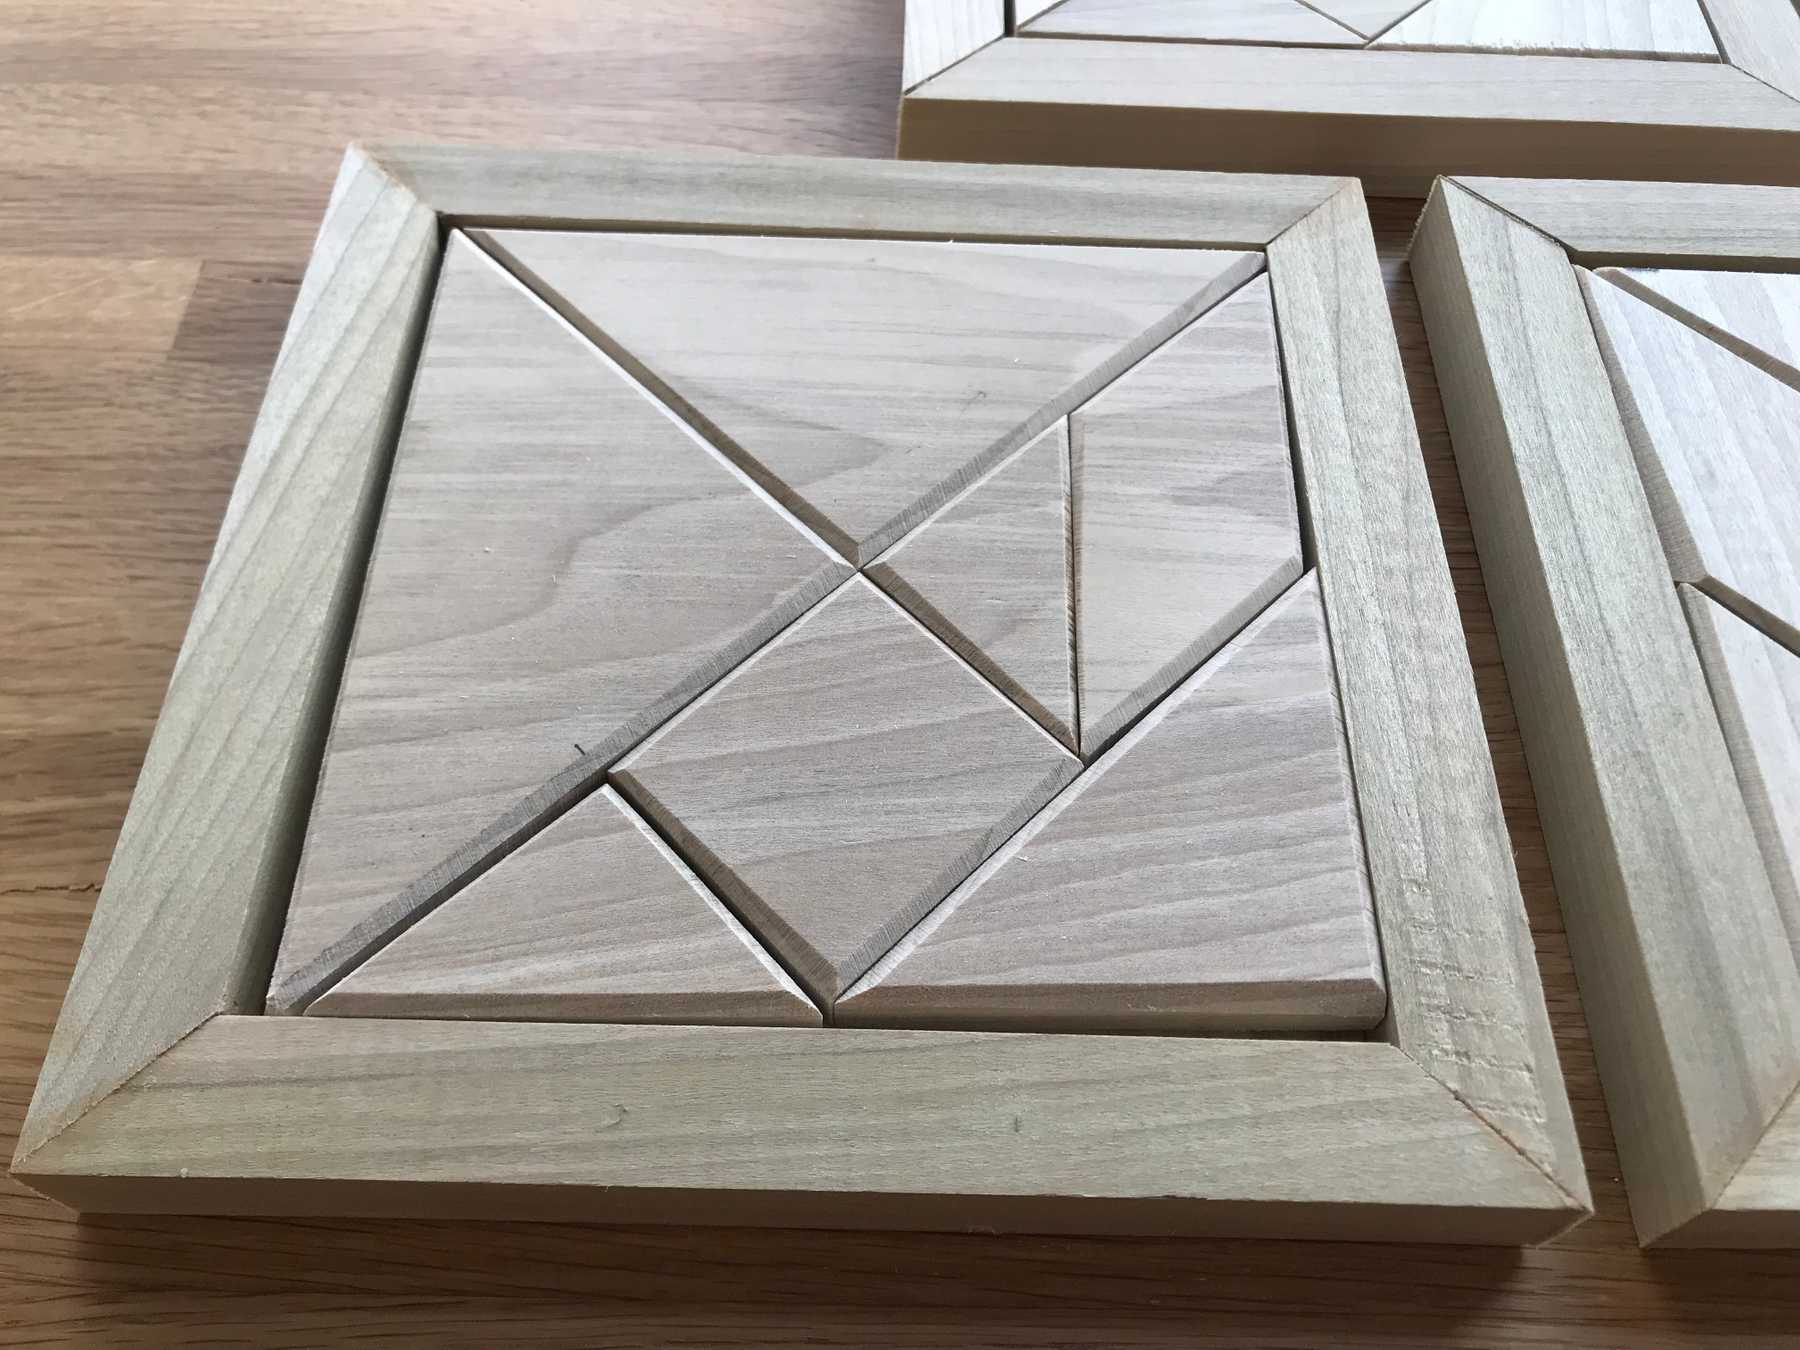
Intro to FabricationThis week I crafted 5 sets of Tangrams — a geometric “dissection puzzle” made up of various basic shapes that assemble into a square. For each puzzle I also created a frame to hold it.
Preparations
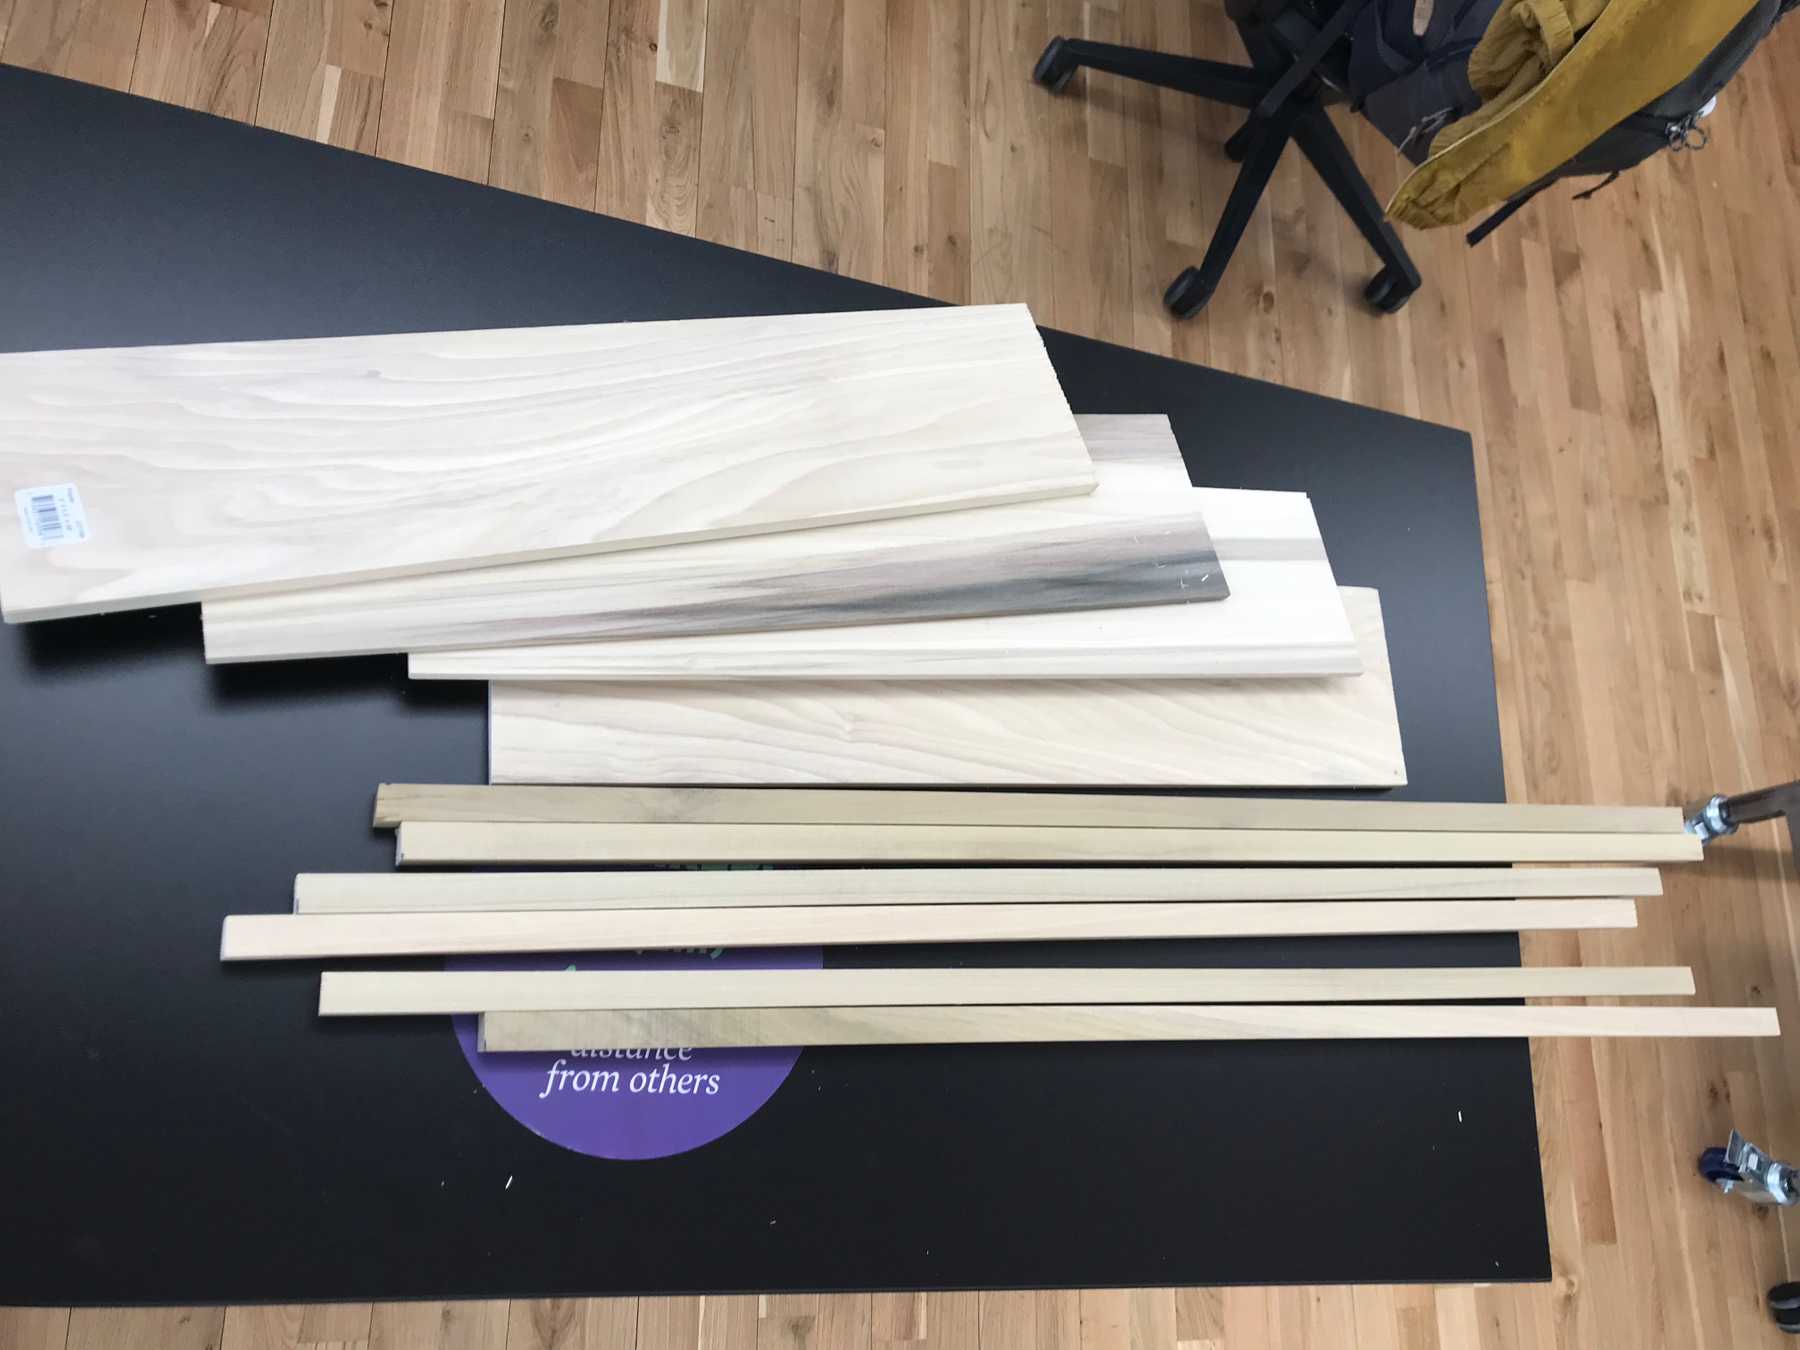
I bought my materials (all poplar wood) from Home Depot: Two 5.5” x 0.25” x 24” sheets for the base, two 5.5” x 0.5” x 24” sheets for the tangrams, and six 0.75” x 0.75” x 36” square strips for the frame.
I used the material dimensions to inform the design. The base would be 5.5” x 5.5”, glued to the inner edge of a 0.75” frame — the total size would be 7”.
First Iteration
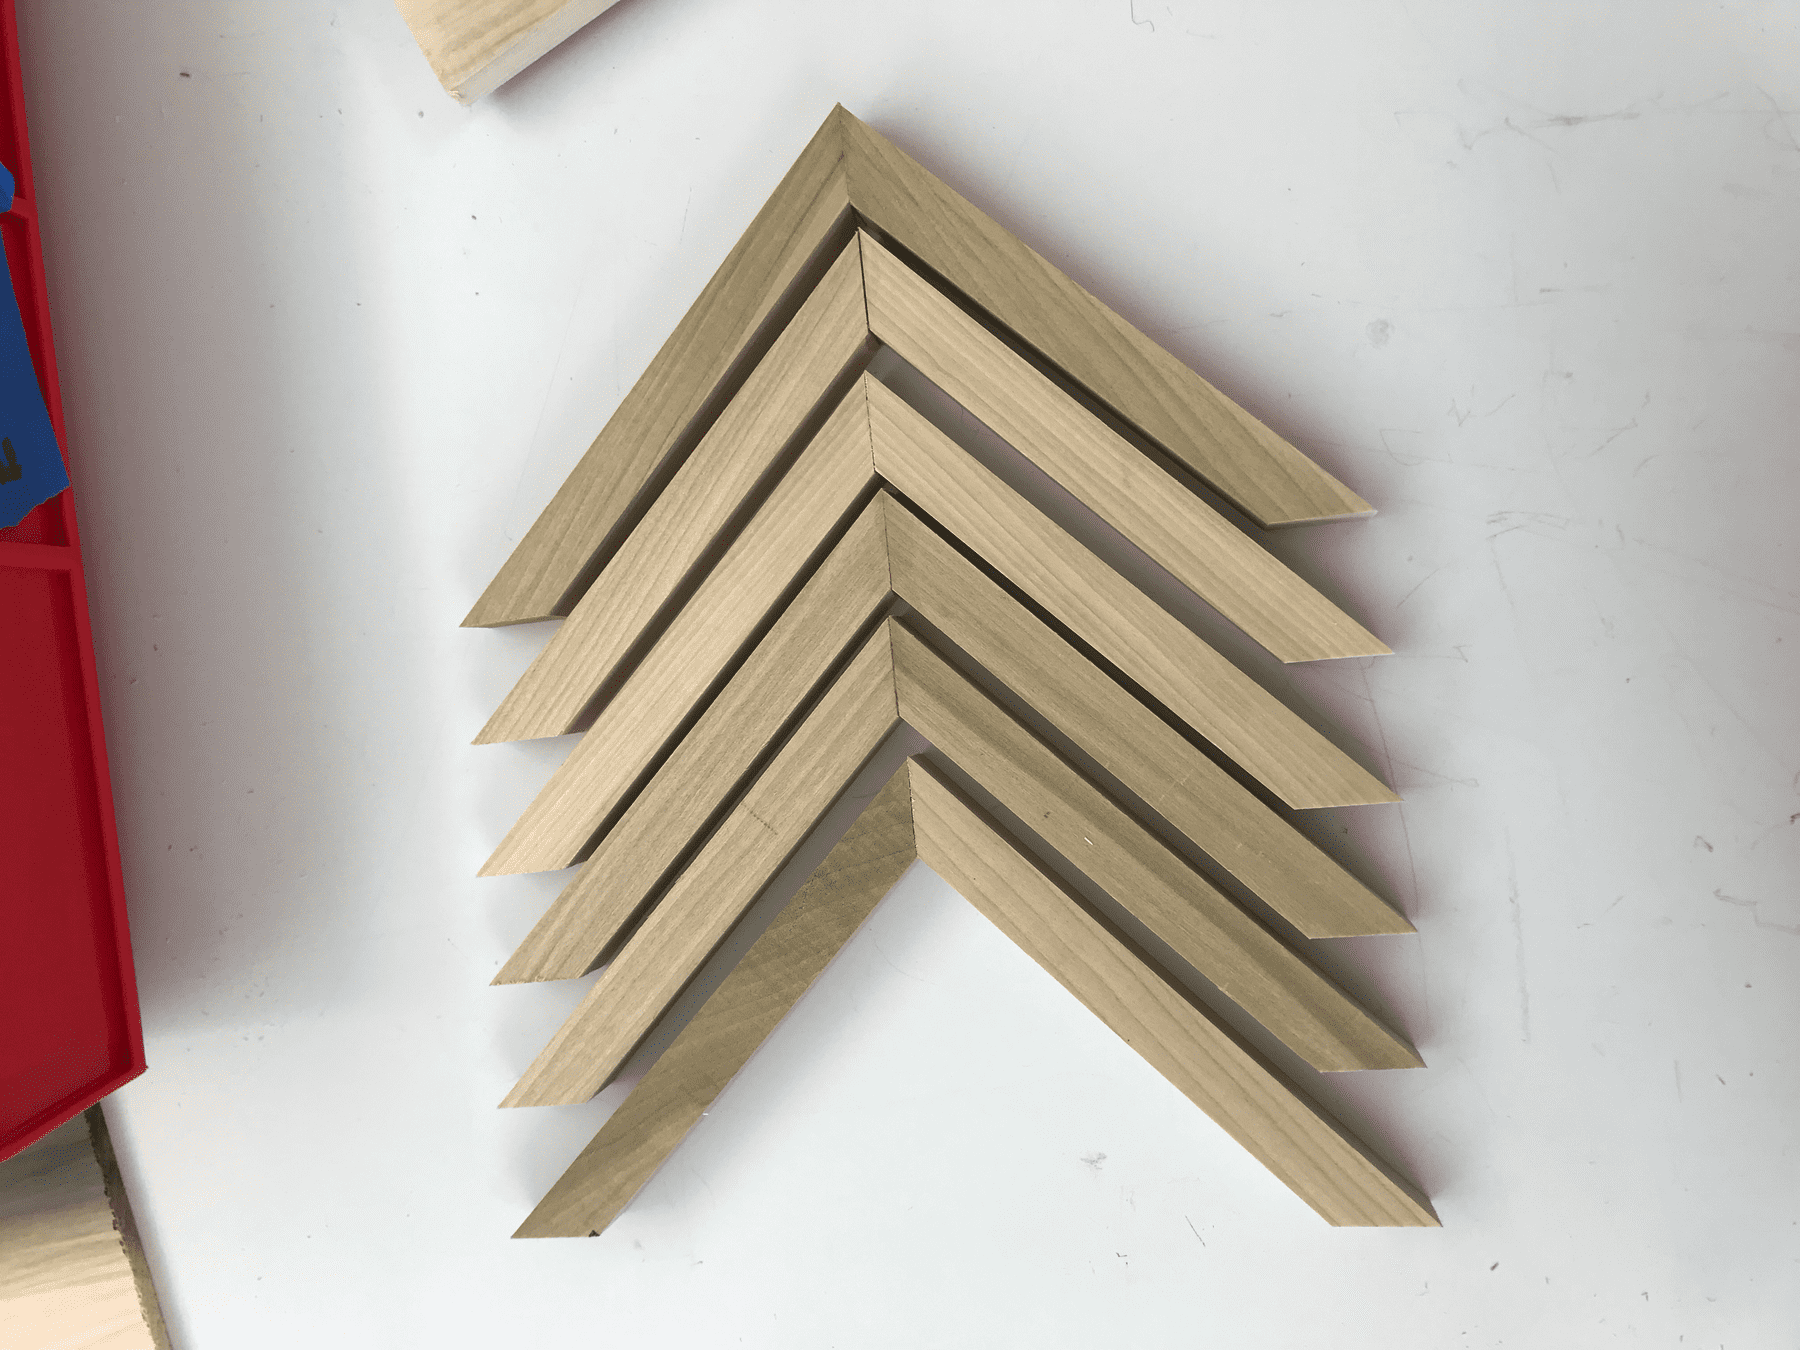
I started with the frame. I used the miter saw to cut square wood into equal segments. At first I measured the rod each cut — later I used a piece of wood as a buttress helped create much more consistent lengths.
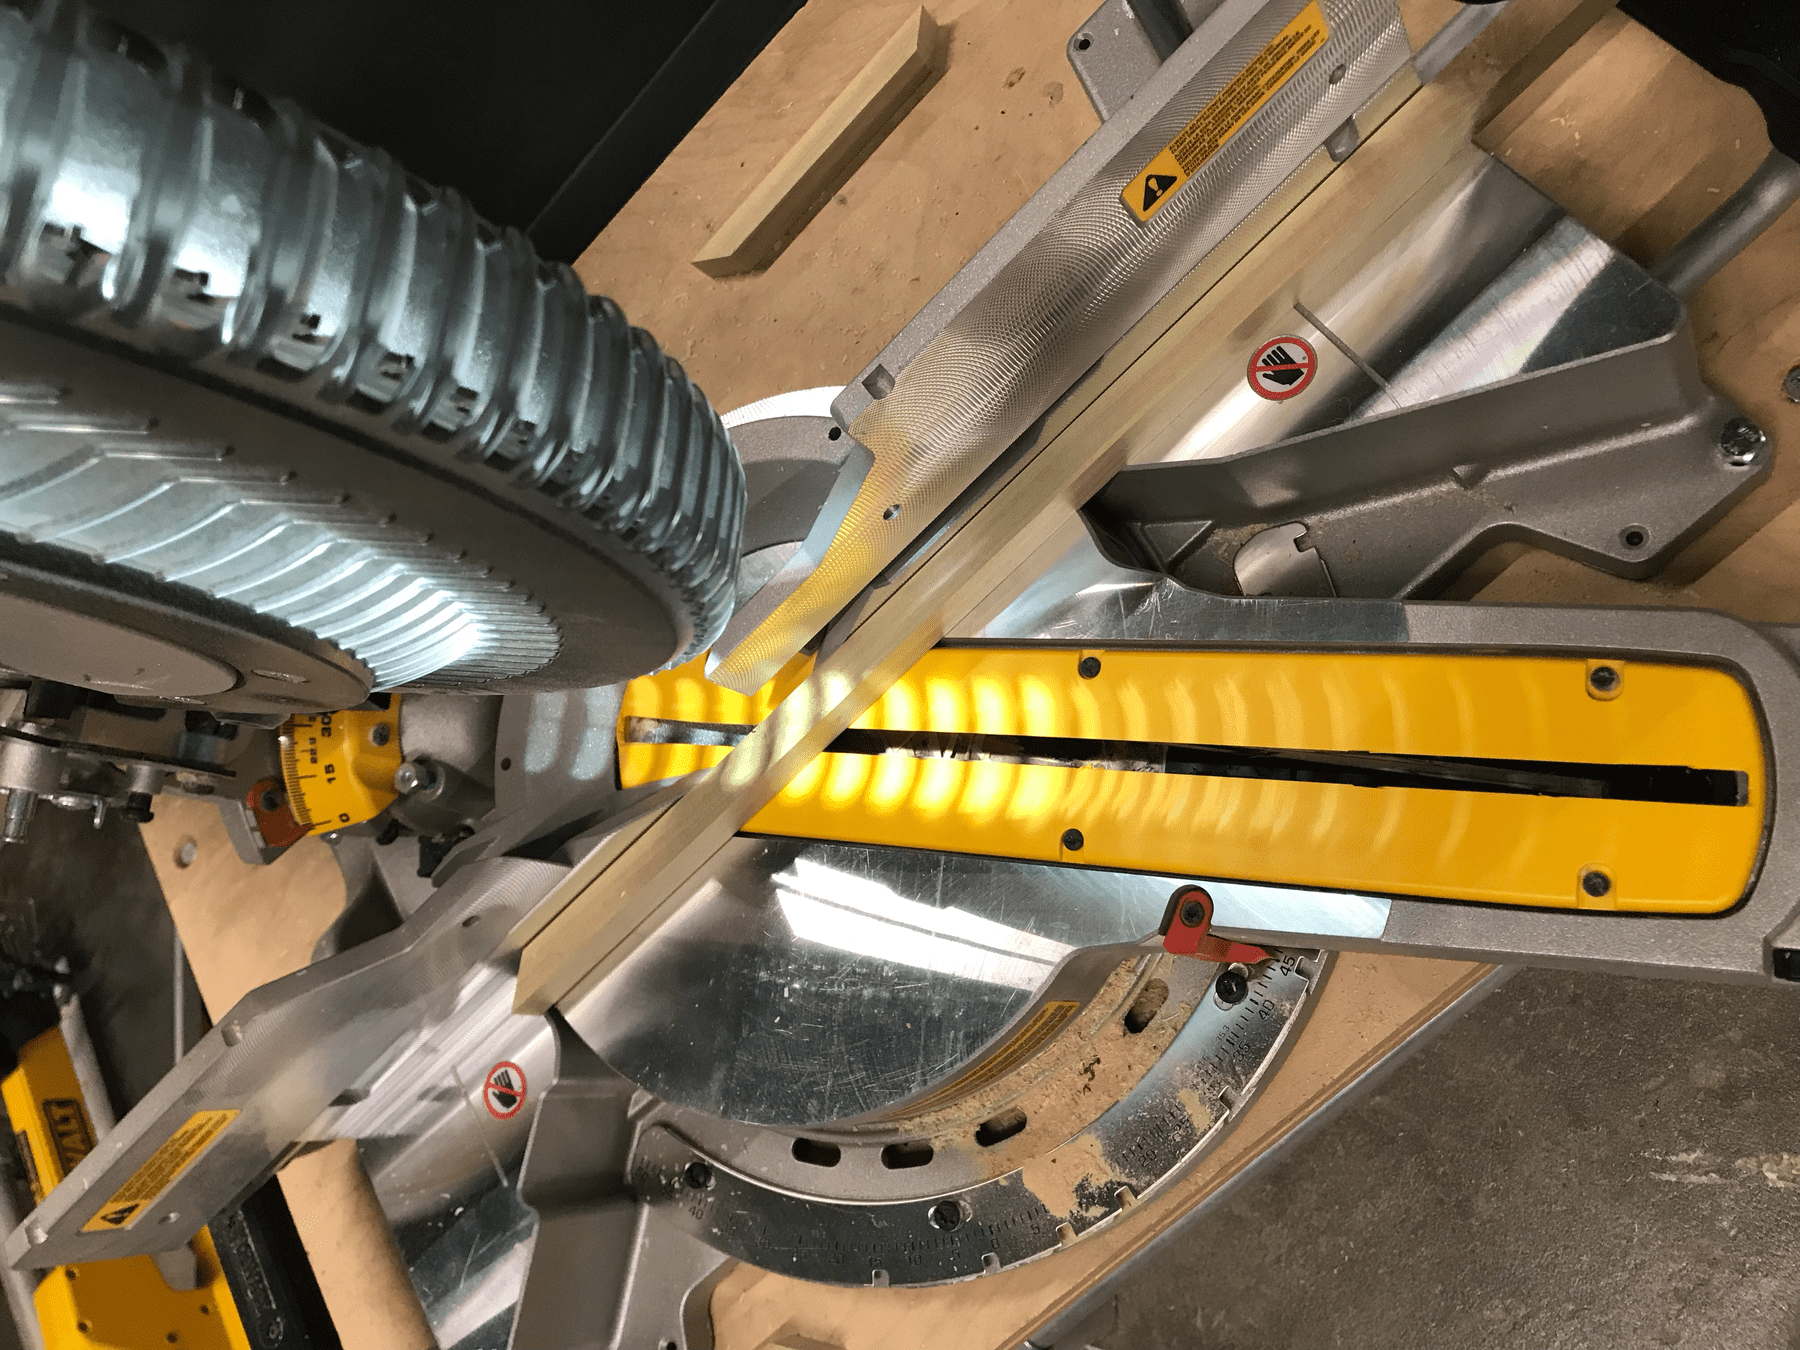 Cutting the frame using the miter saw
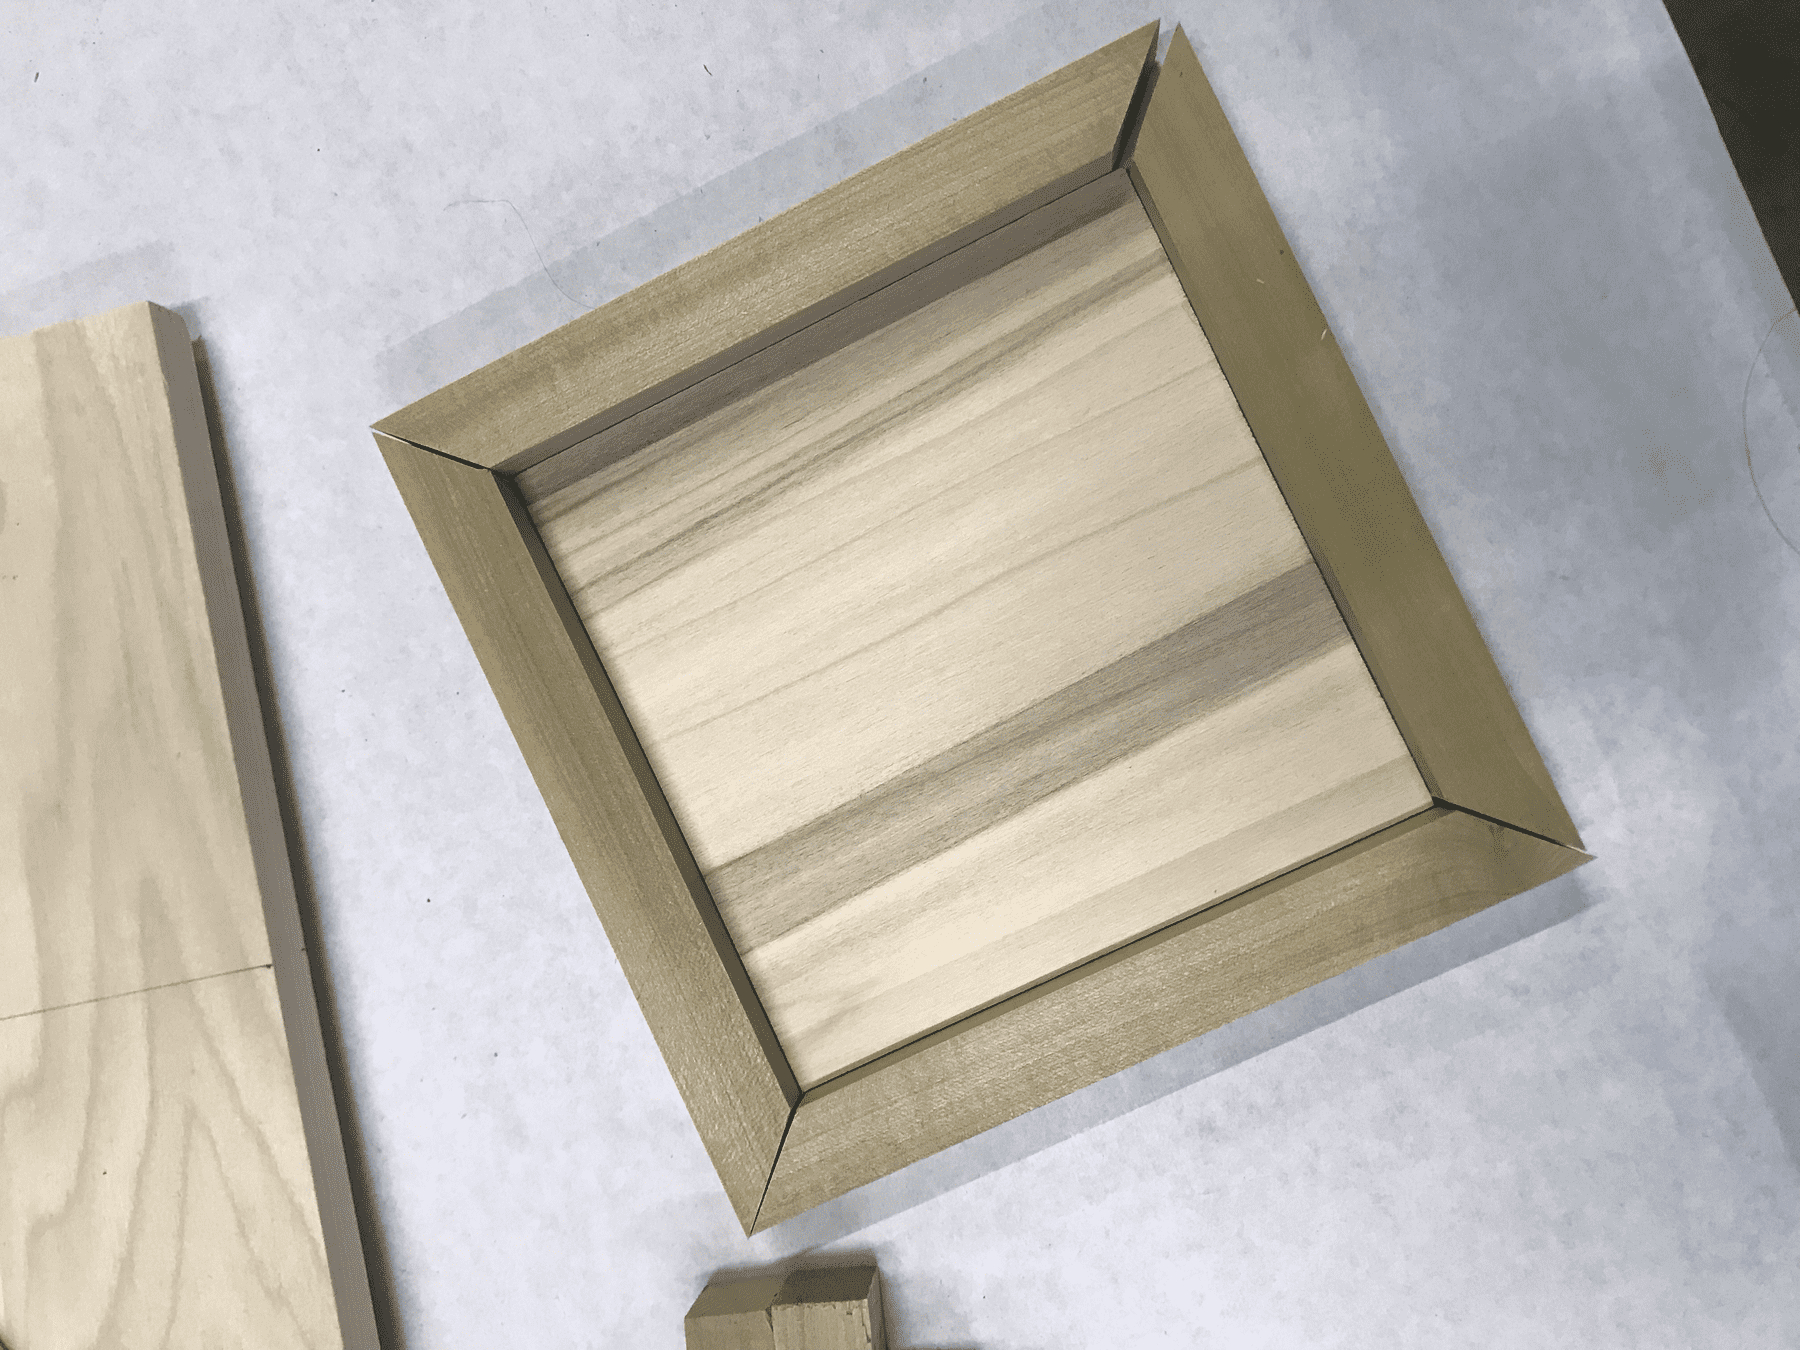
The first frame was a bit misaligned as the edges were not all exactly the same length.
Cutting the shapes
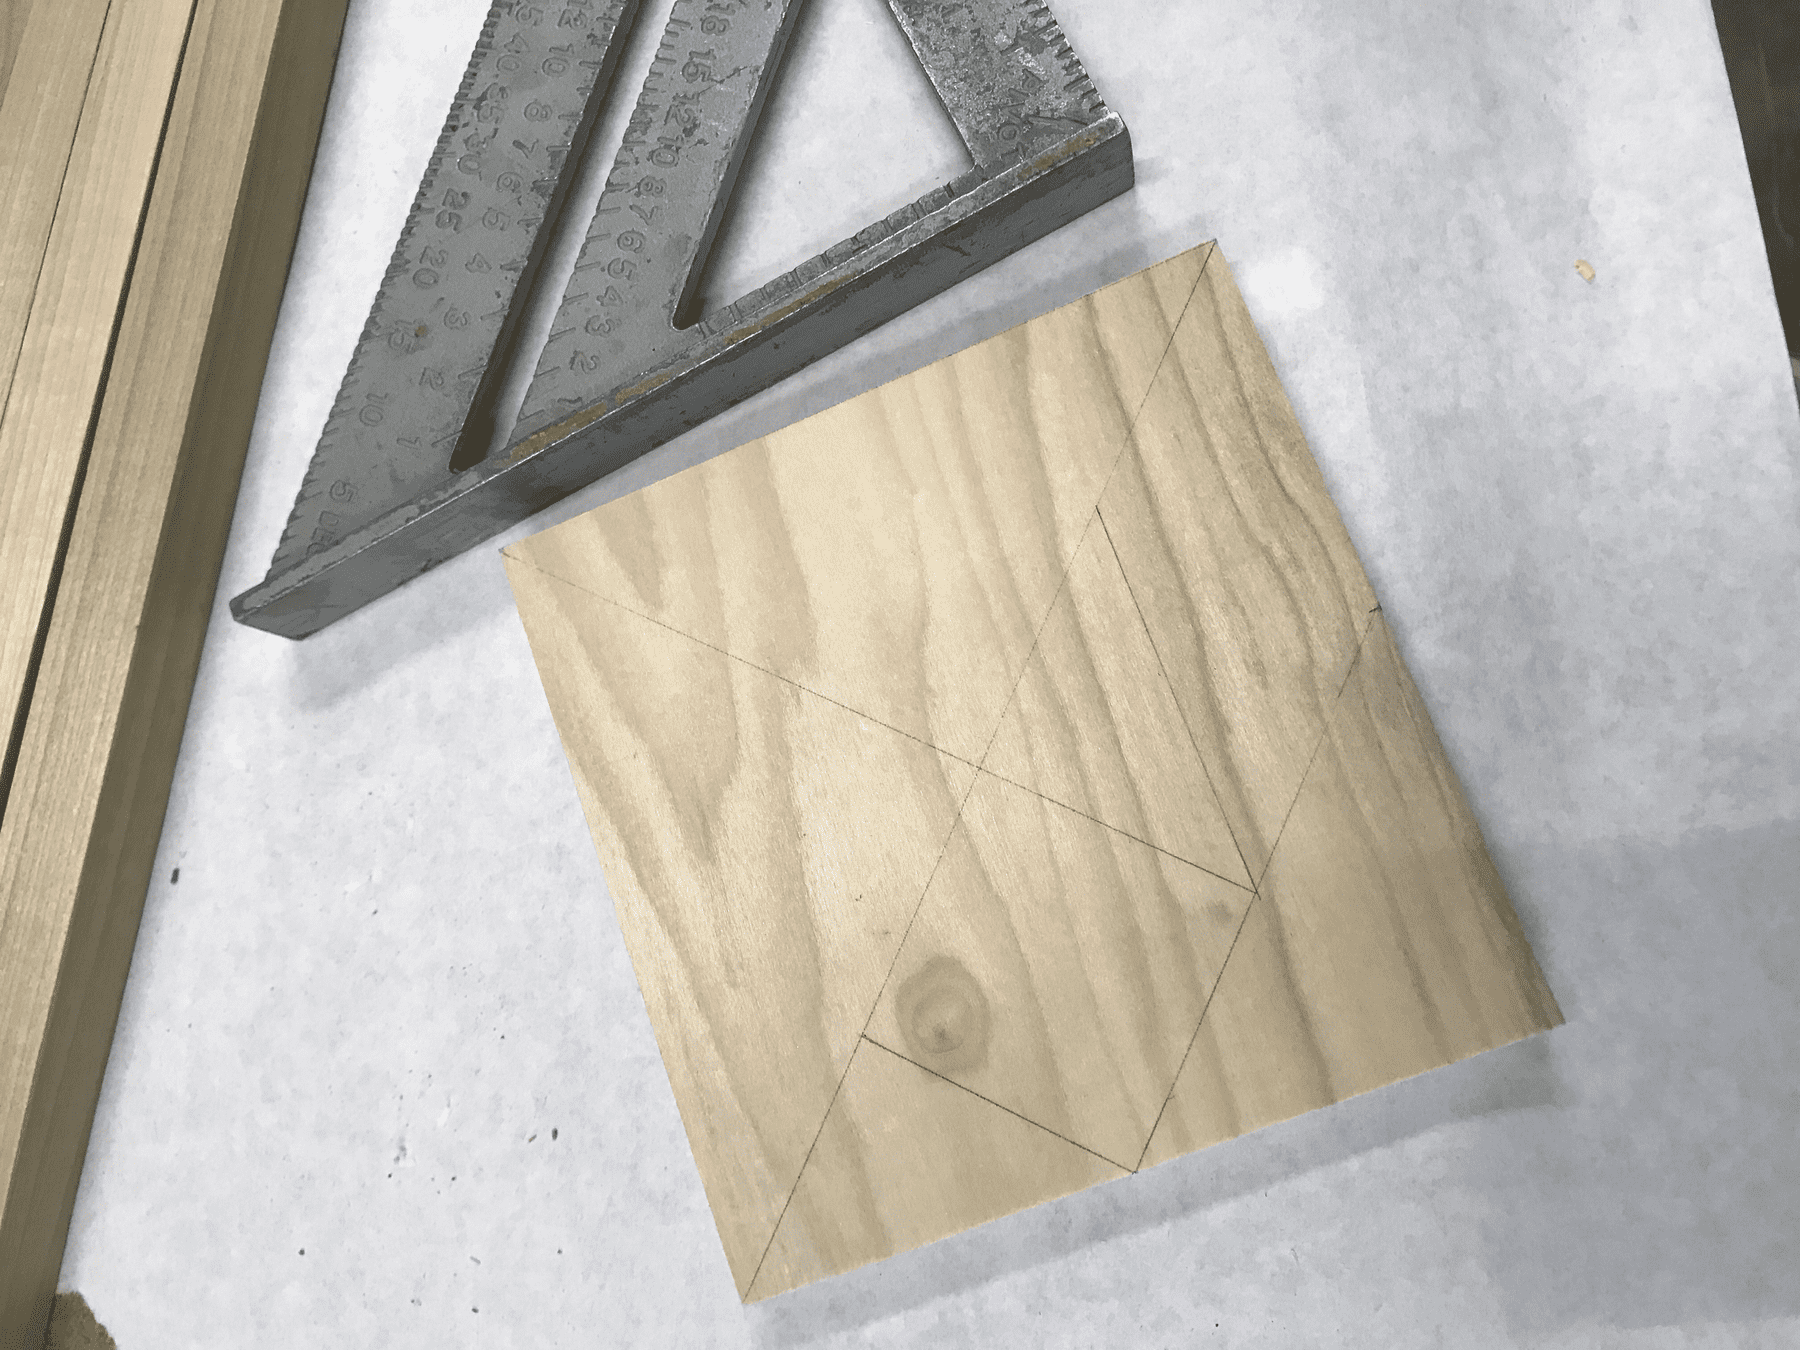
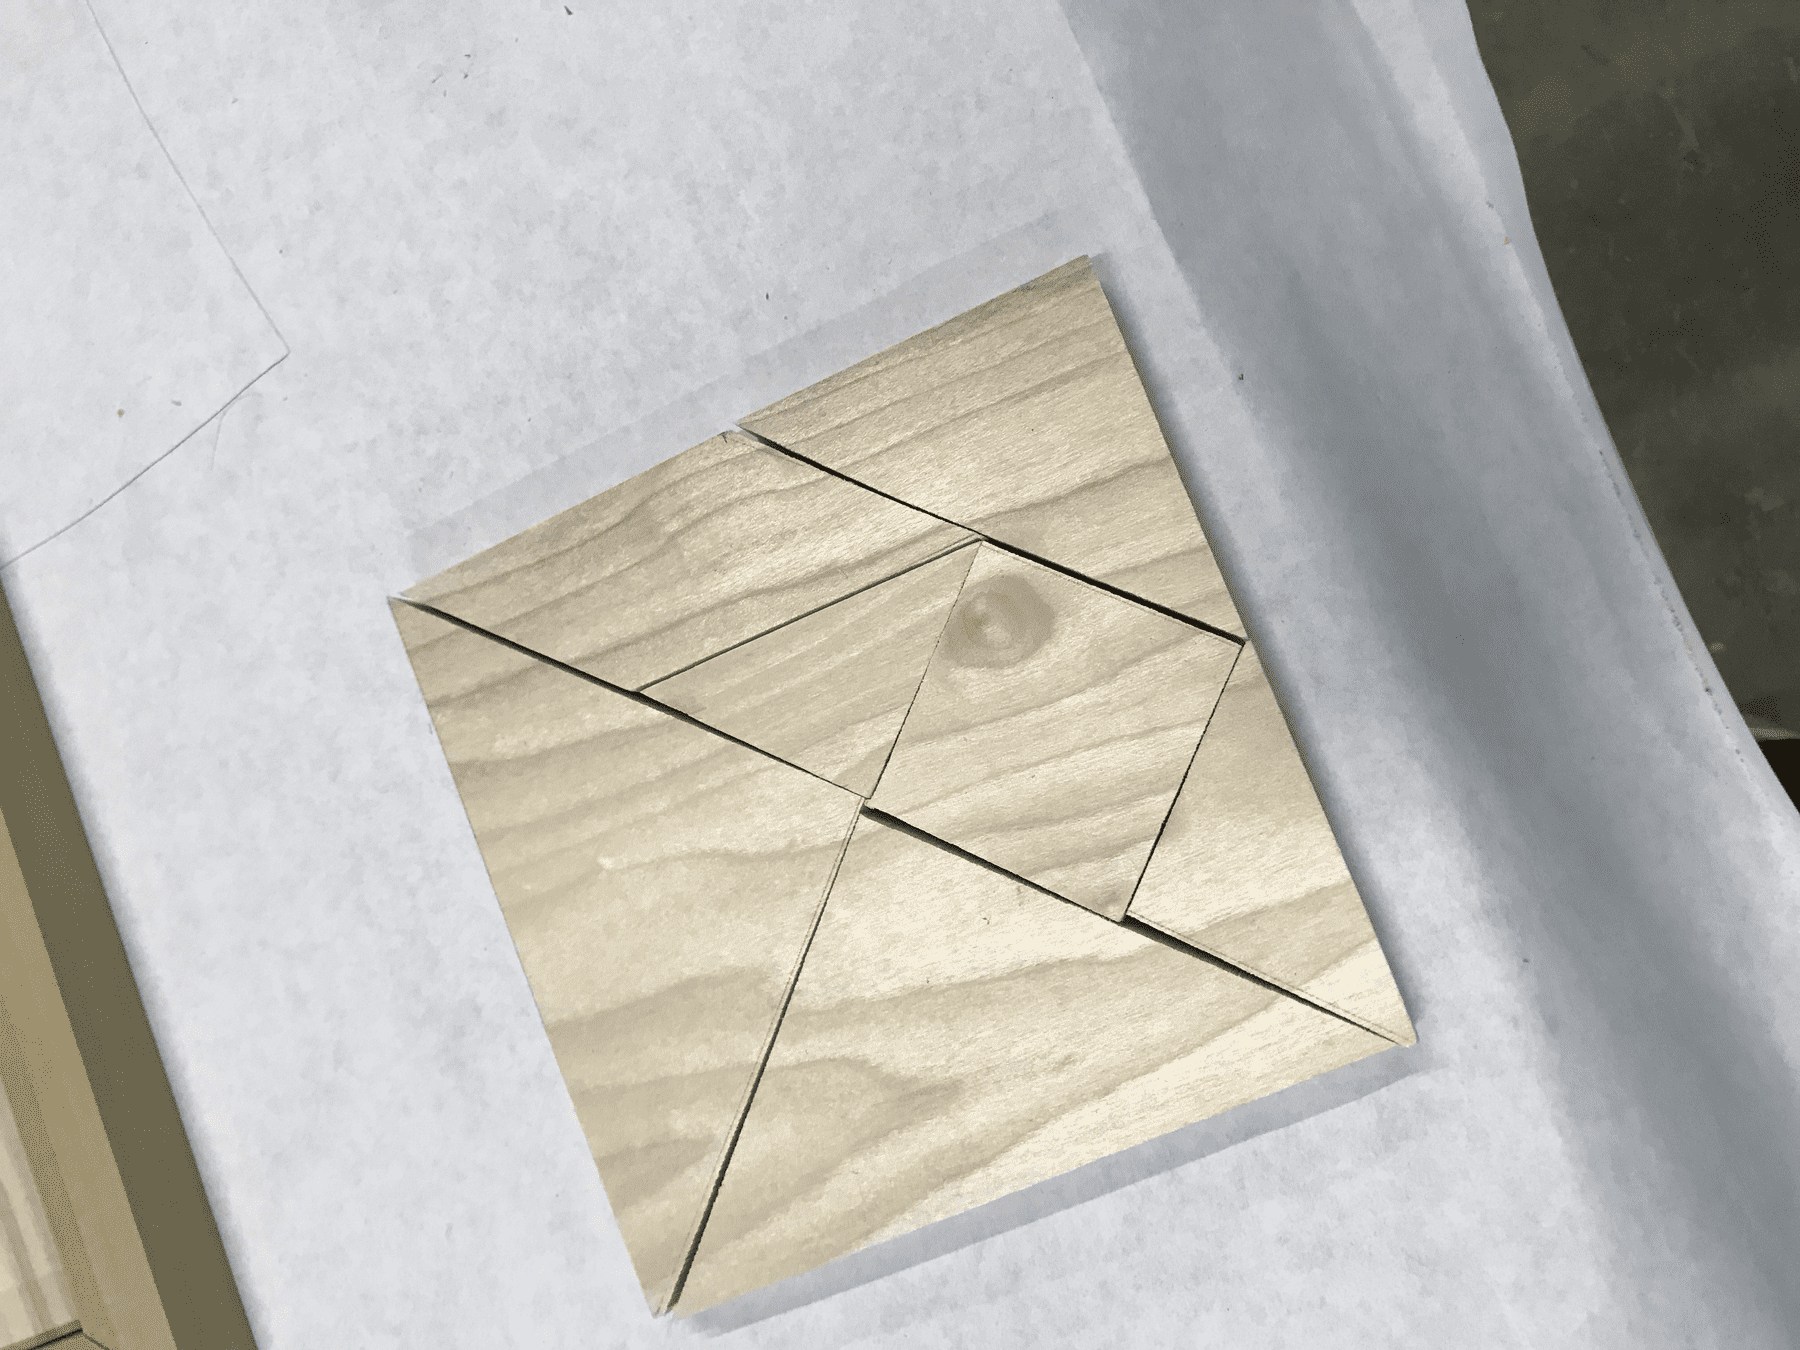
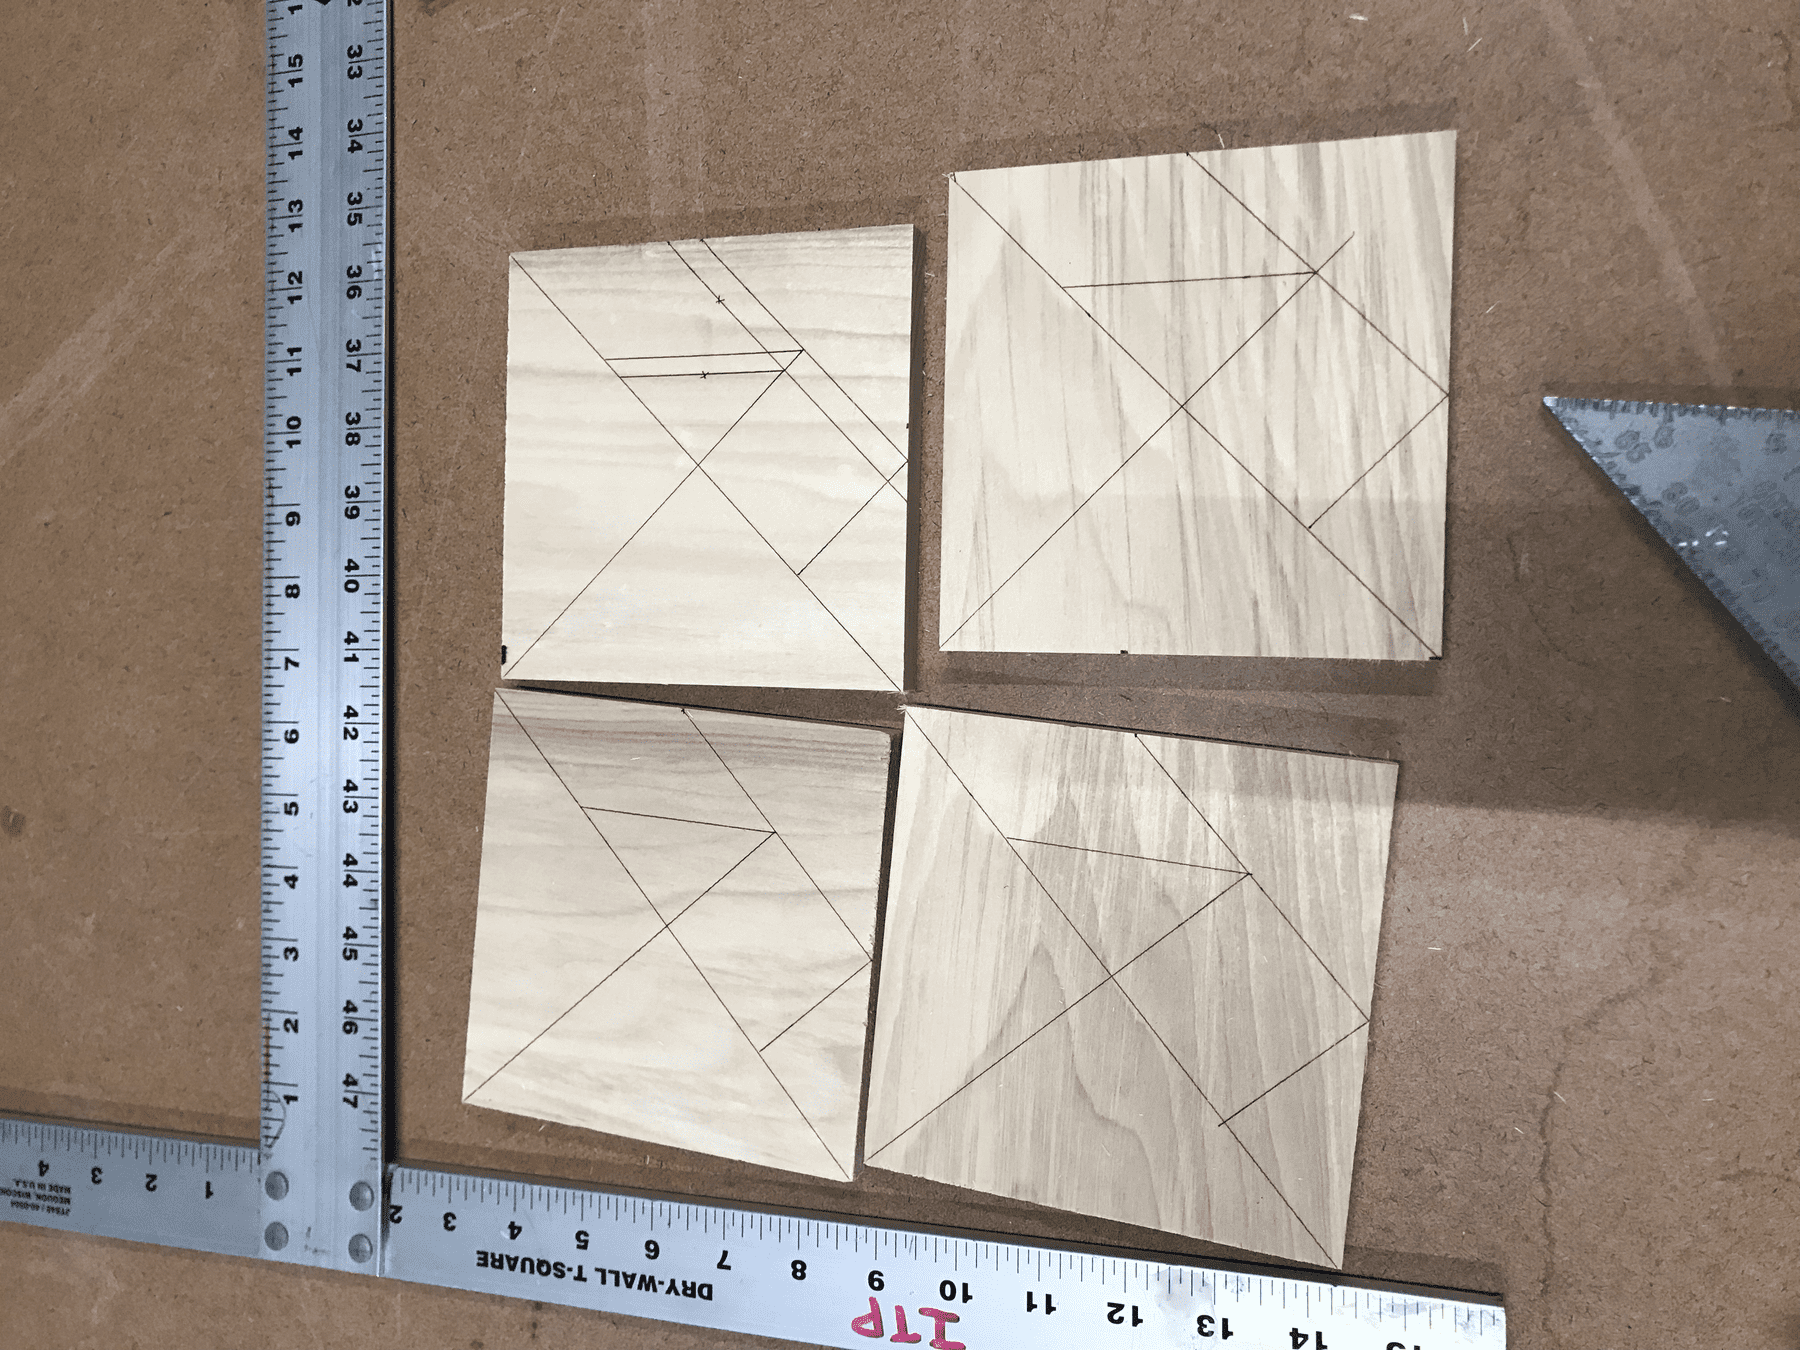
The shapes are arranged in this pattern on the square.
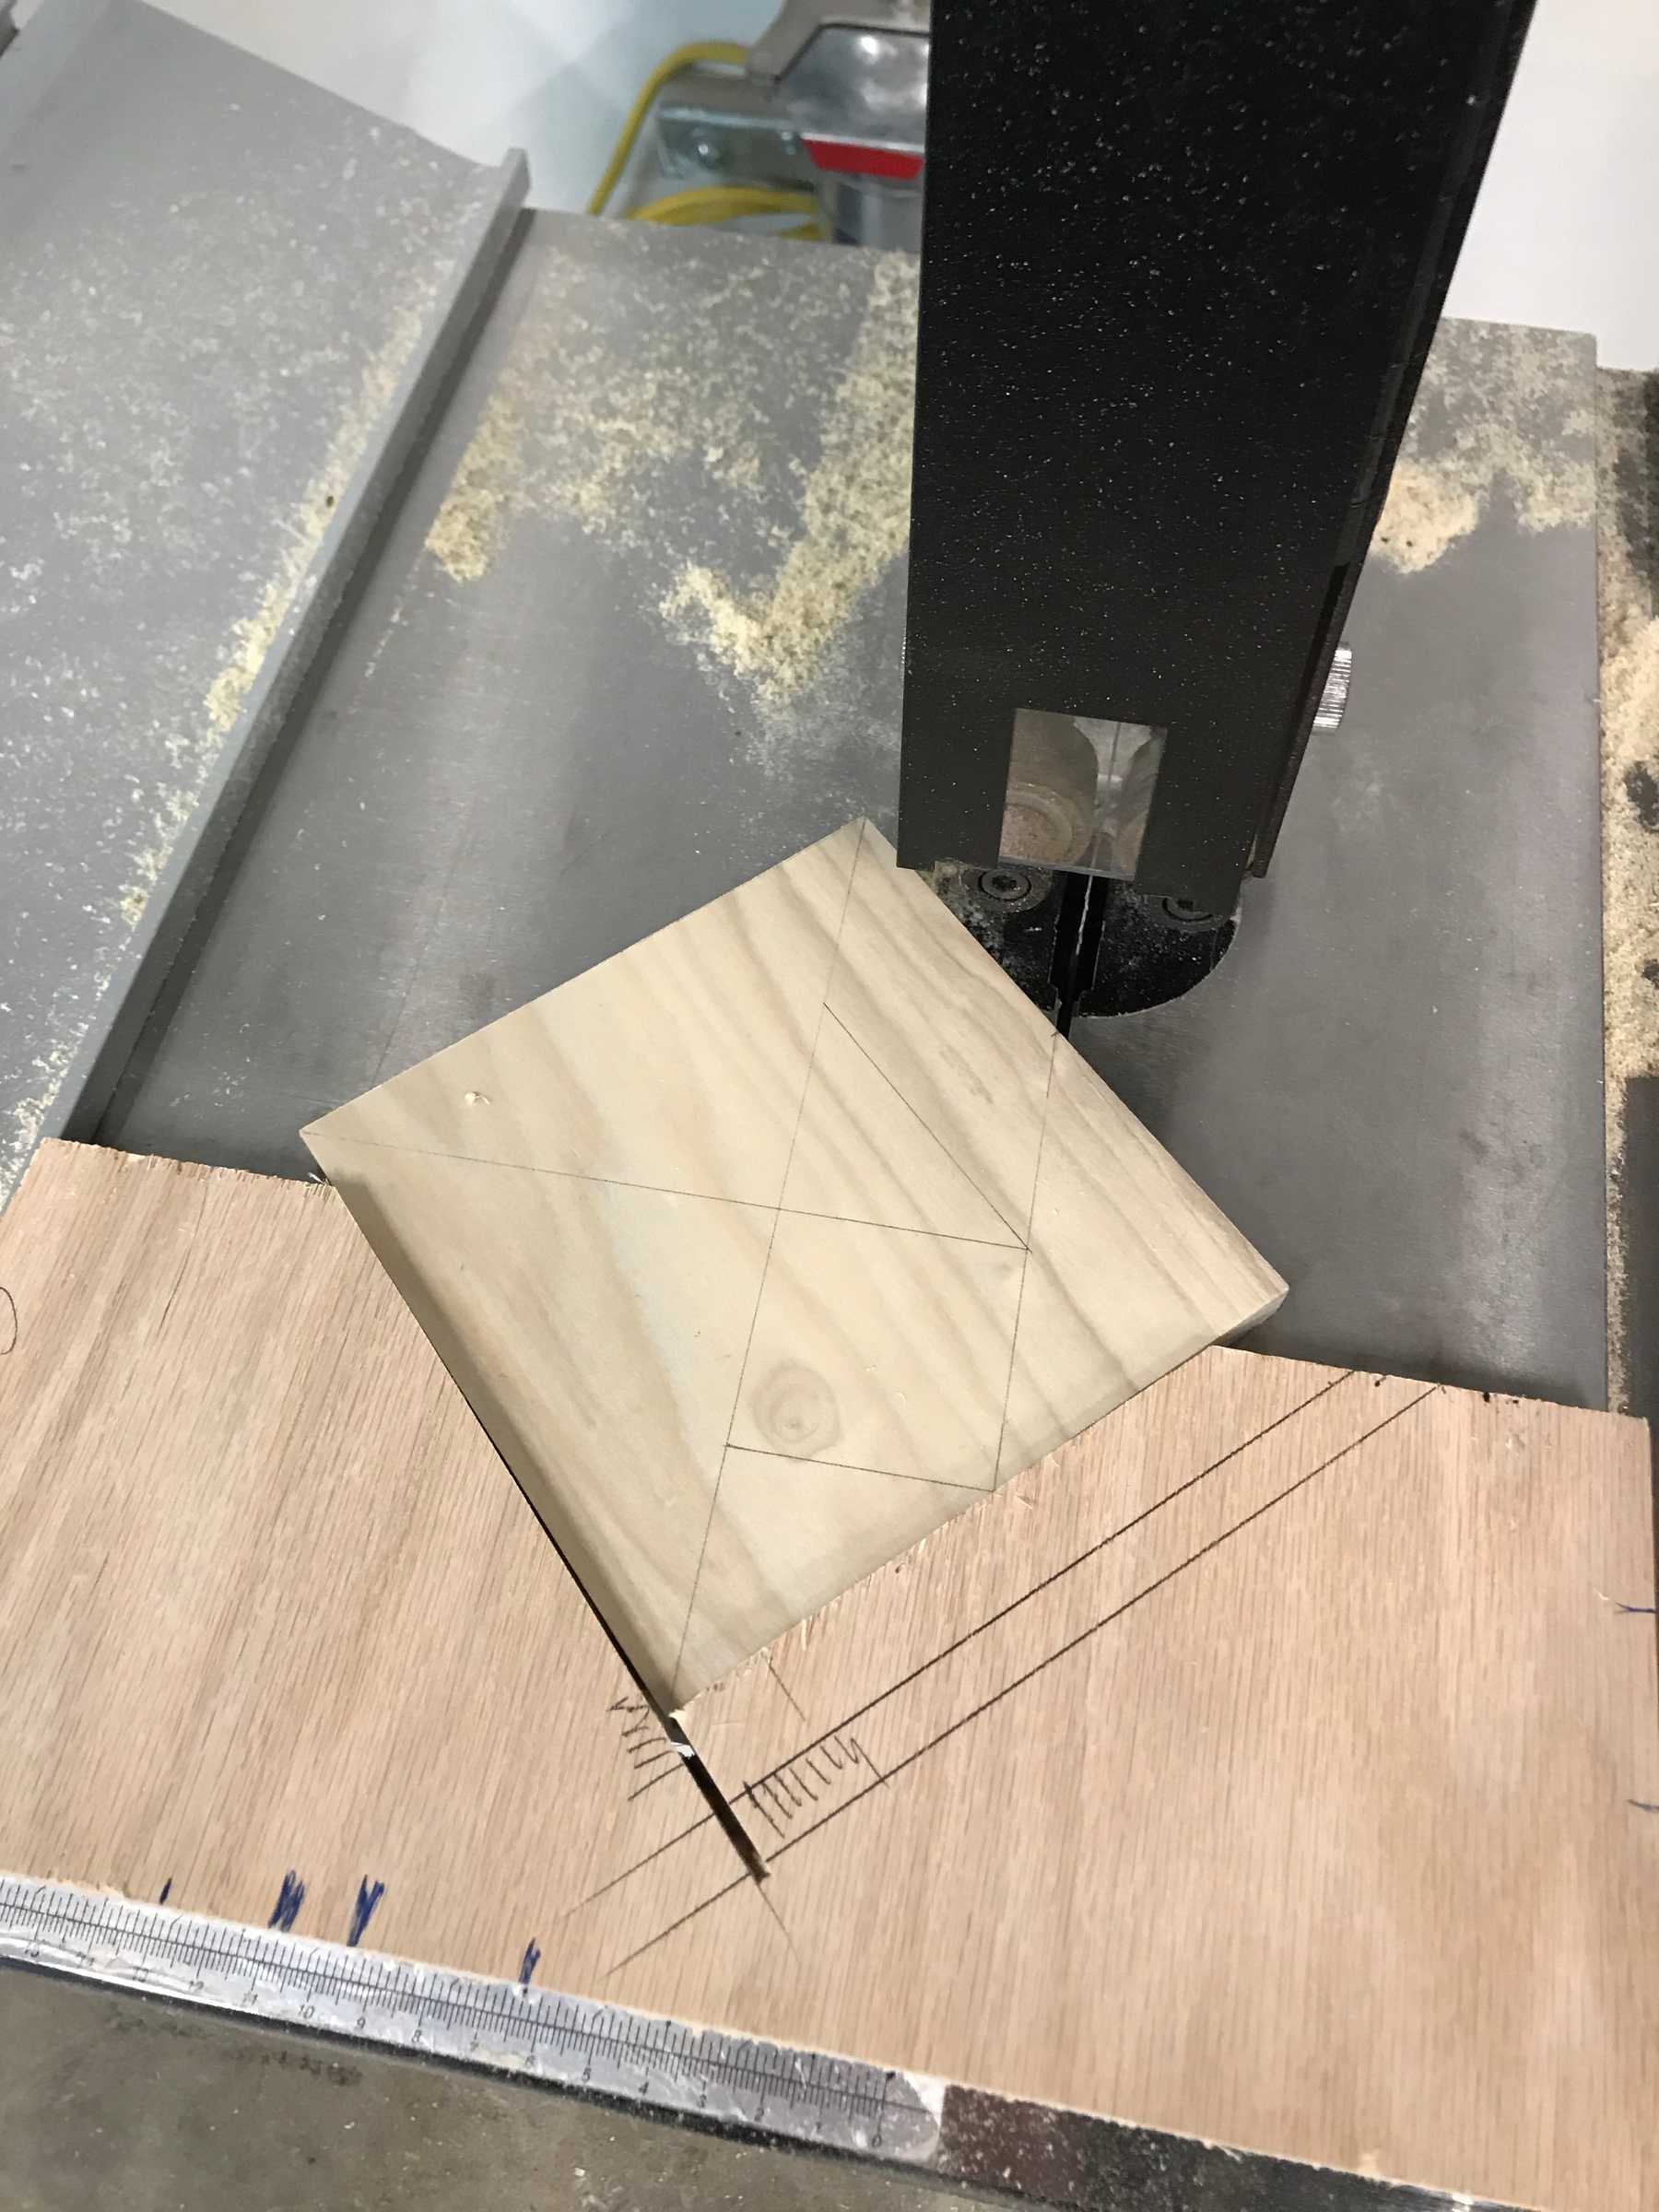
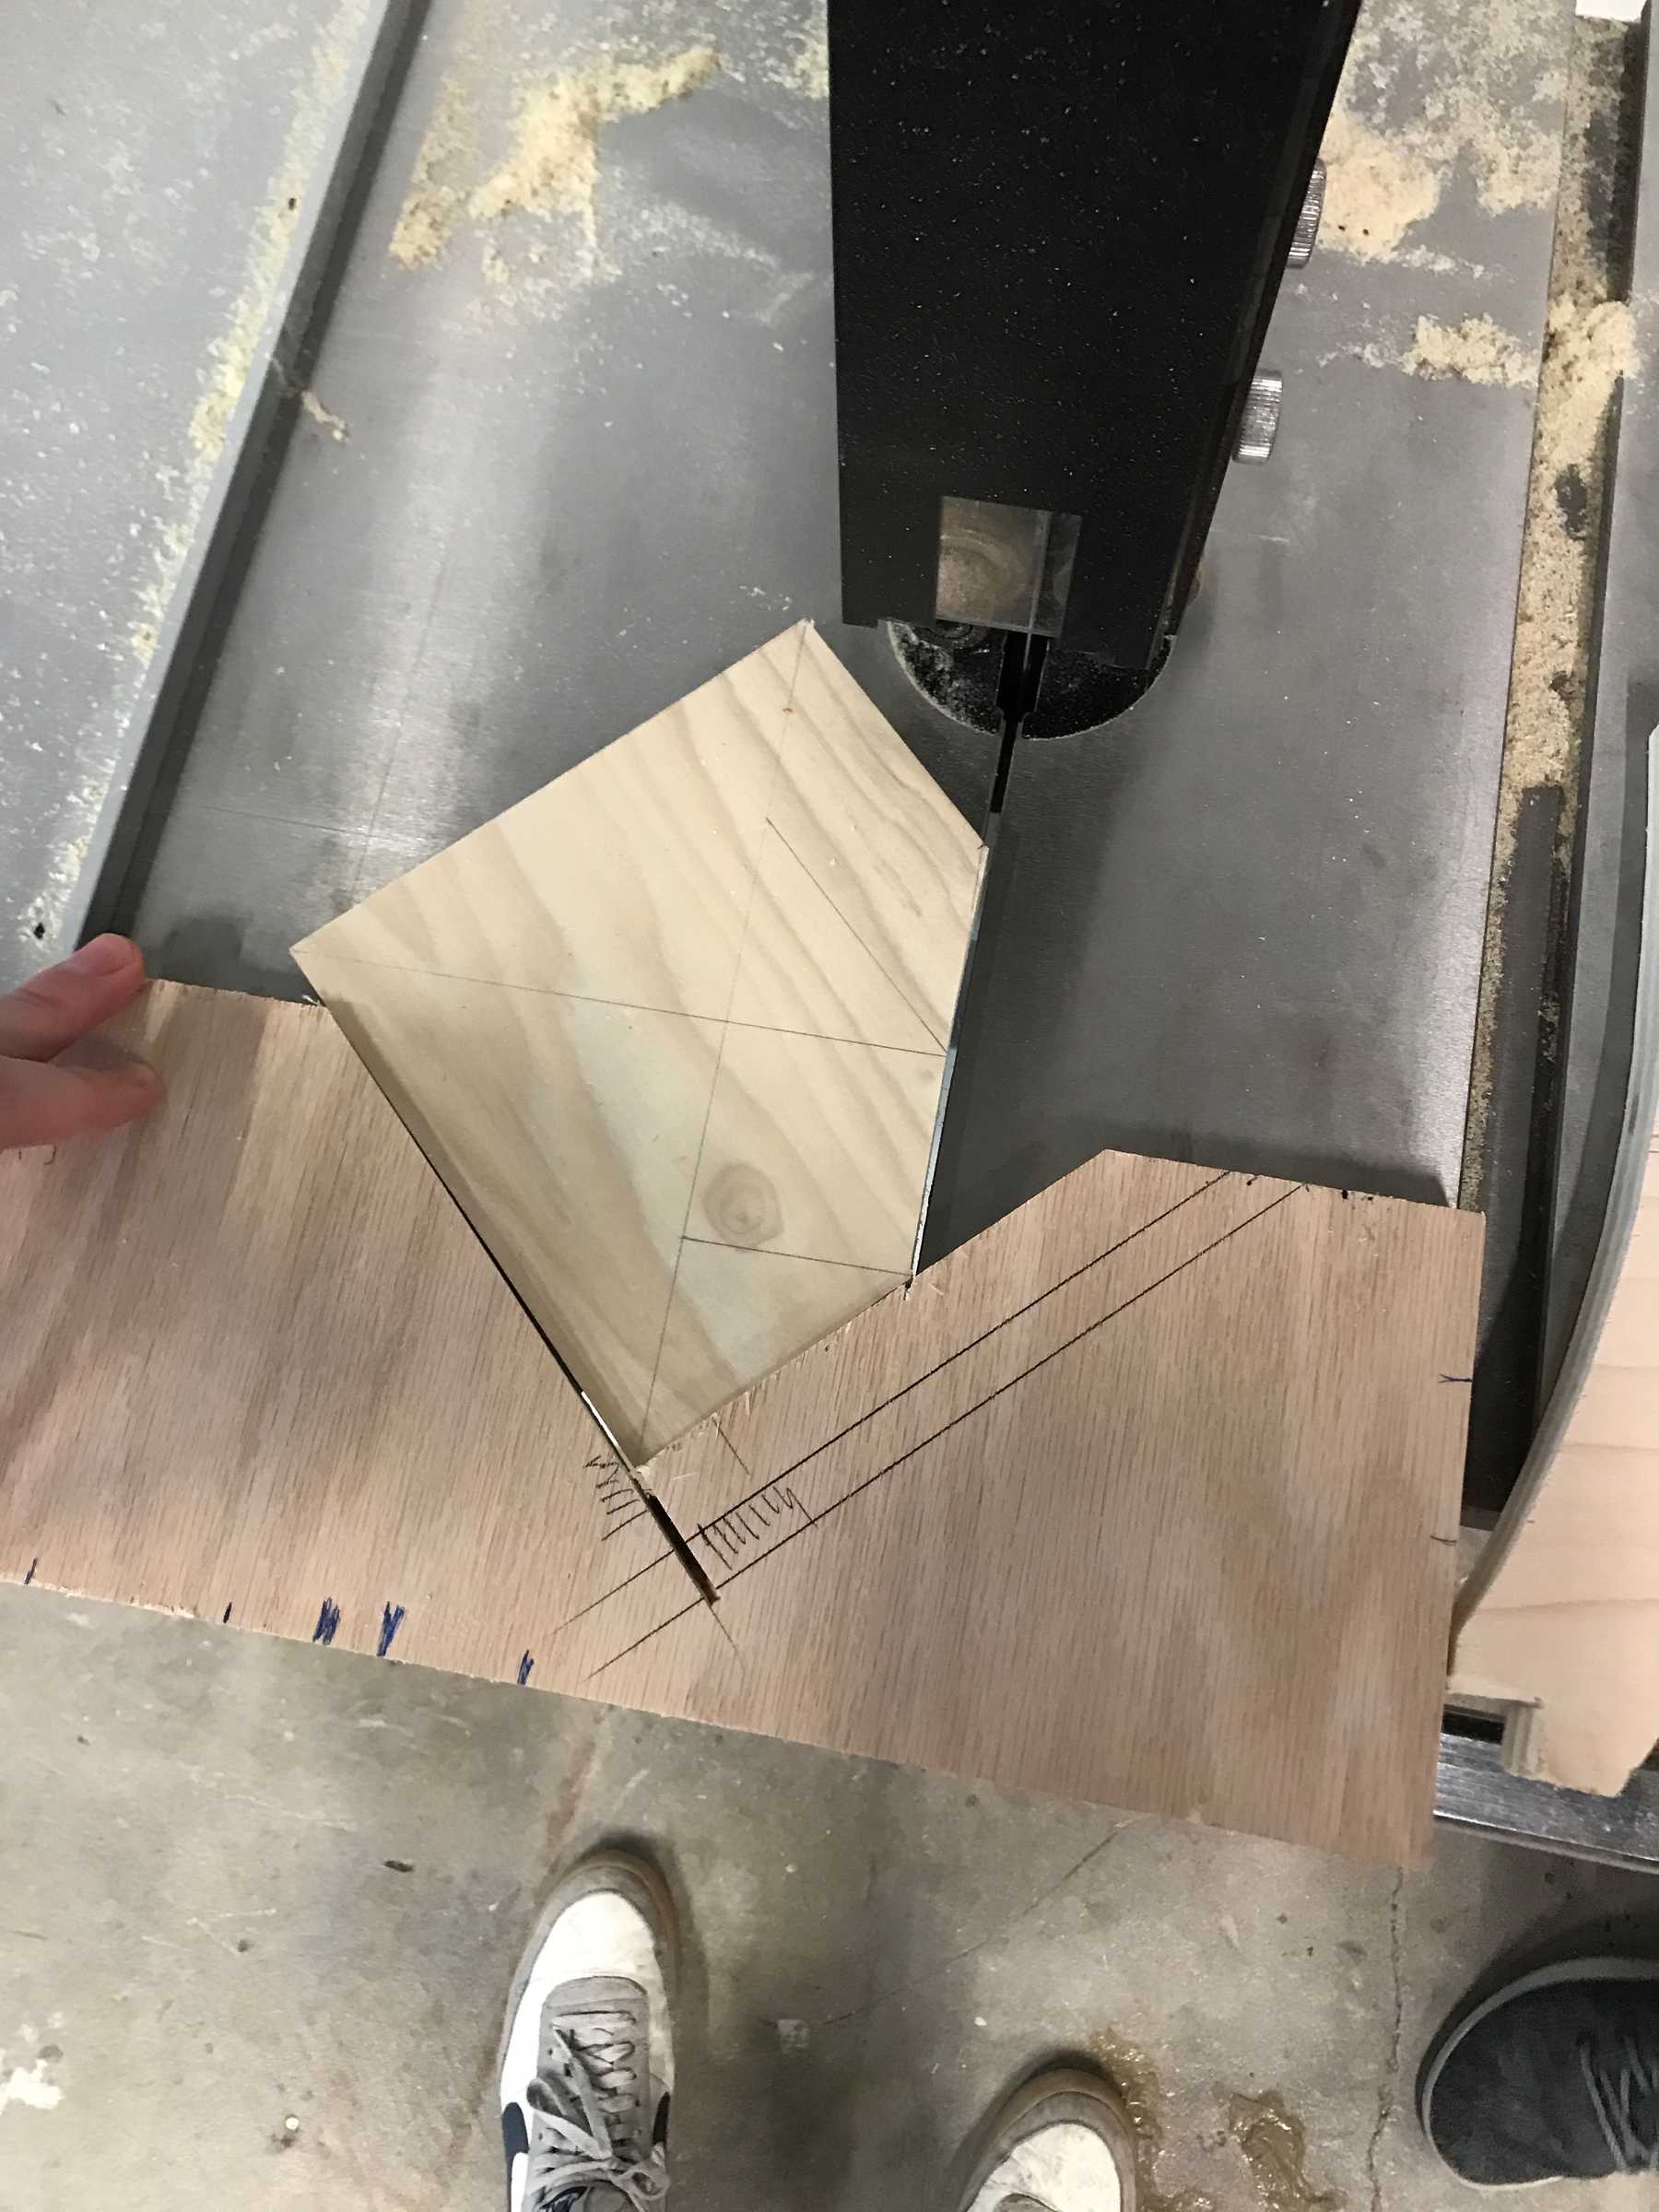
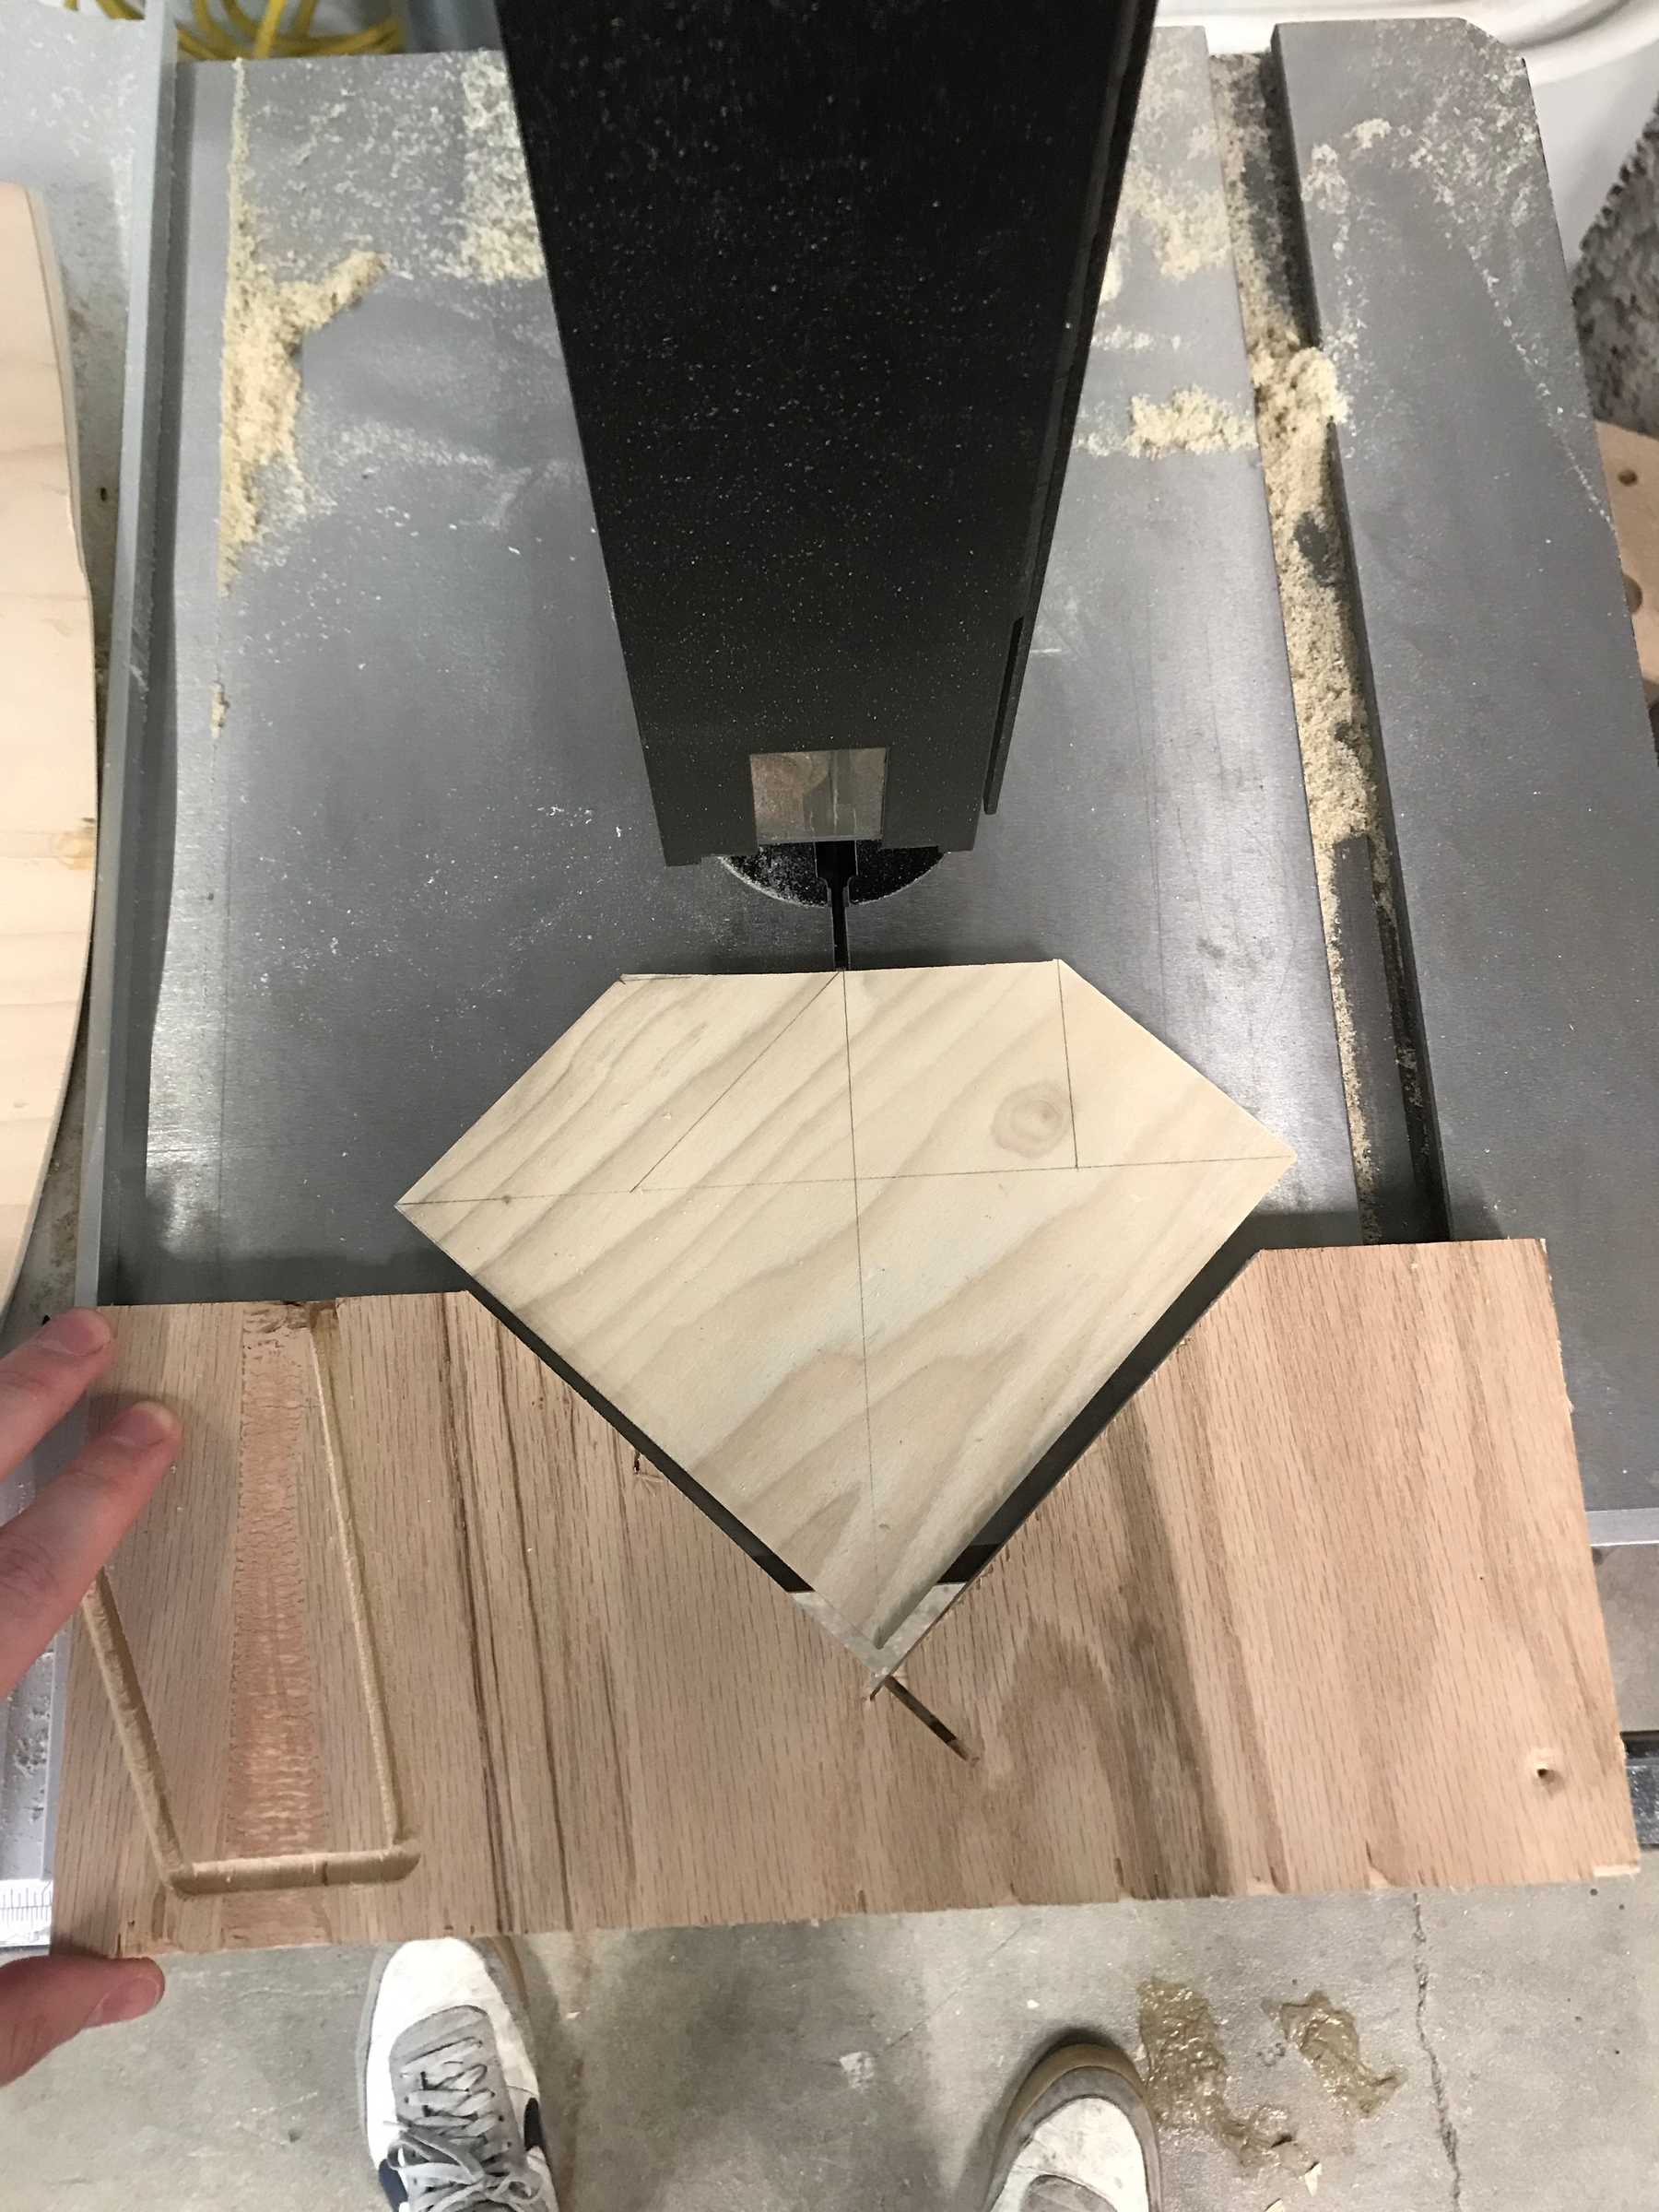
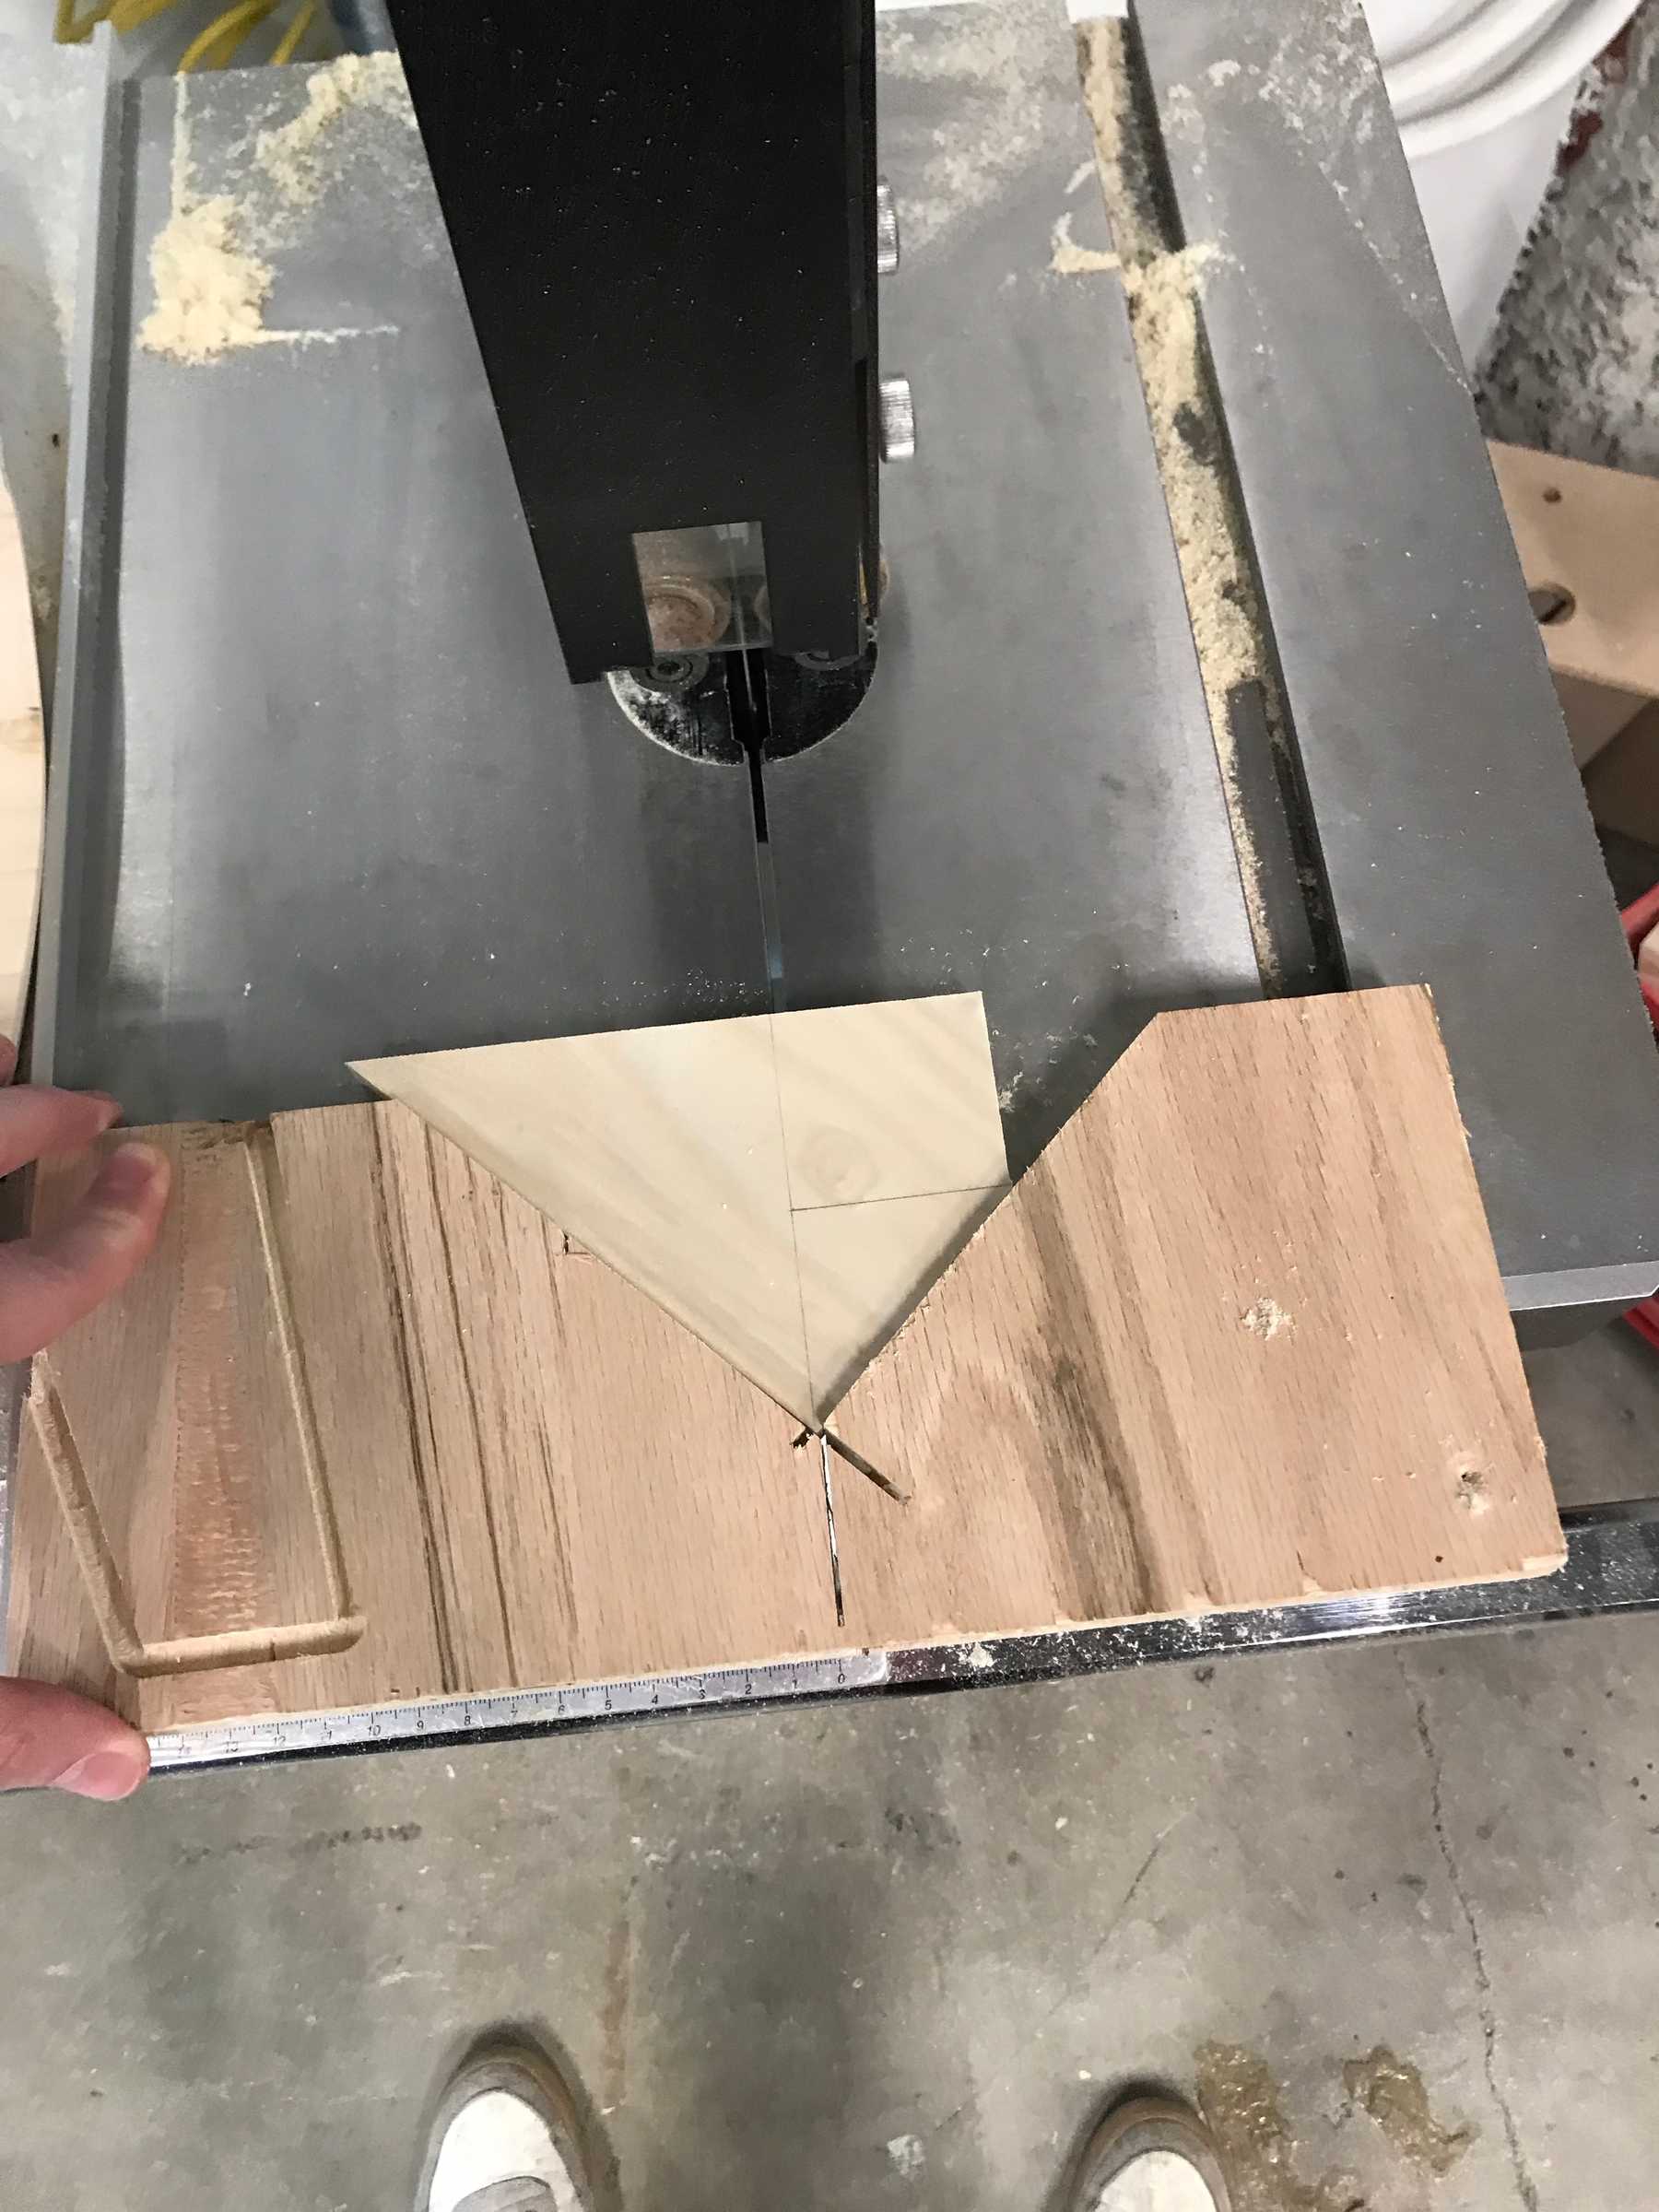
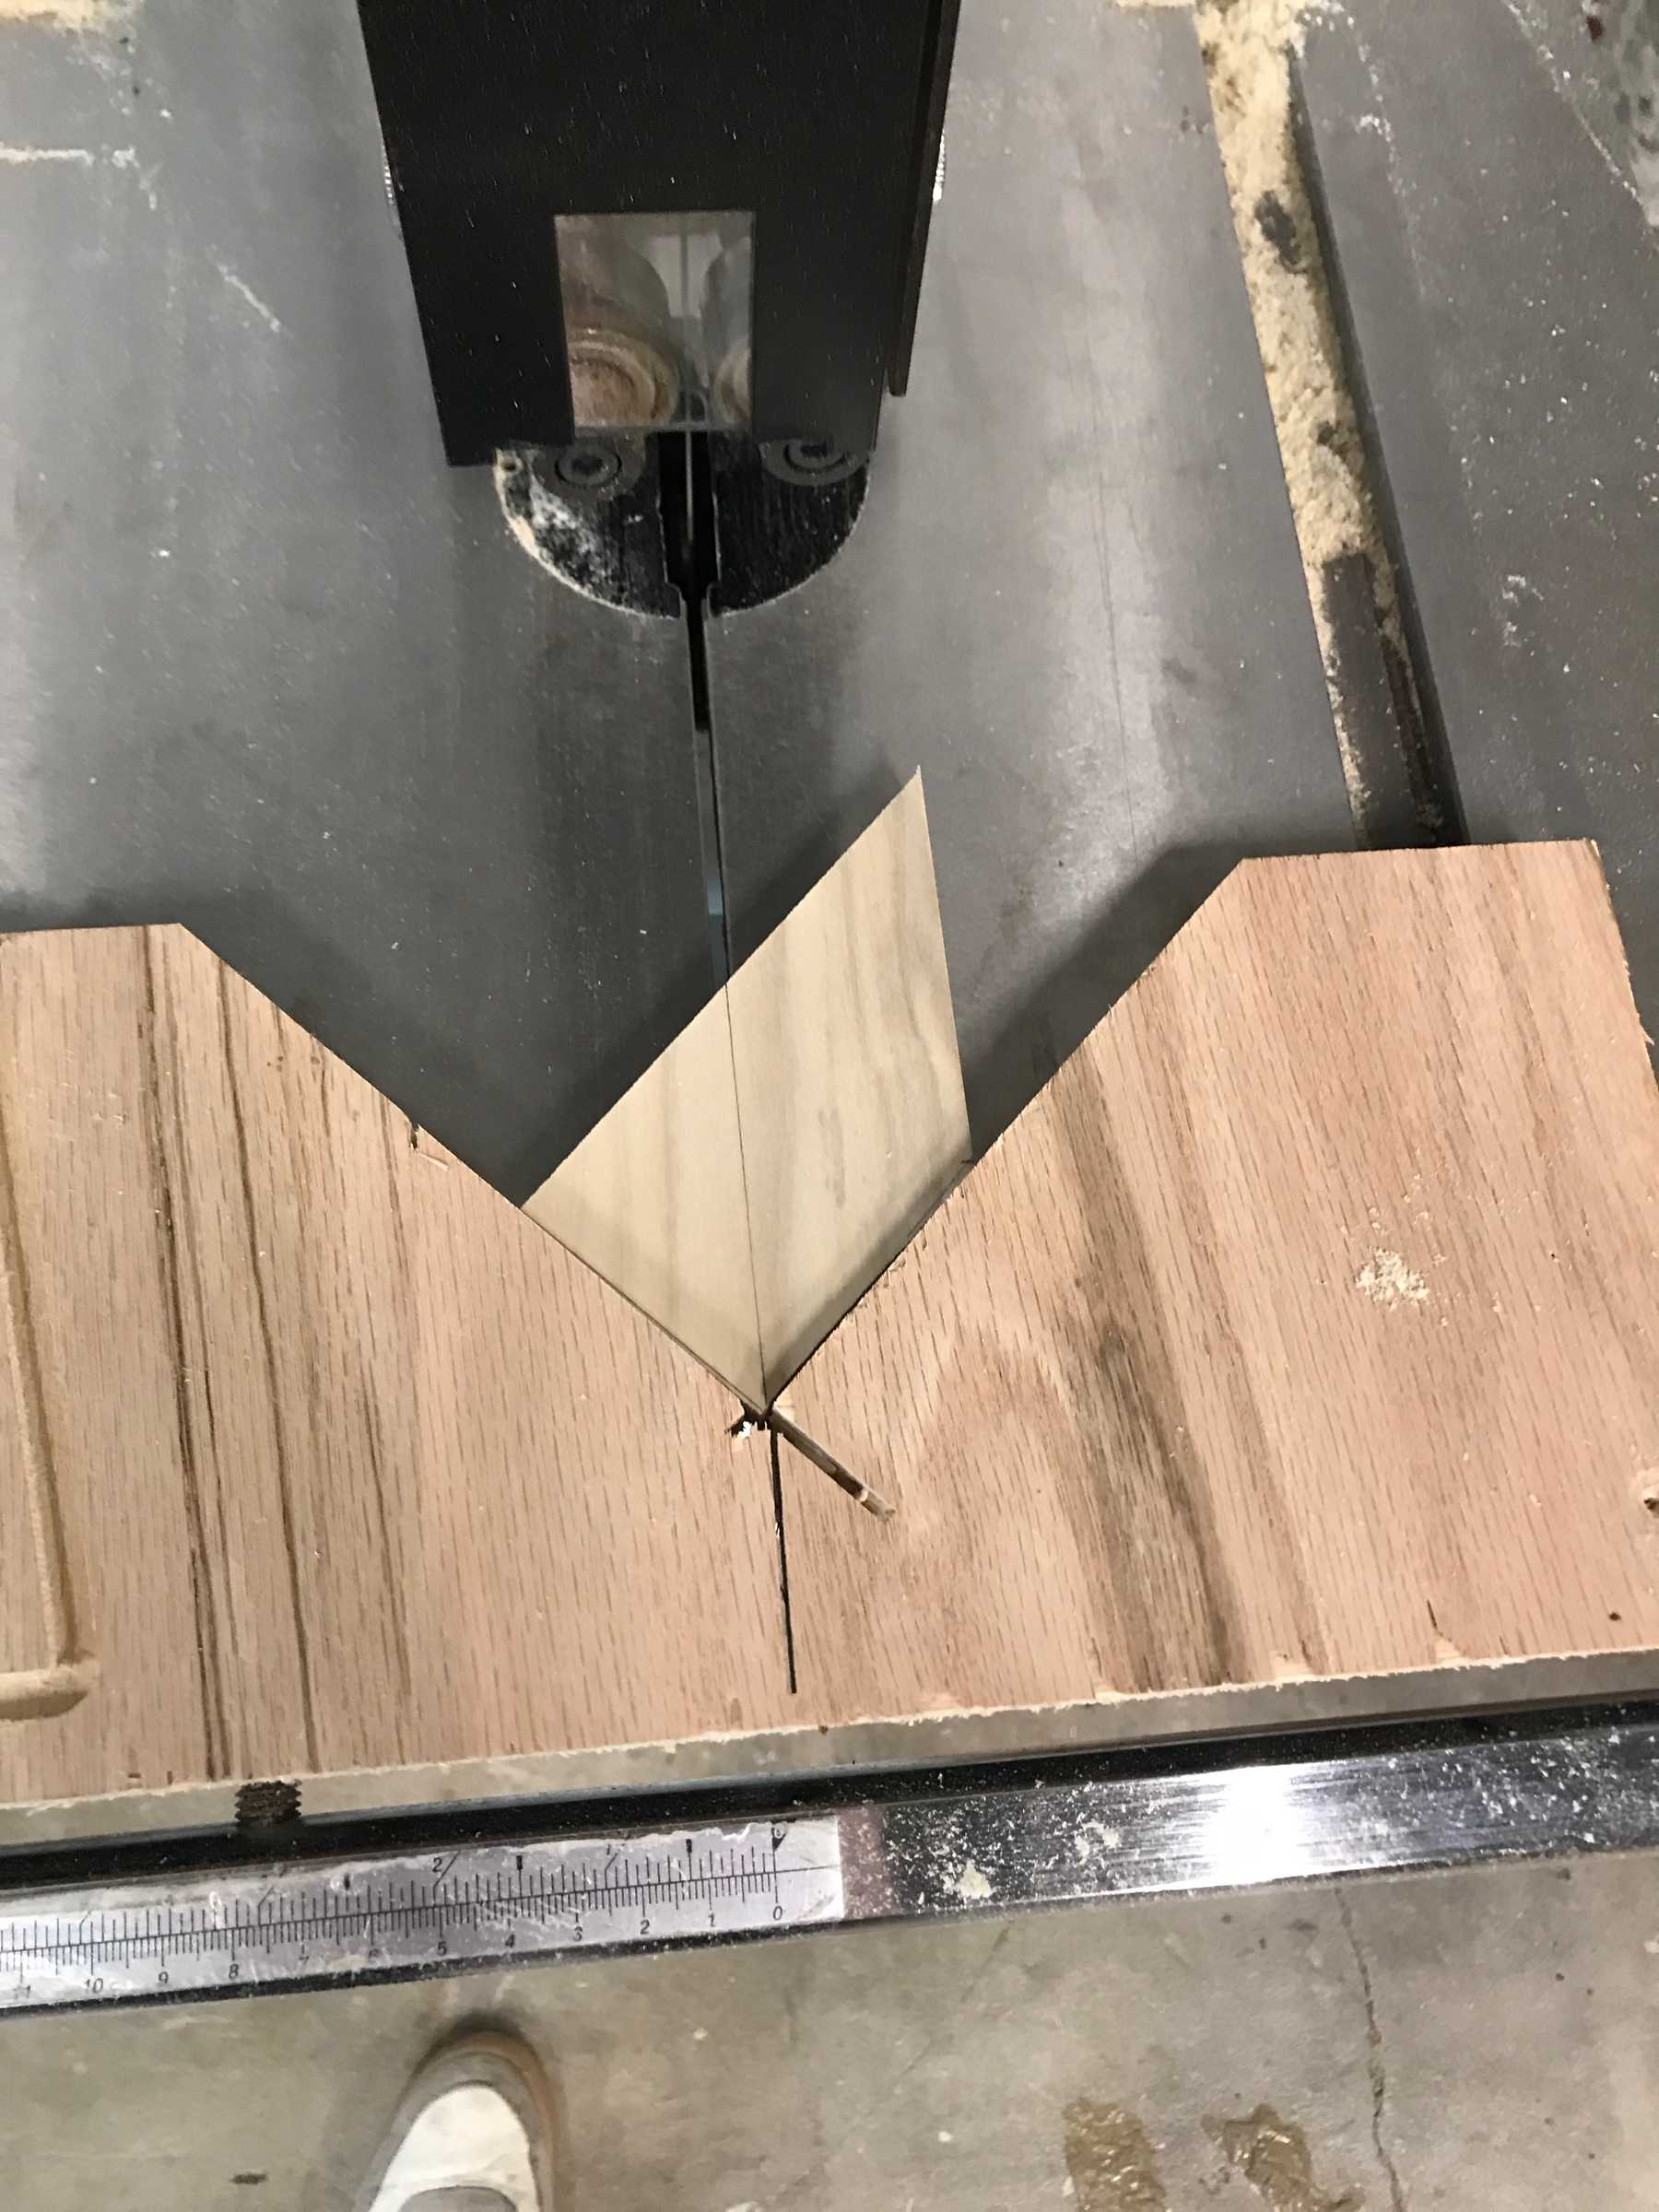
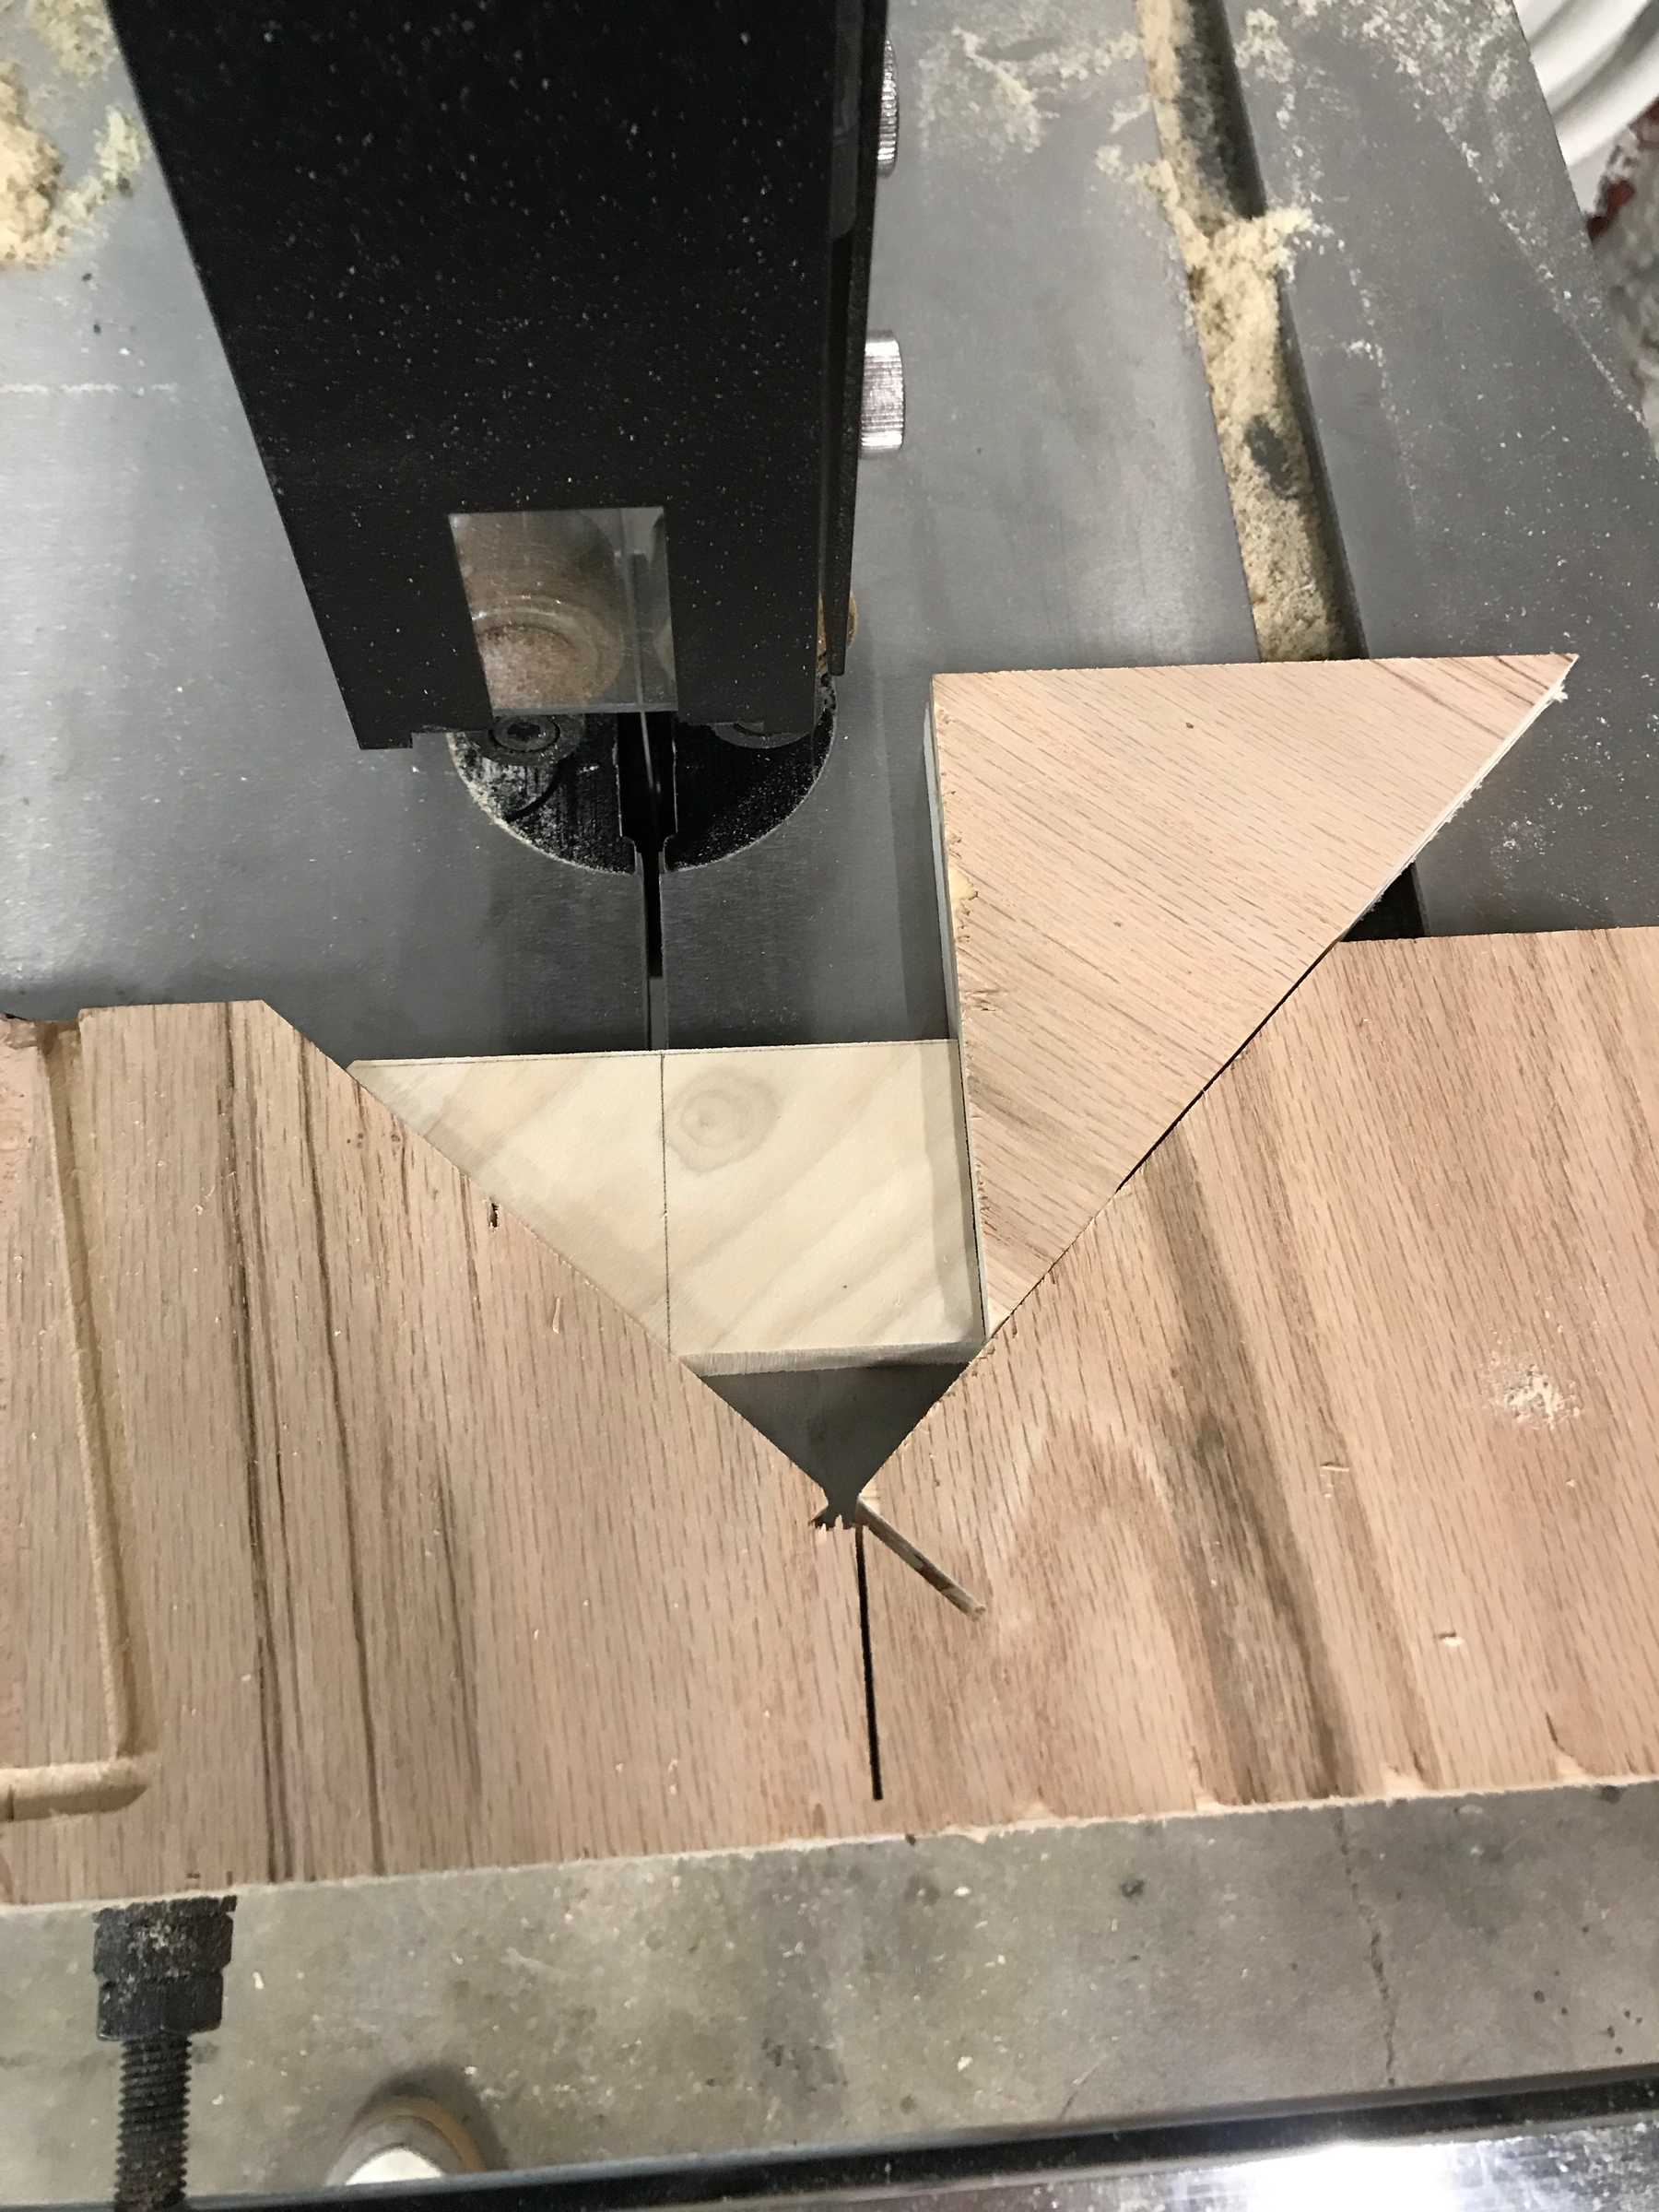
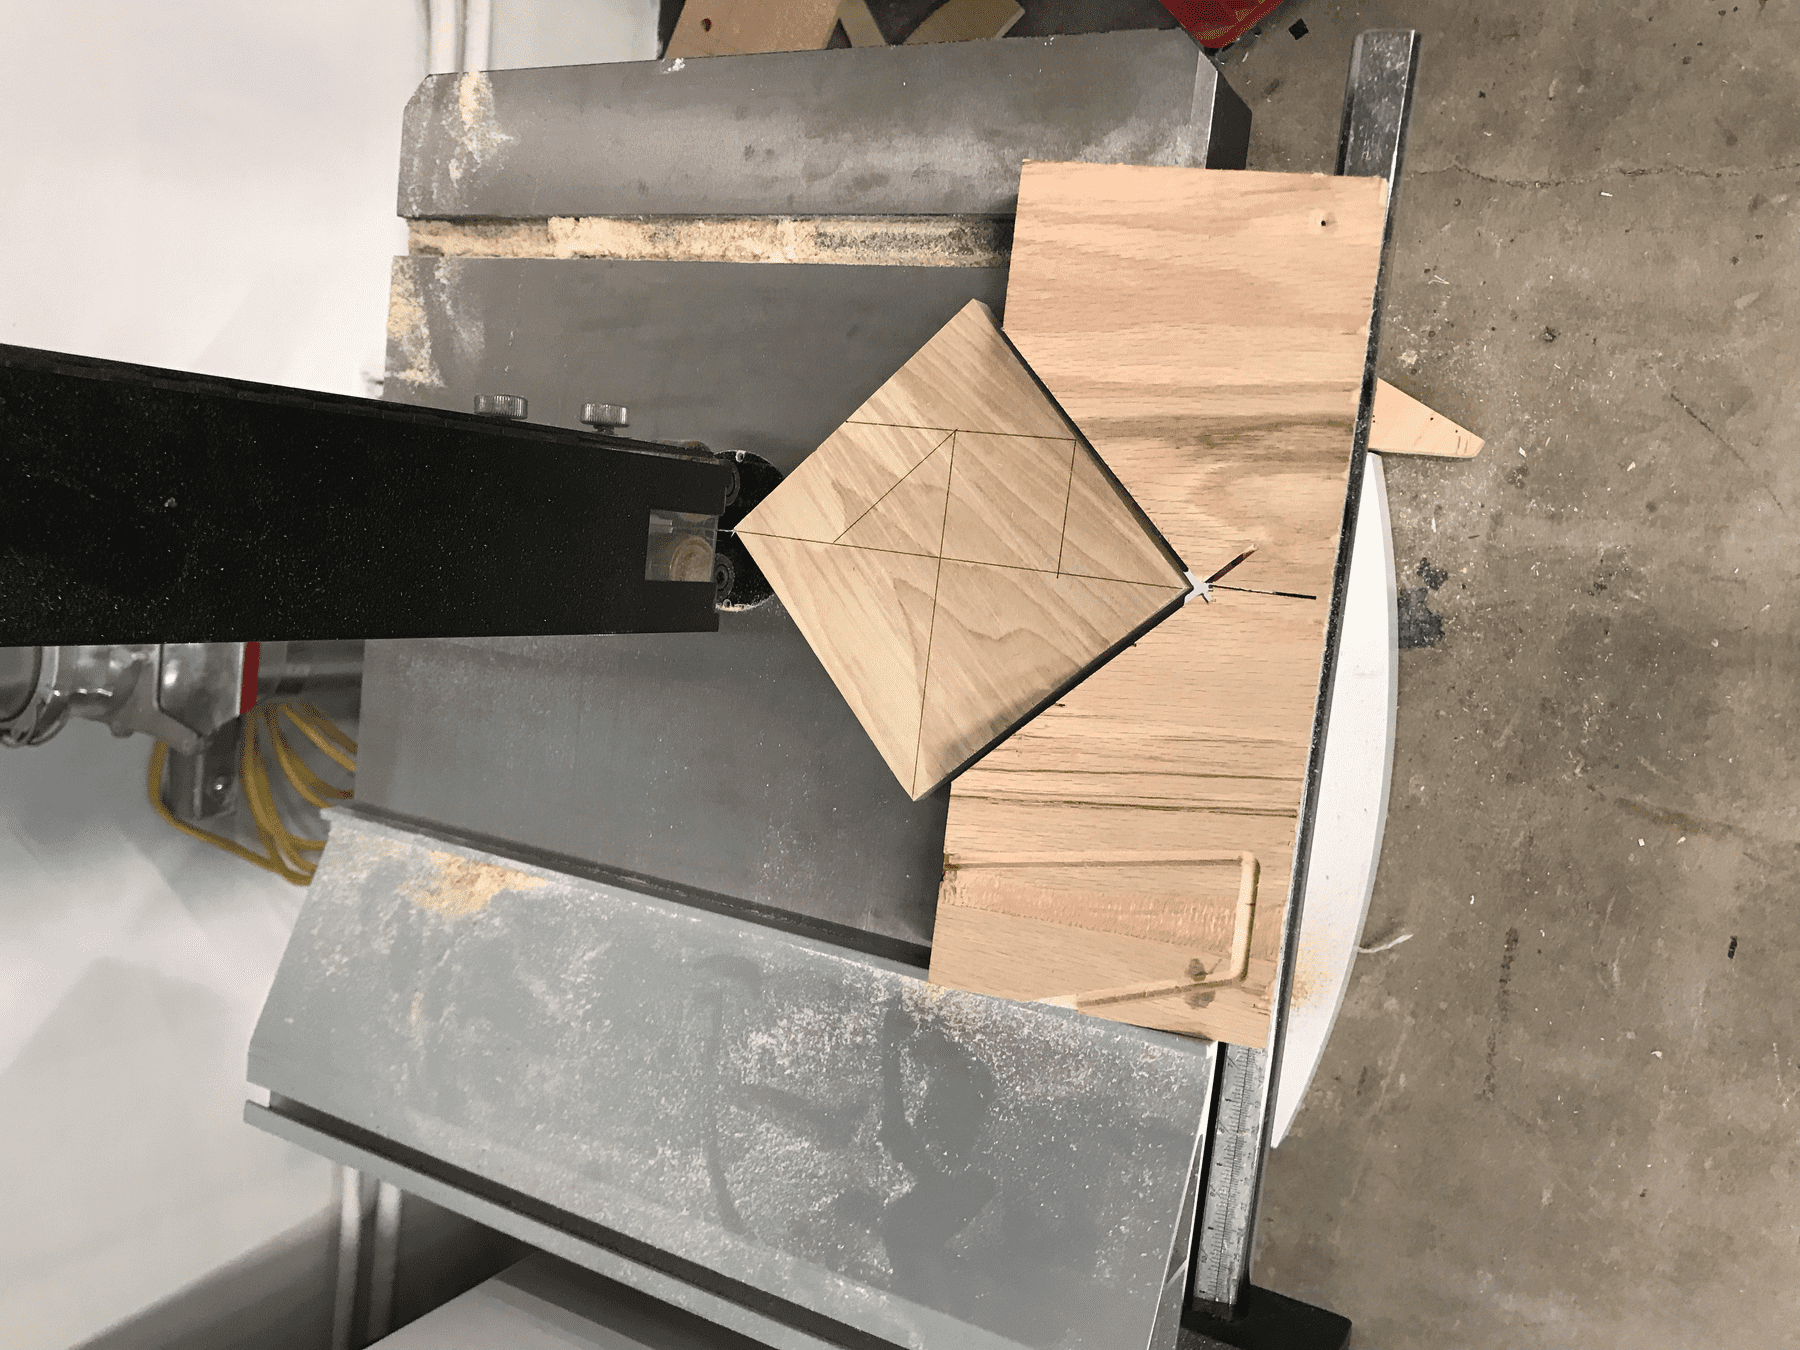
To cut the tangram pieces I created a jig to hold the square — simply a right angle cutout at 45 degrees to the edge.
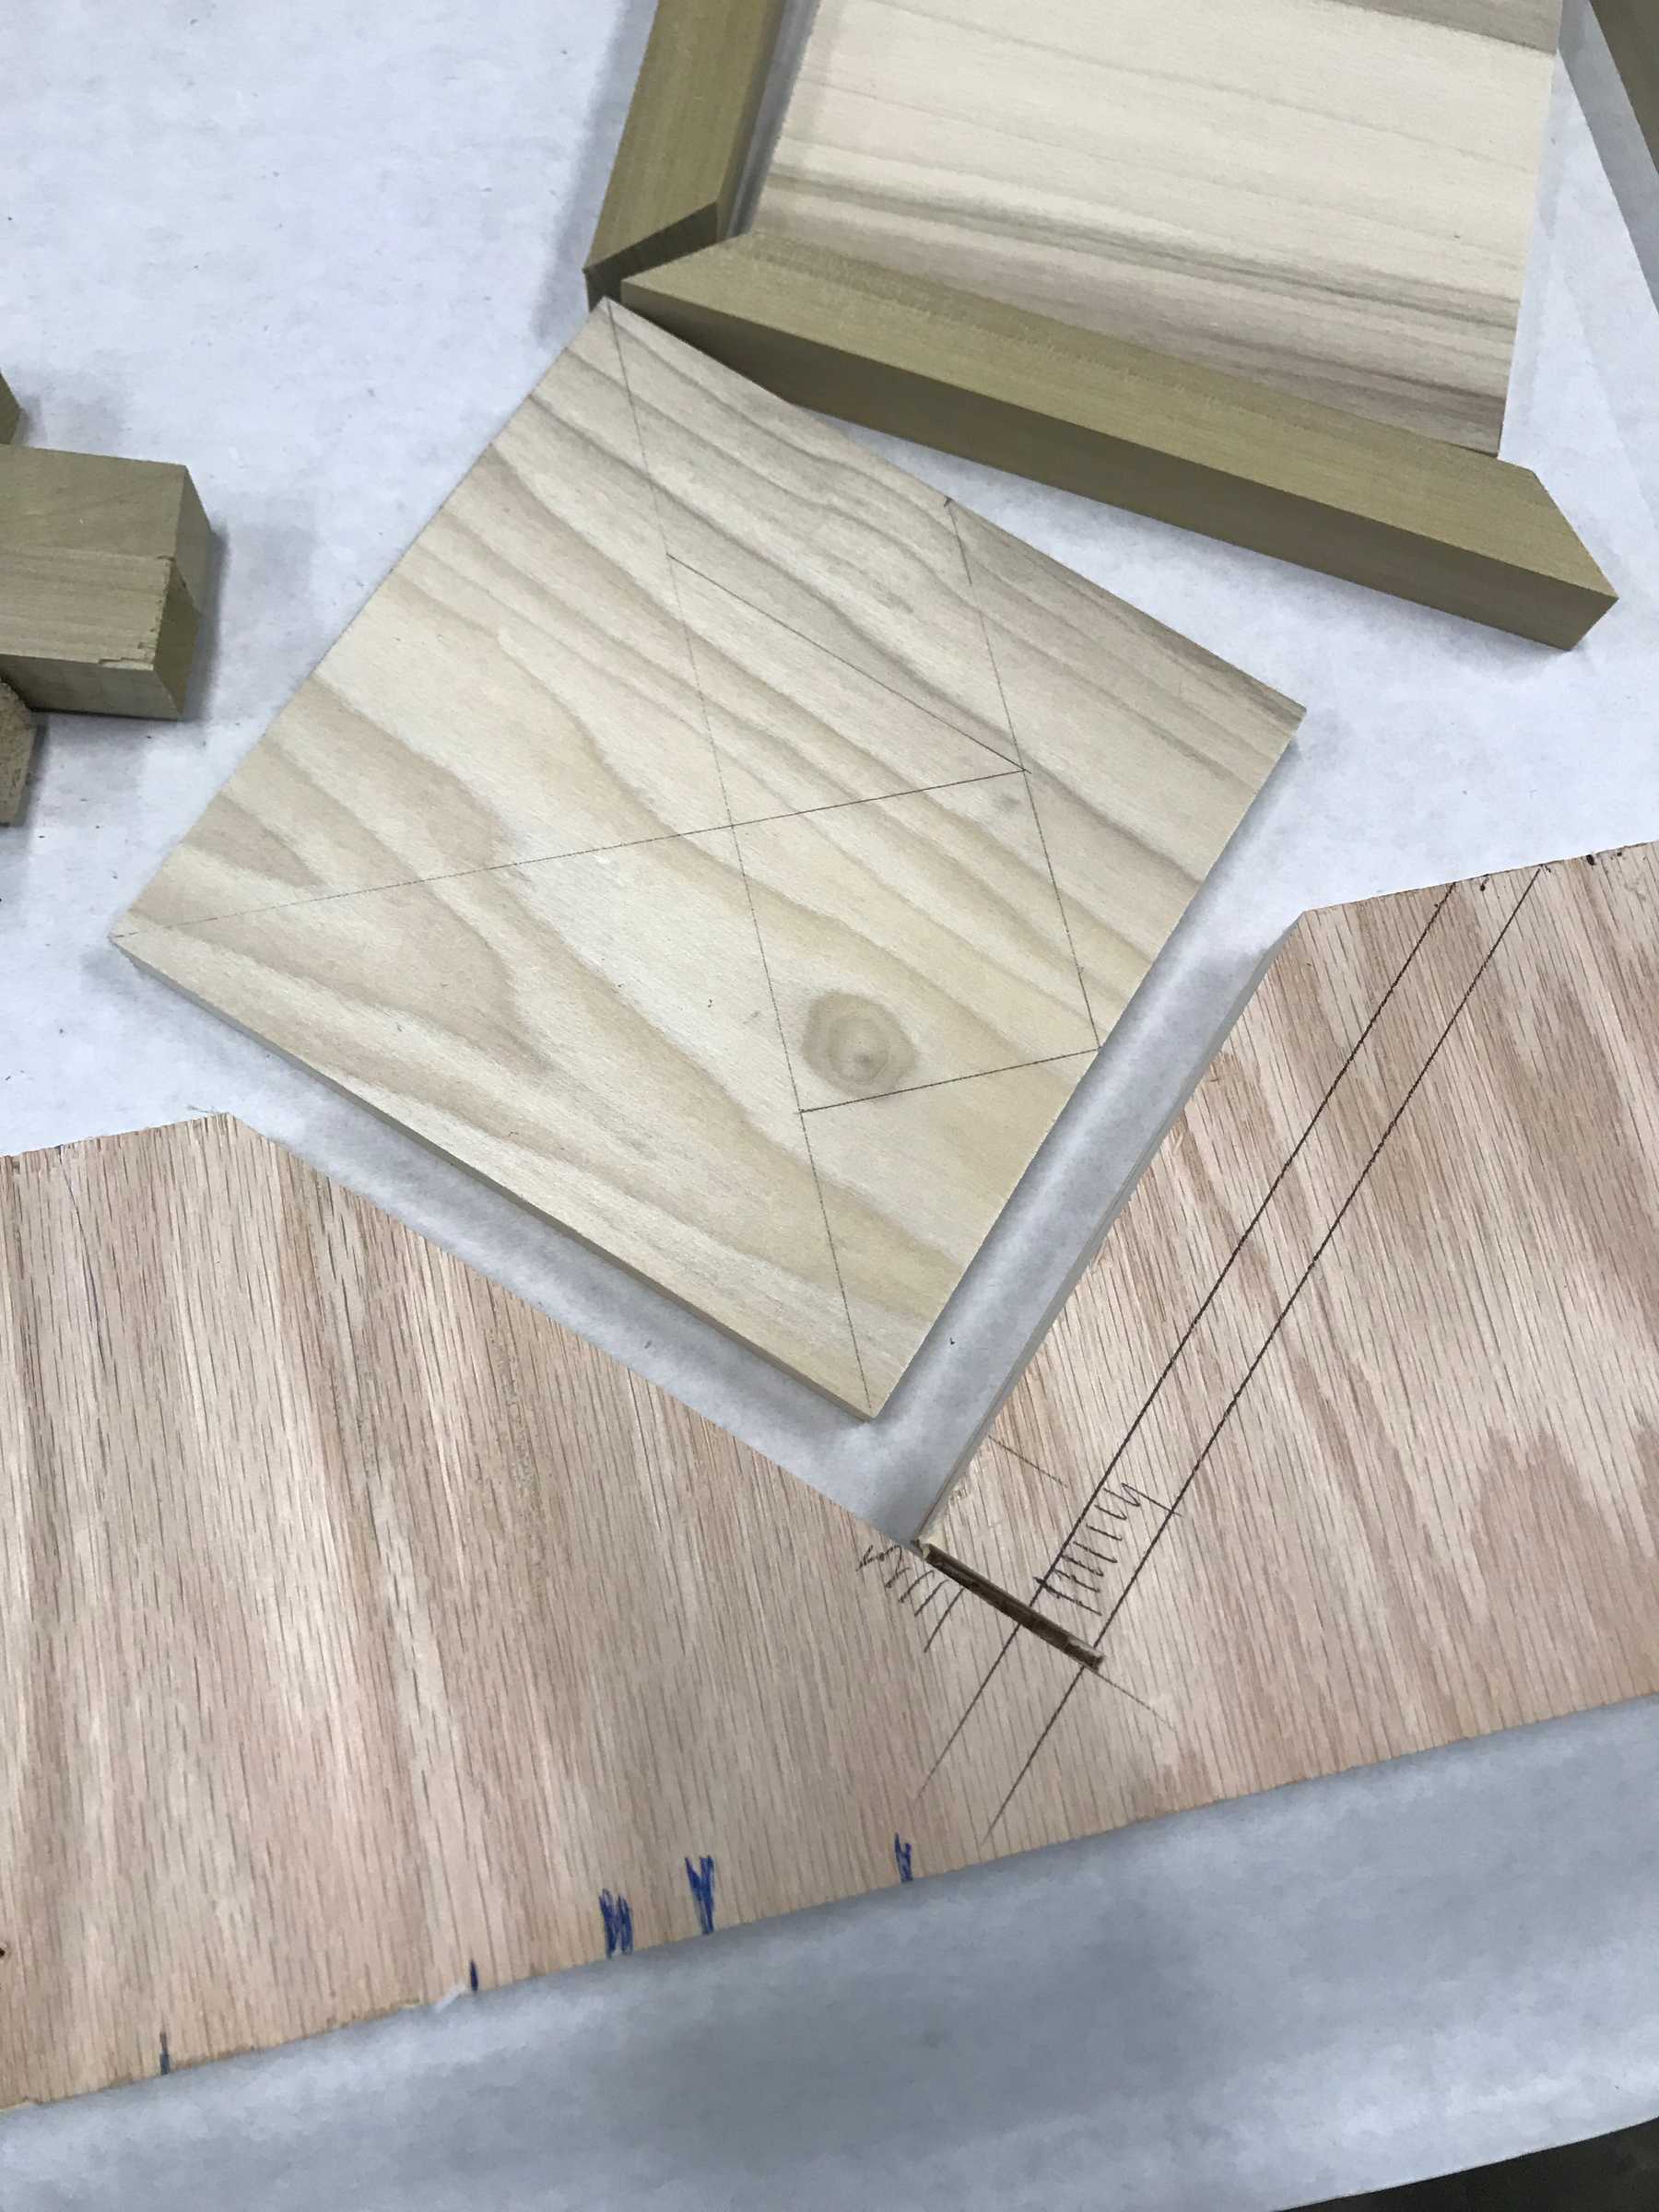 Creating a jig for the tangrams
I used the jig to cut the square into the Tangram pieces. The wedge allowed my to hold the piece steady as I ran it through the band saw.
Even with the jig, the pieces were still a little mismatched.
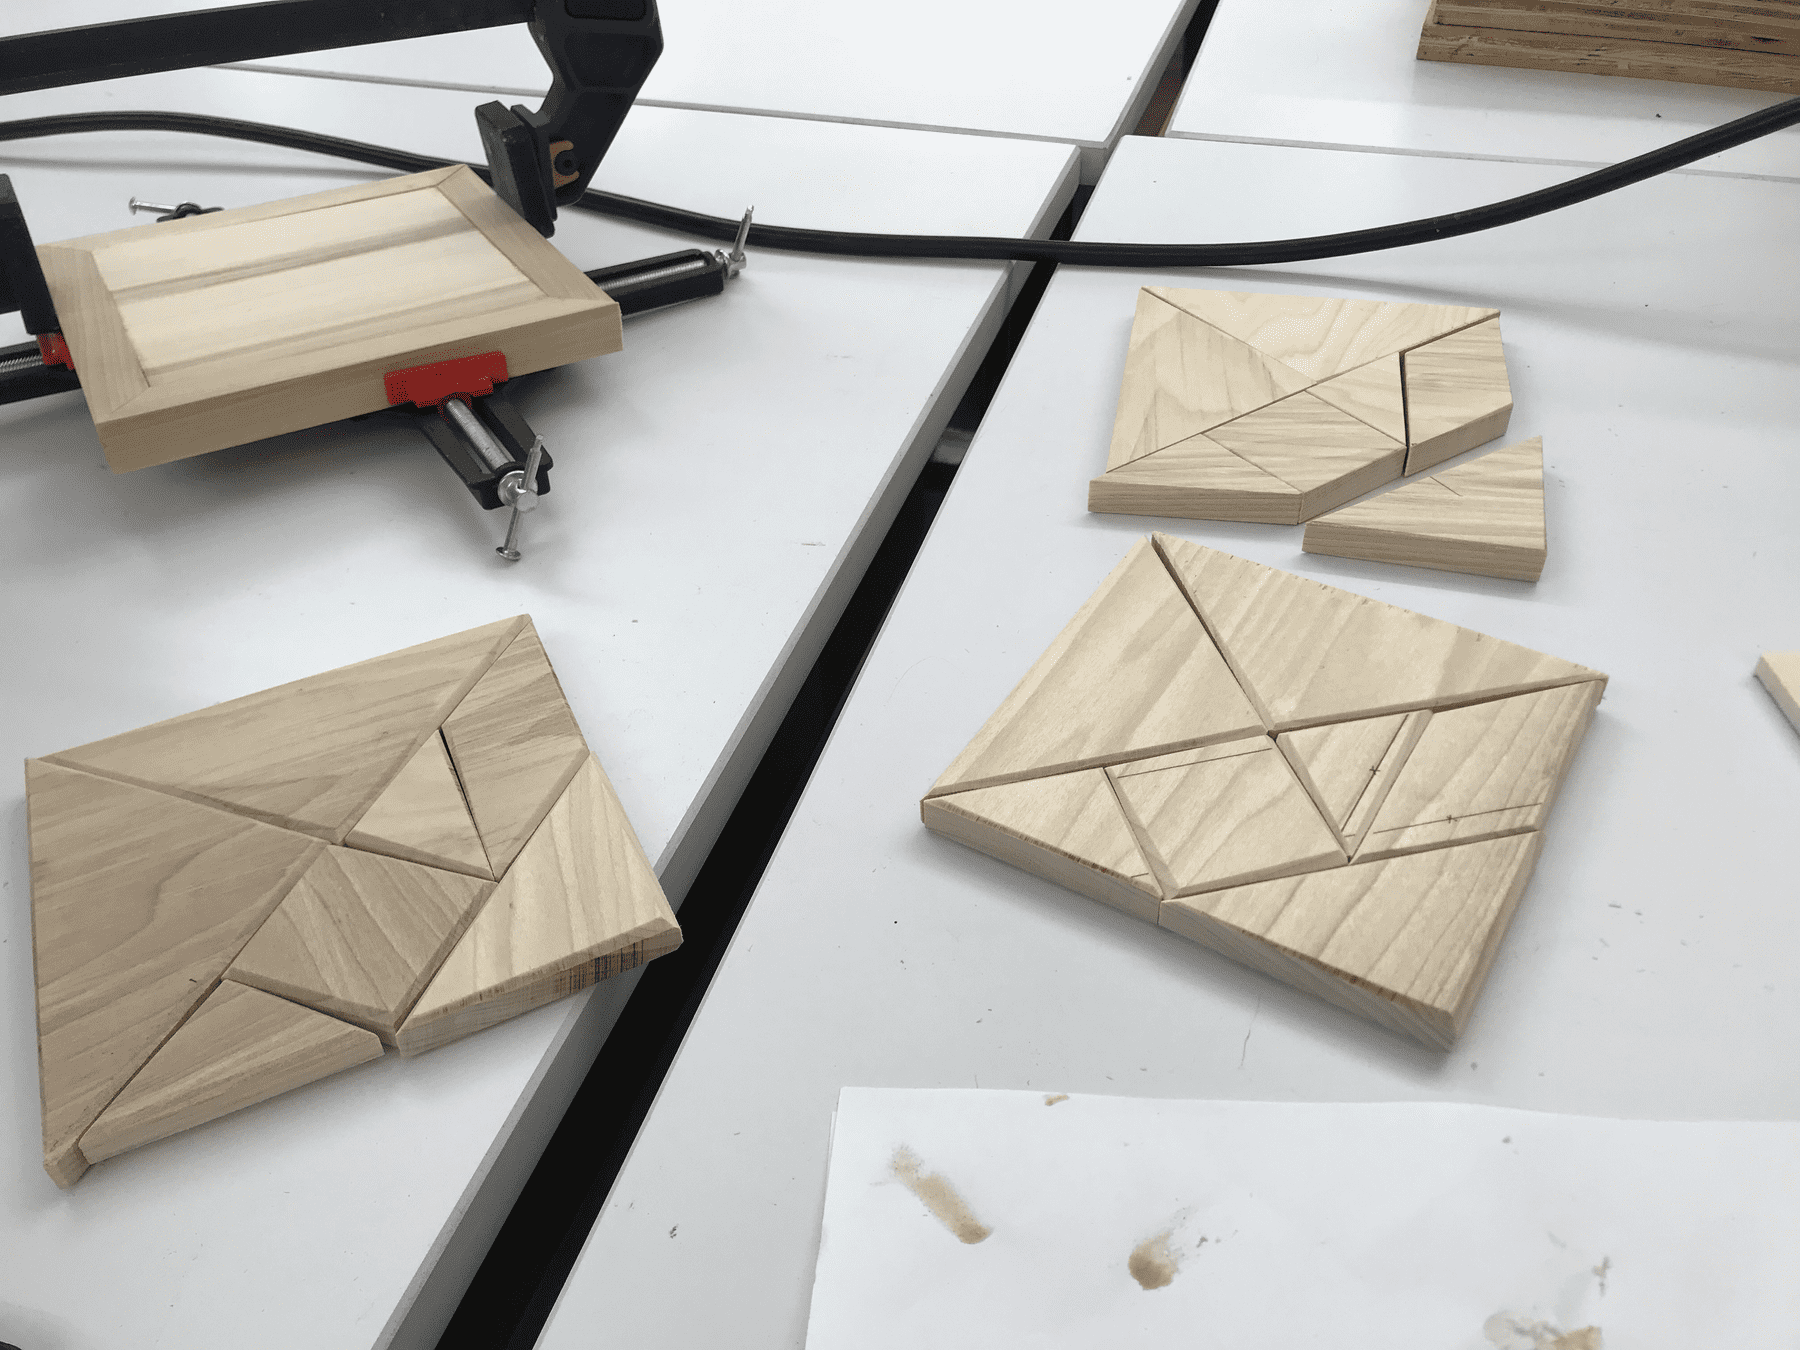
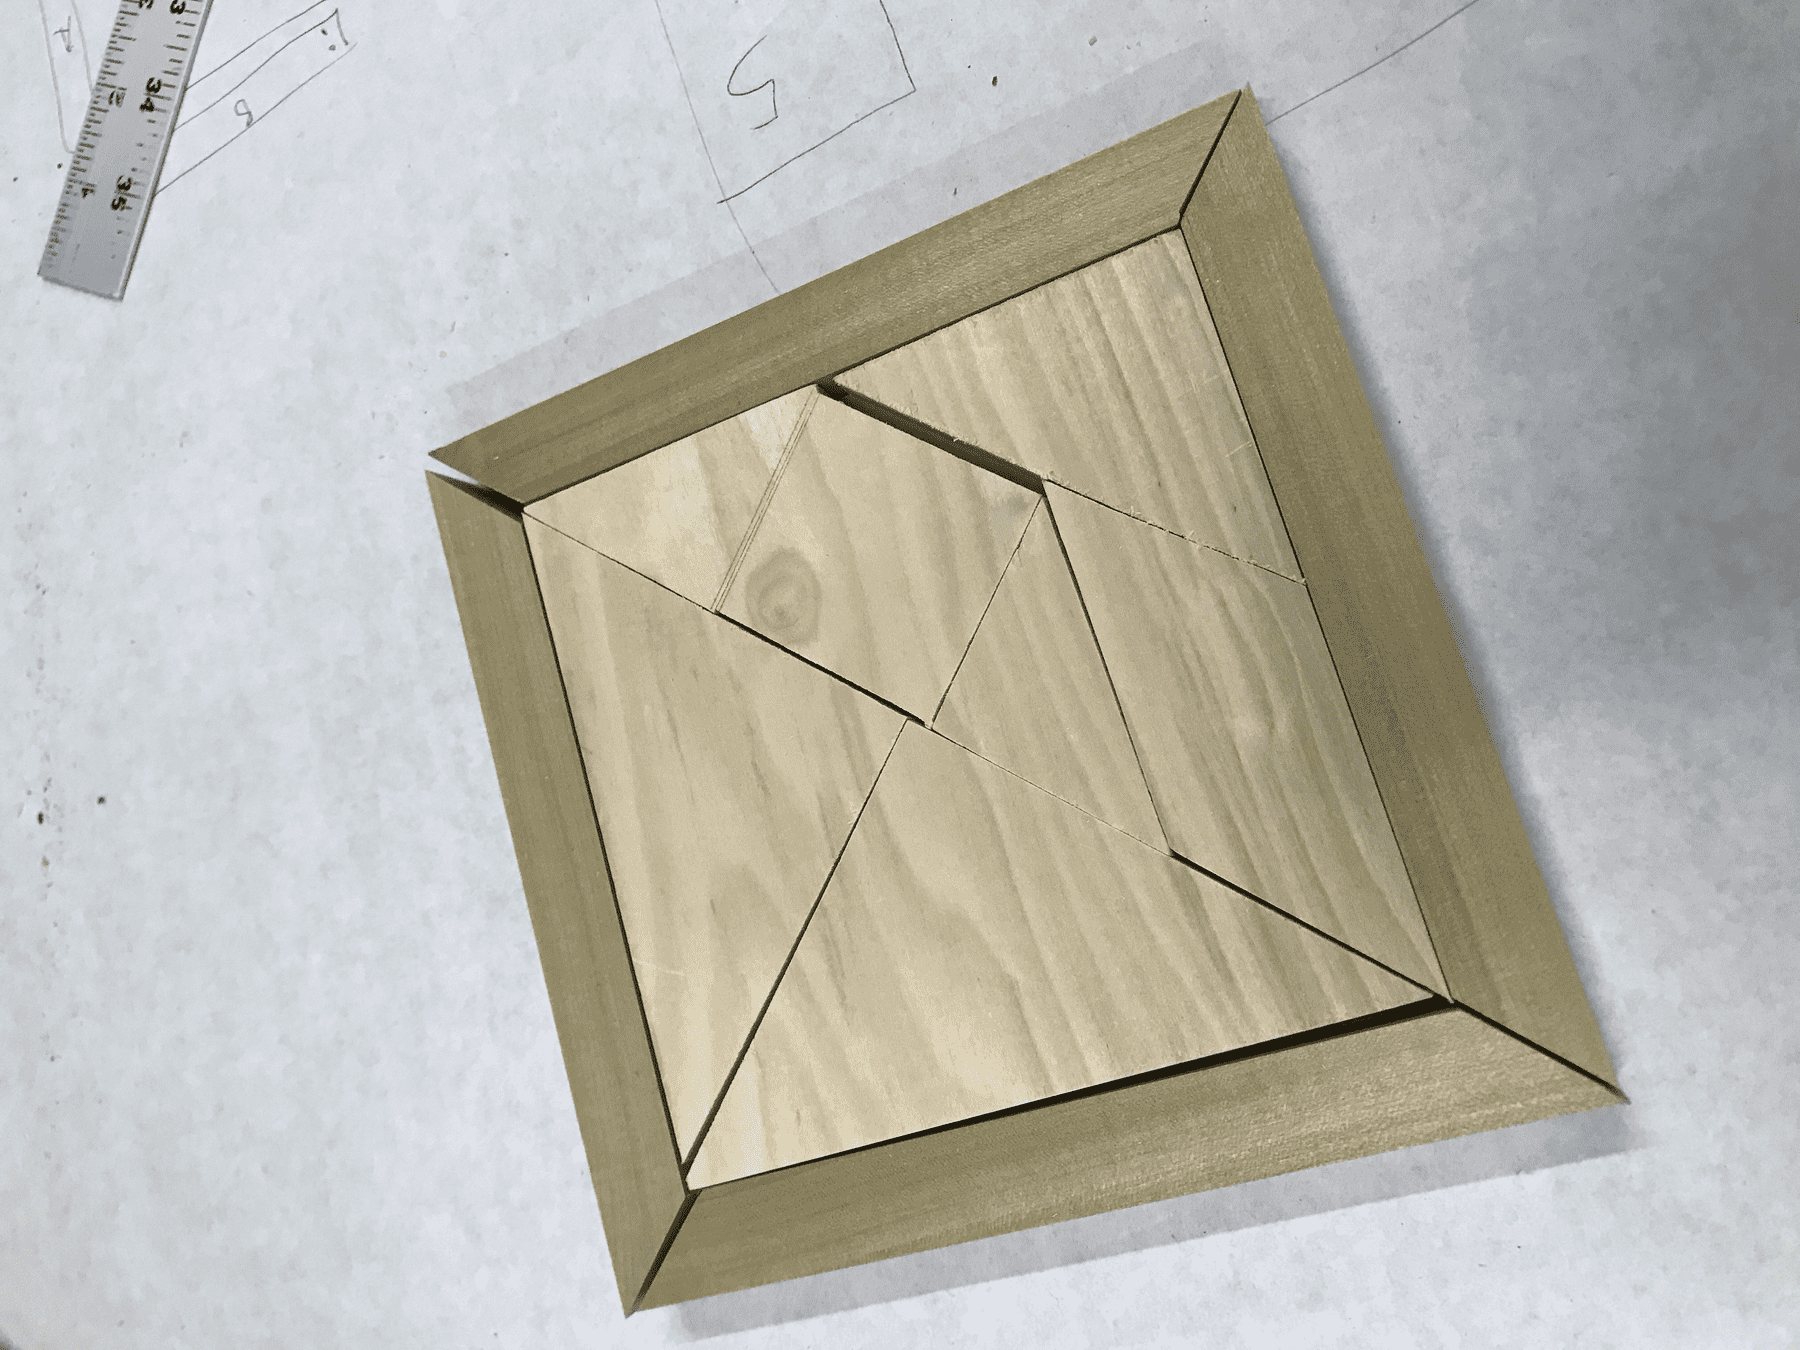 The assembled tangrams in the frame
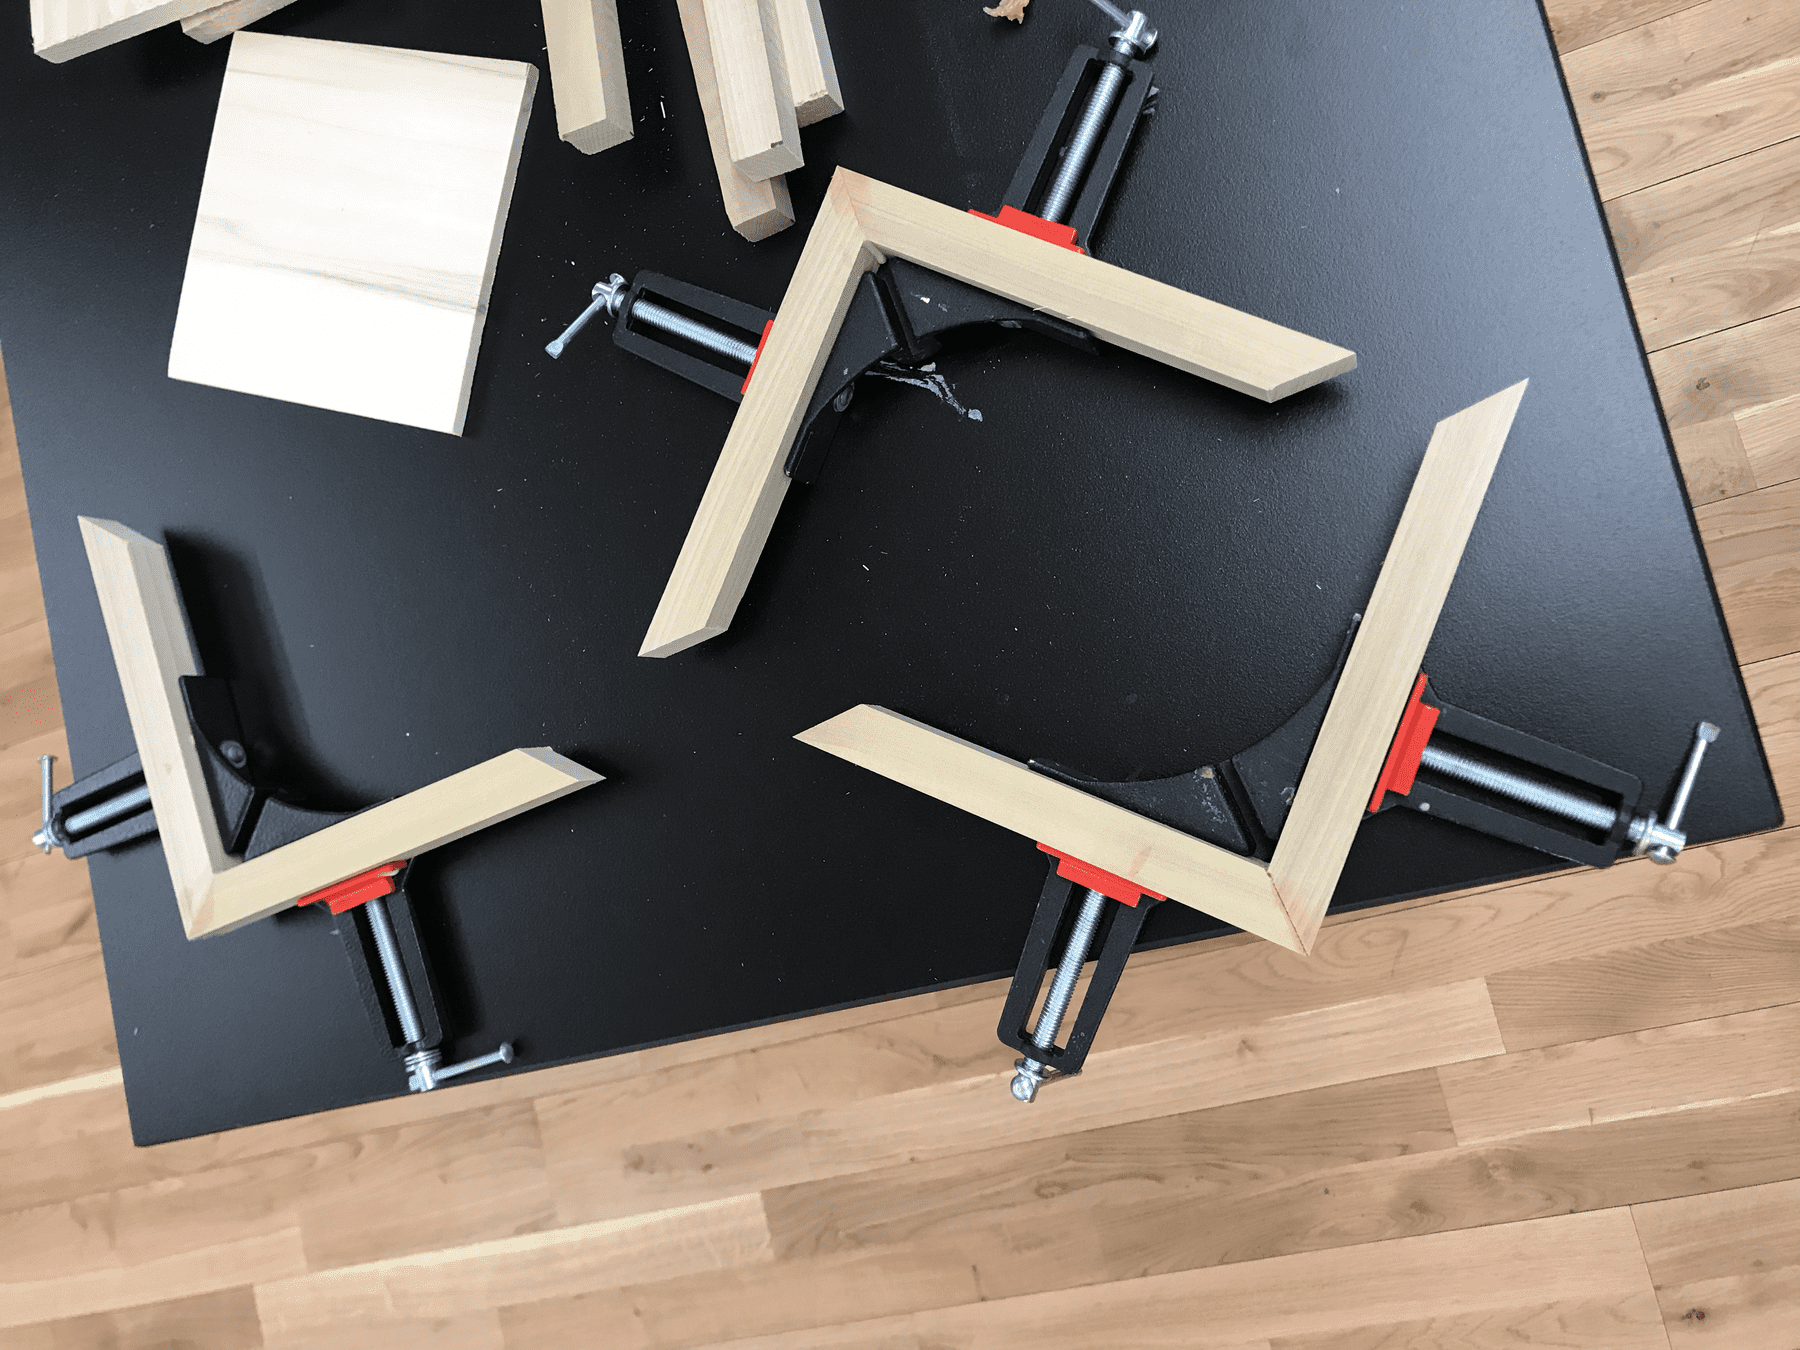
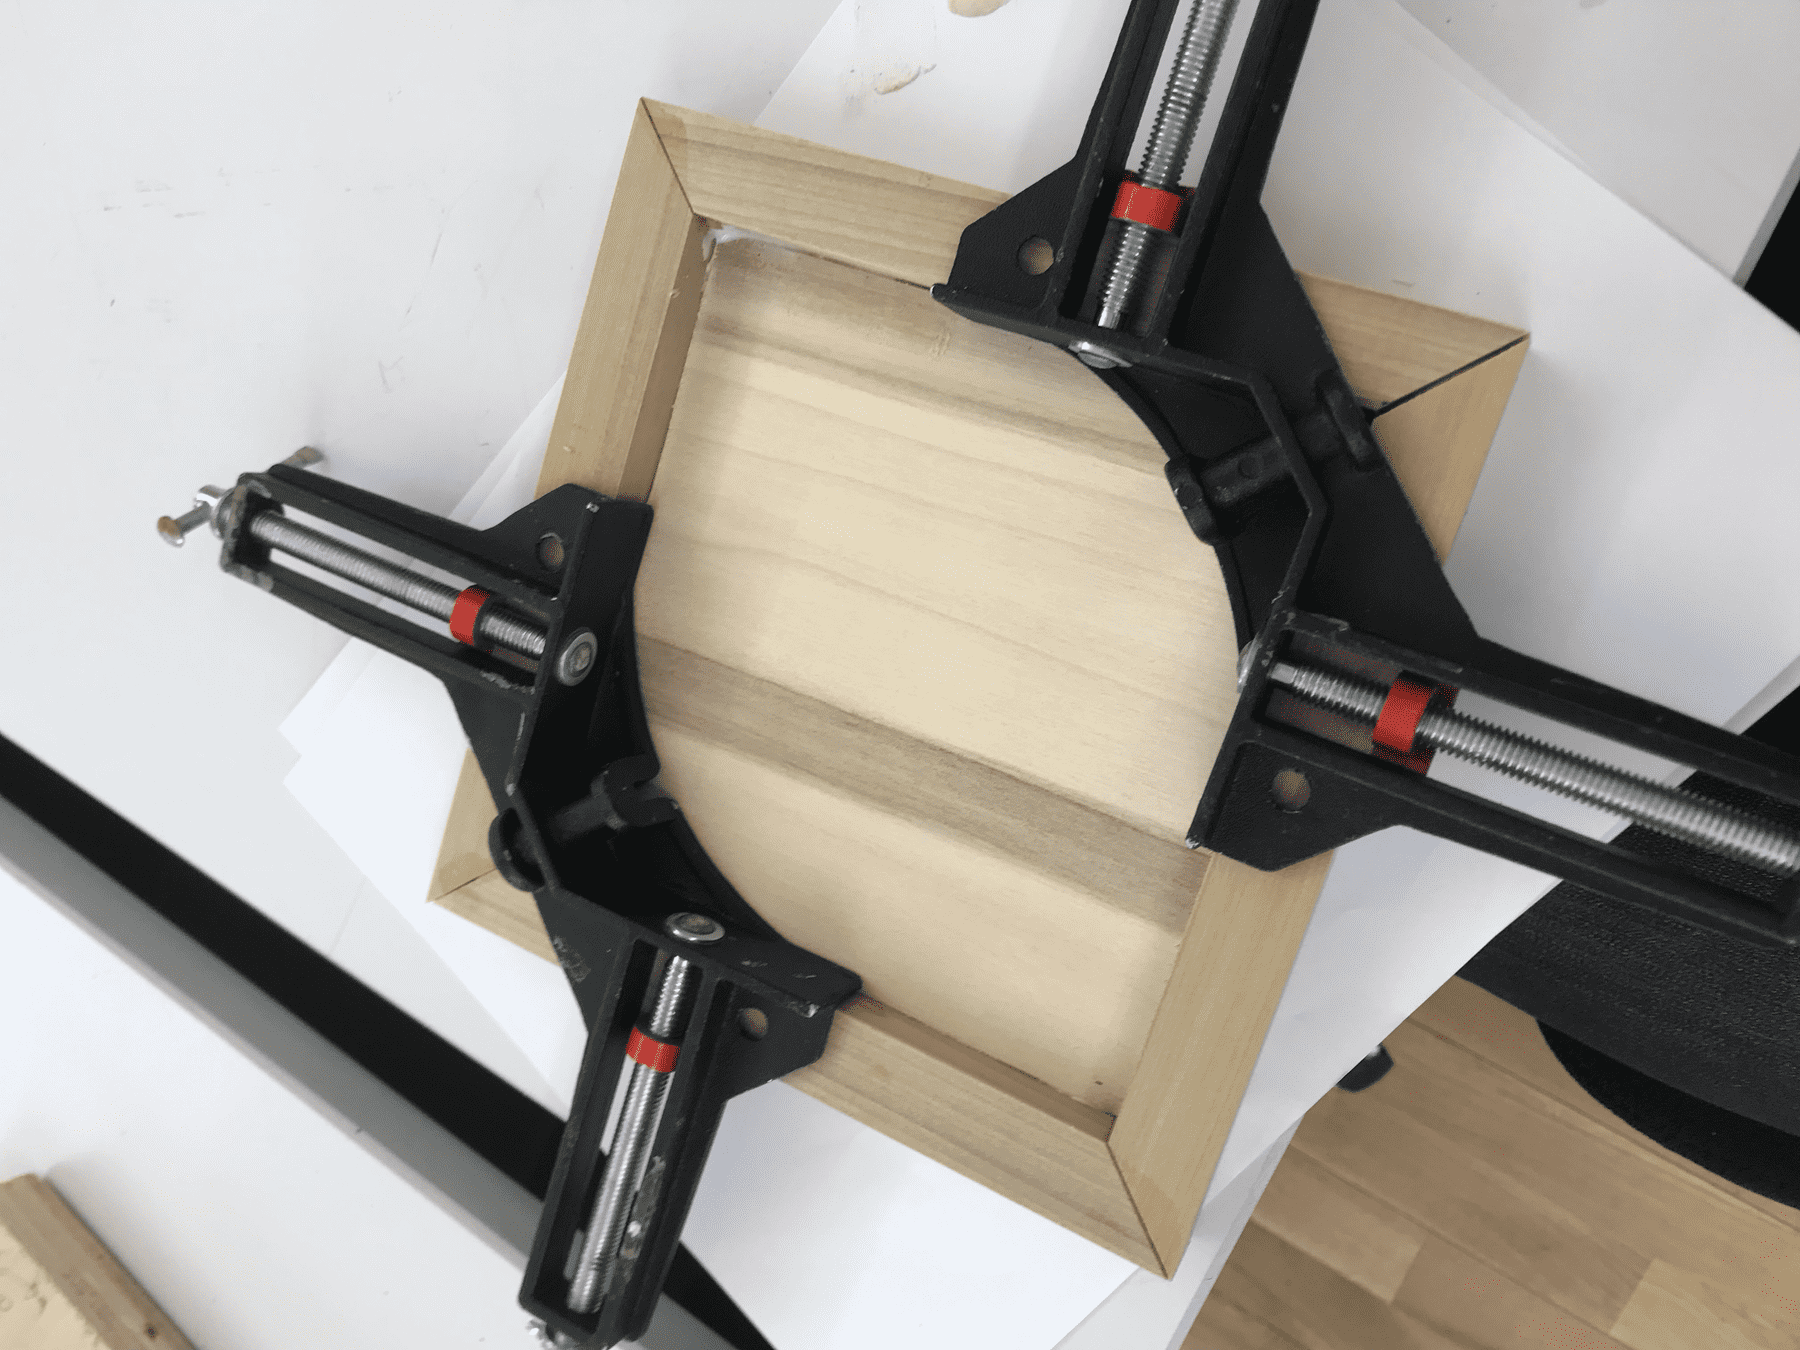
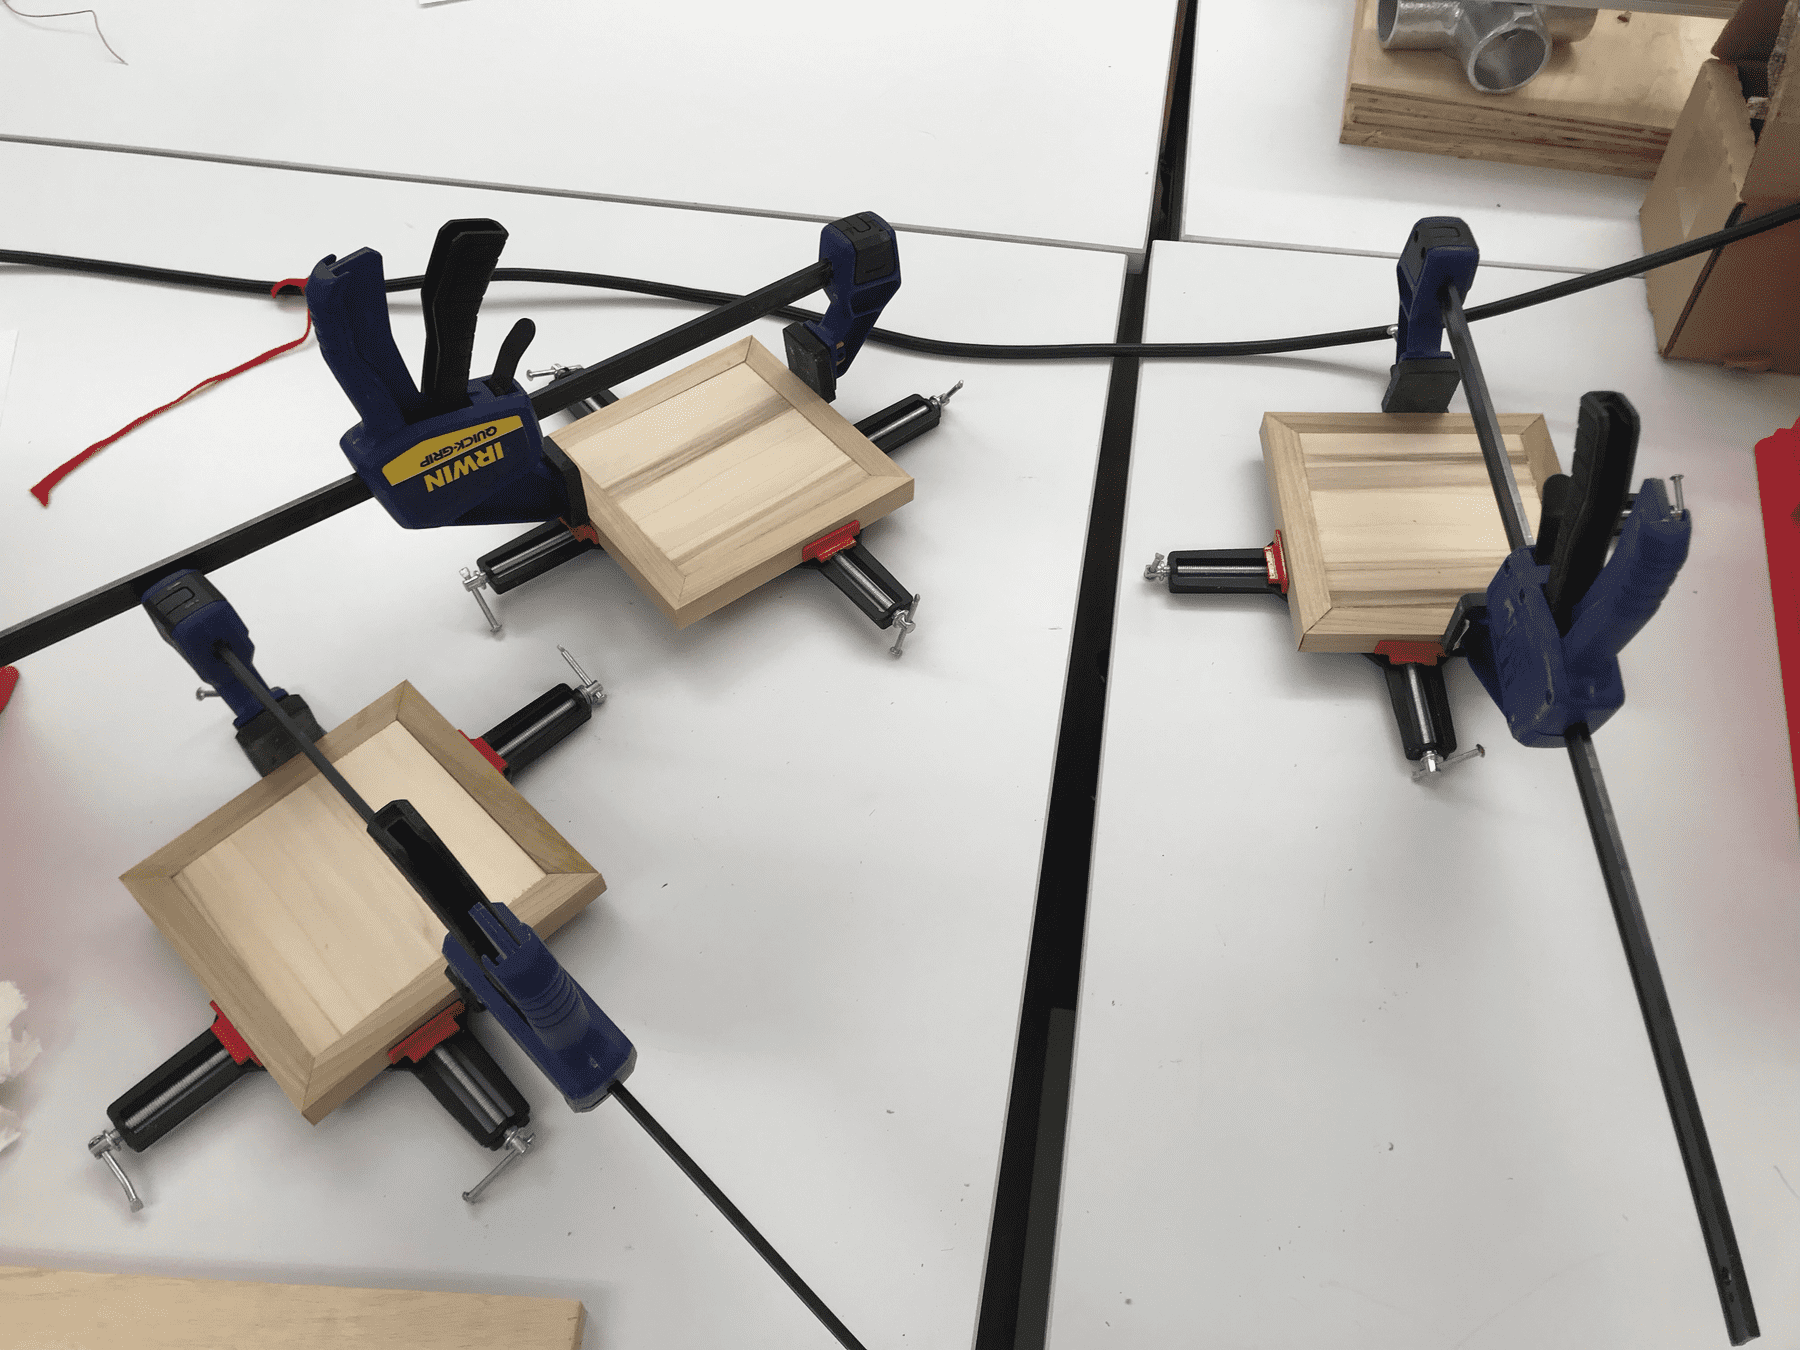
To assemble the frame I clued the edges in pairs, then glued the two pairs to each other and the base.
Making the Rest
Once I had the first prototype I had my process roughly defined. The one major improvement I made was using a guide for the frame cuts, which made the edges much more even.
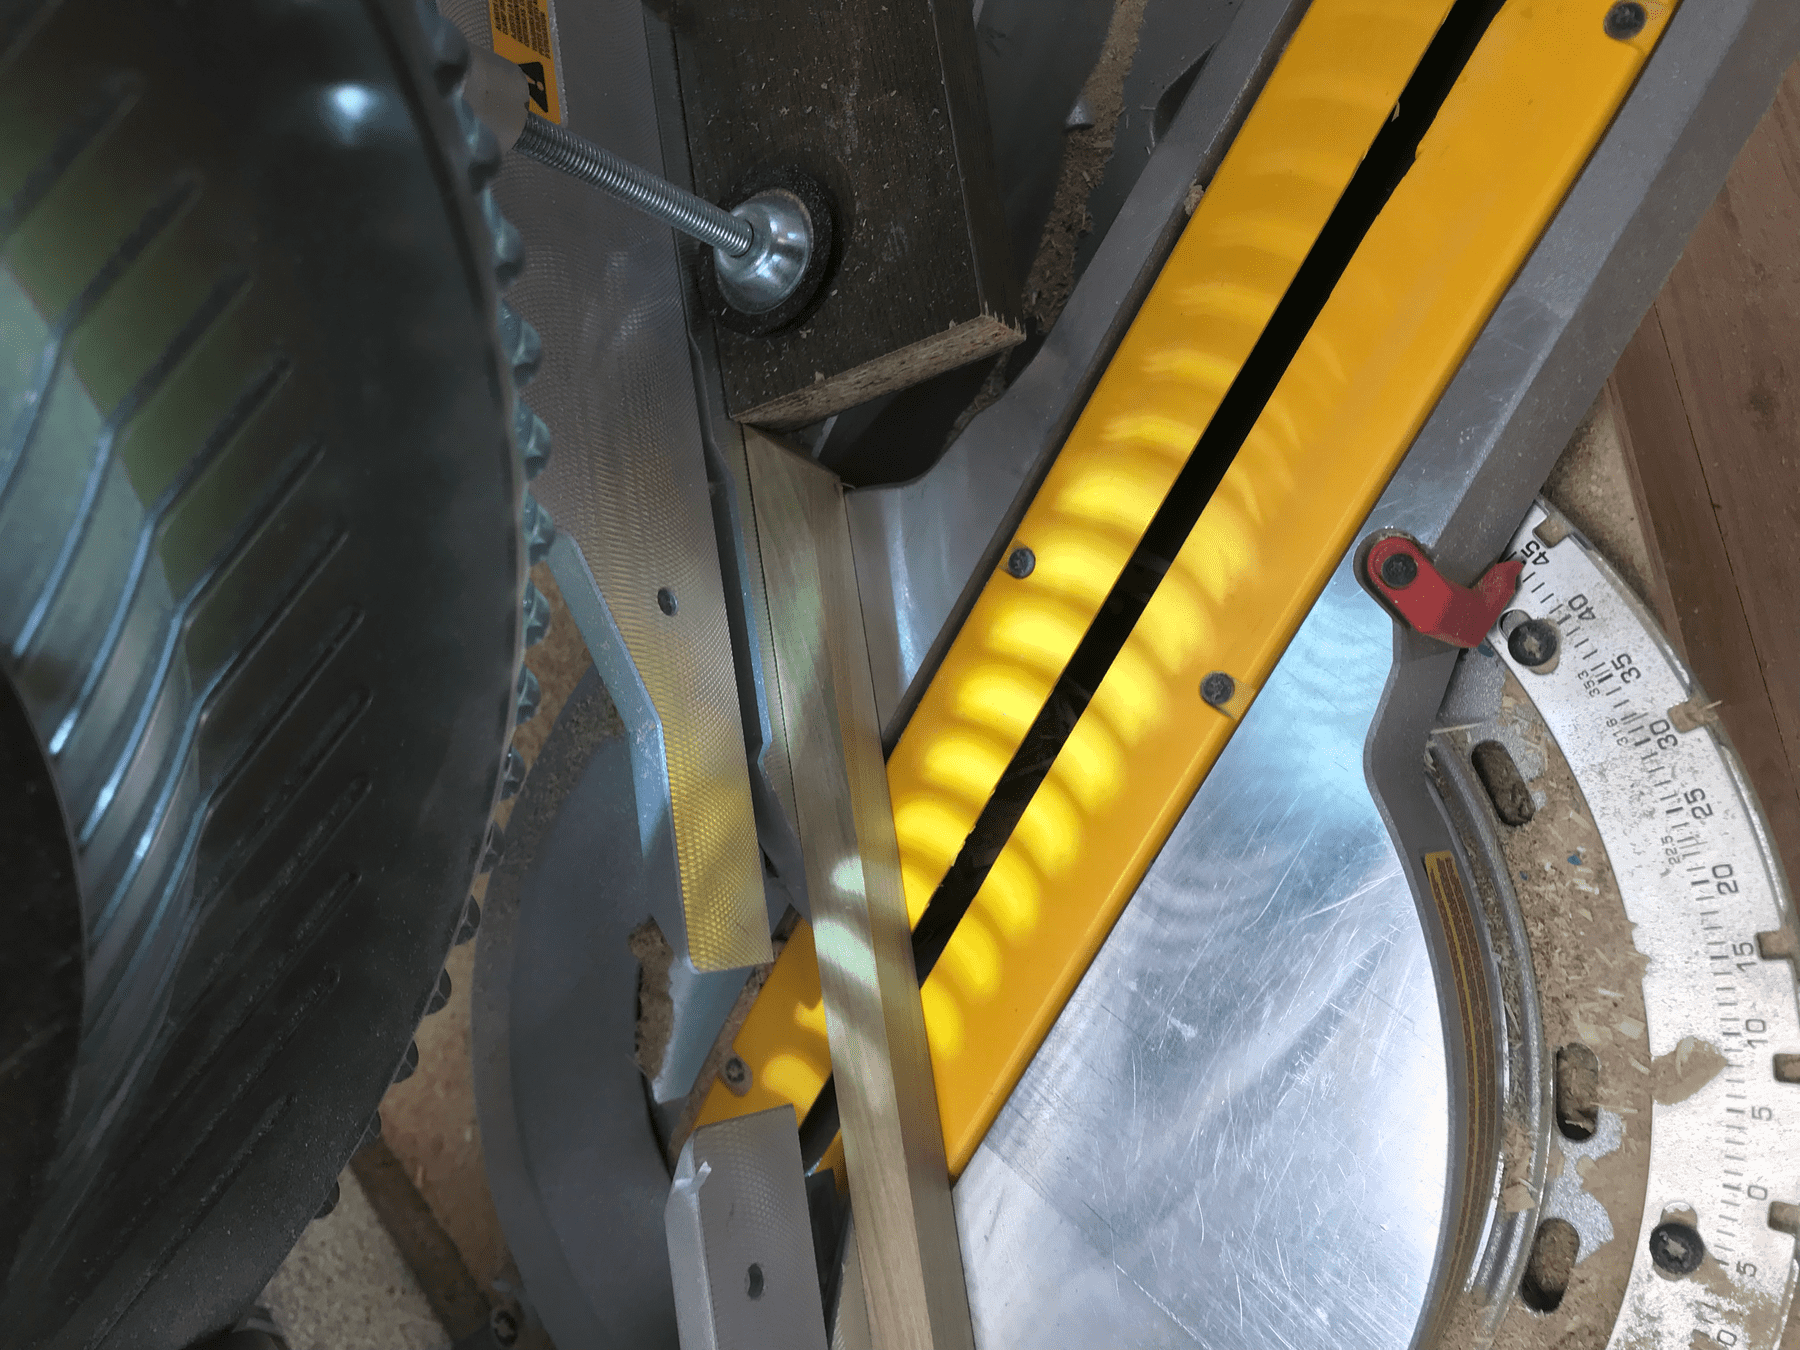 Repeatably process for cutting the frame
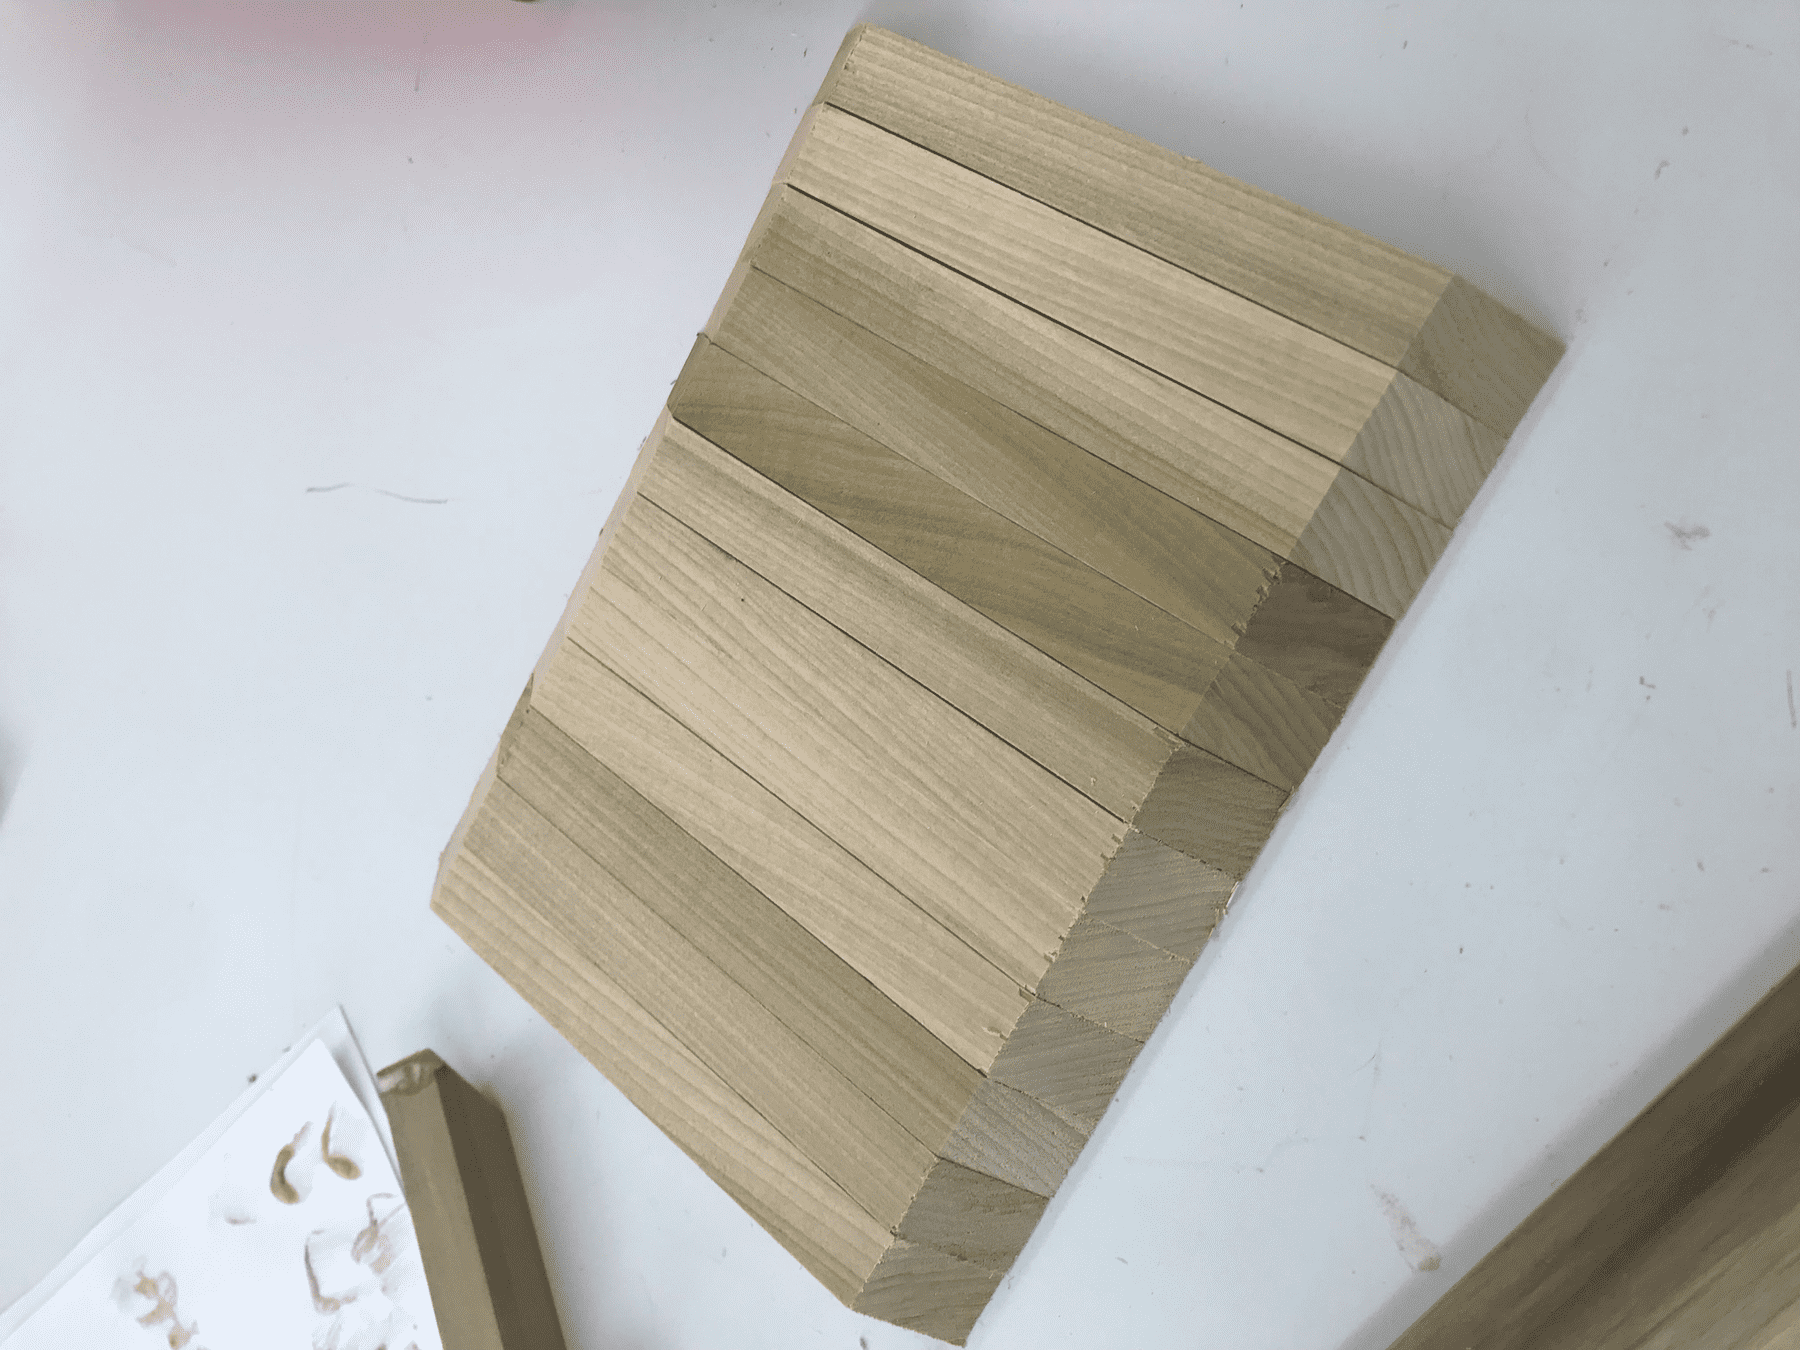 The remaining frames were much more consistent
Following the same process, I glued the frame edges in pairs.
I glued the pairs to bases using the corner and quick clamps. Not all of the aligned perfectly — I sanded the edges and bases to make sure the fit was snug.
While the glue dried I cut the remaining pieces.
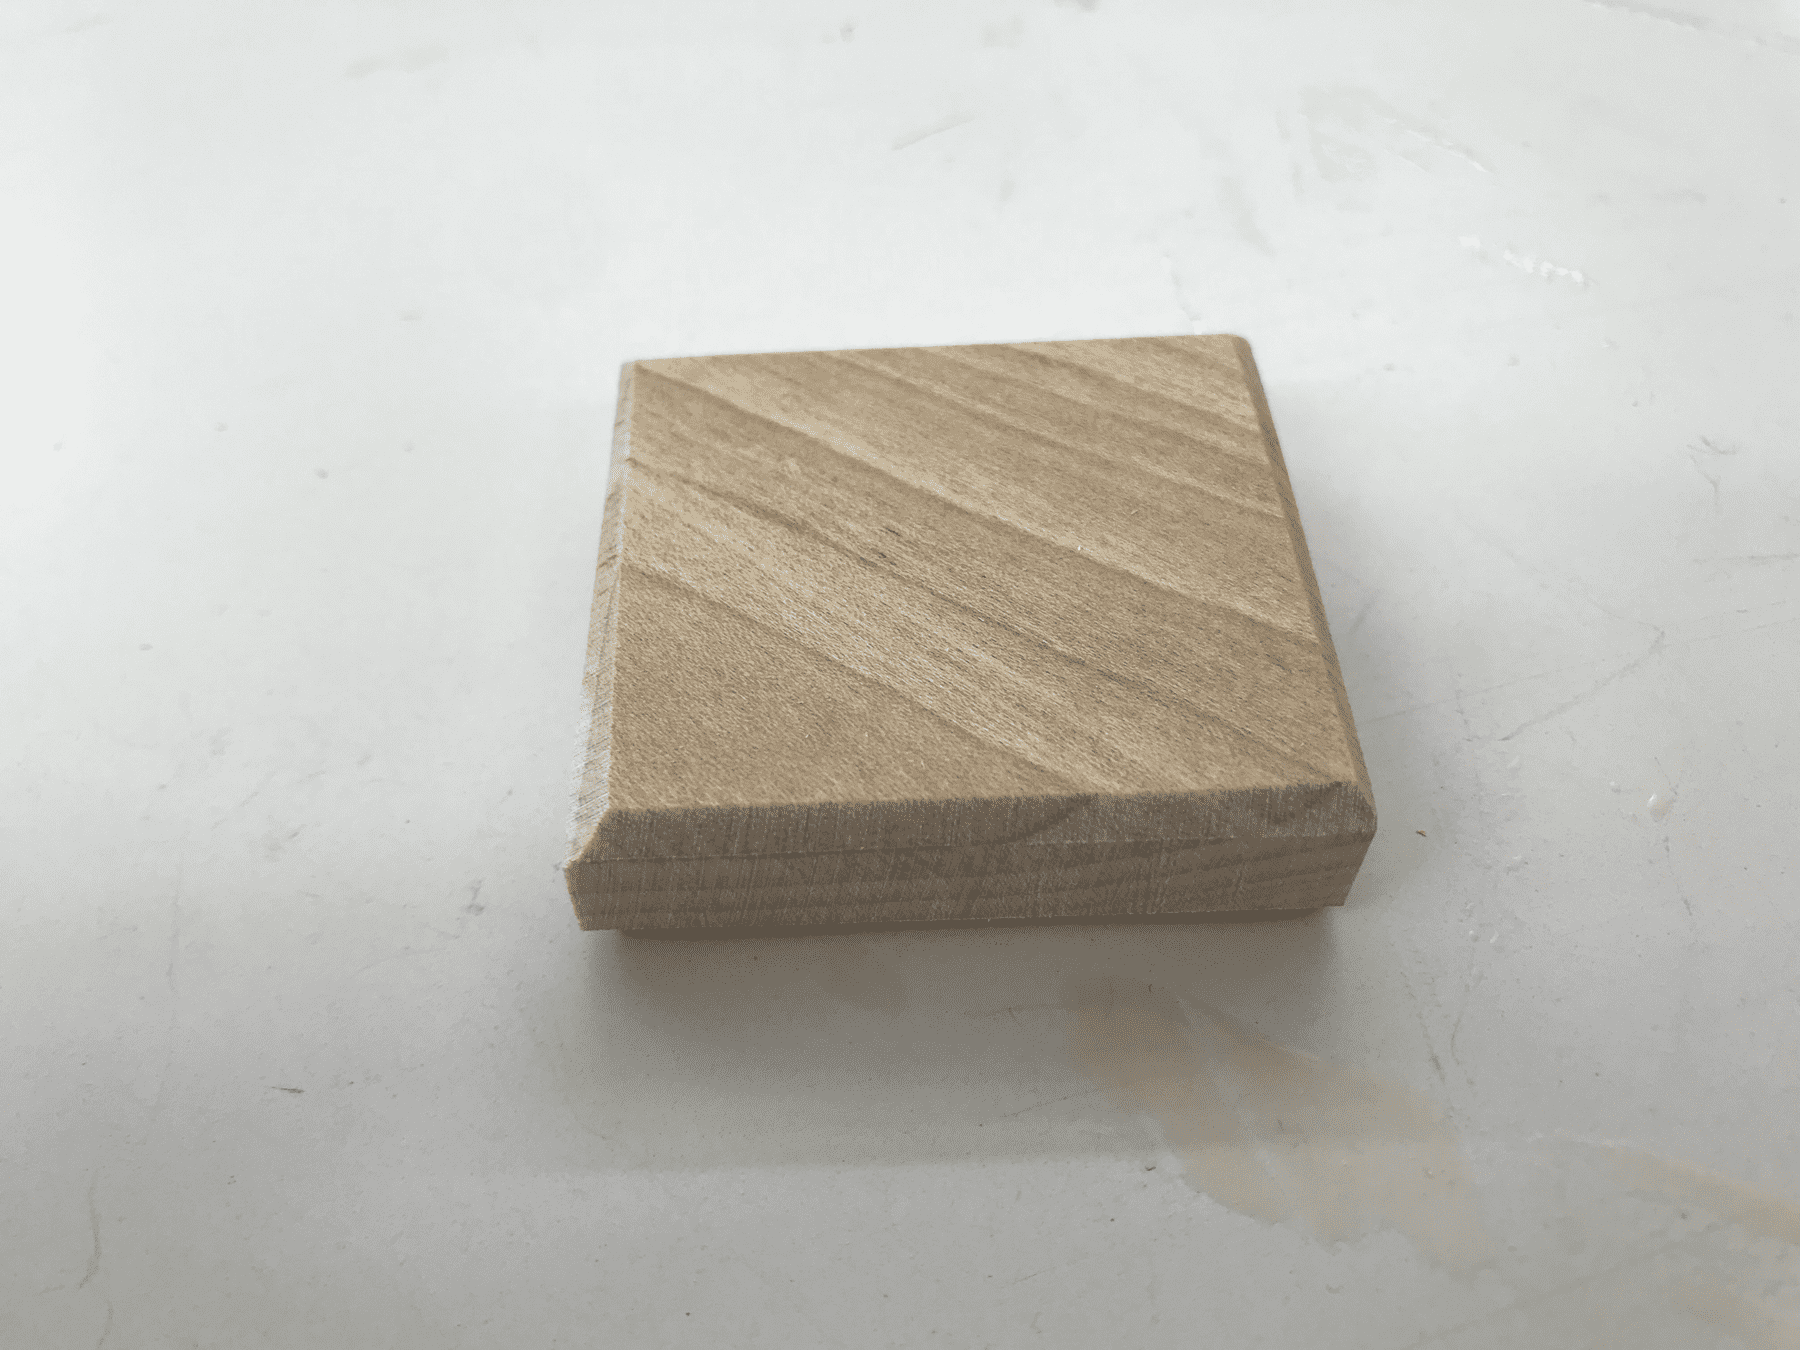
I then sanded down each piece at an angle to give them a beveled edge.
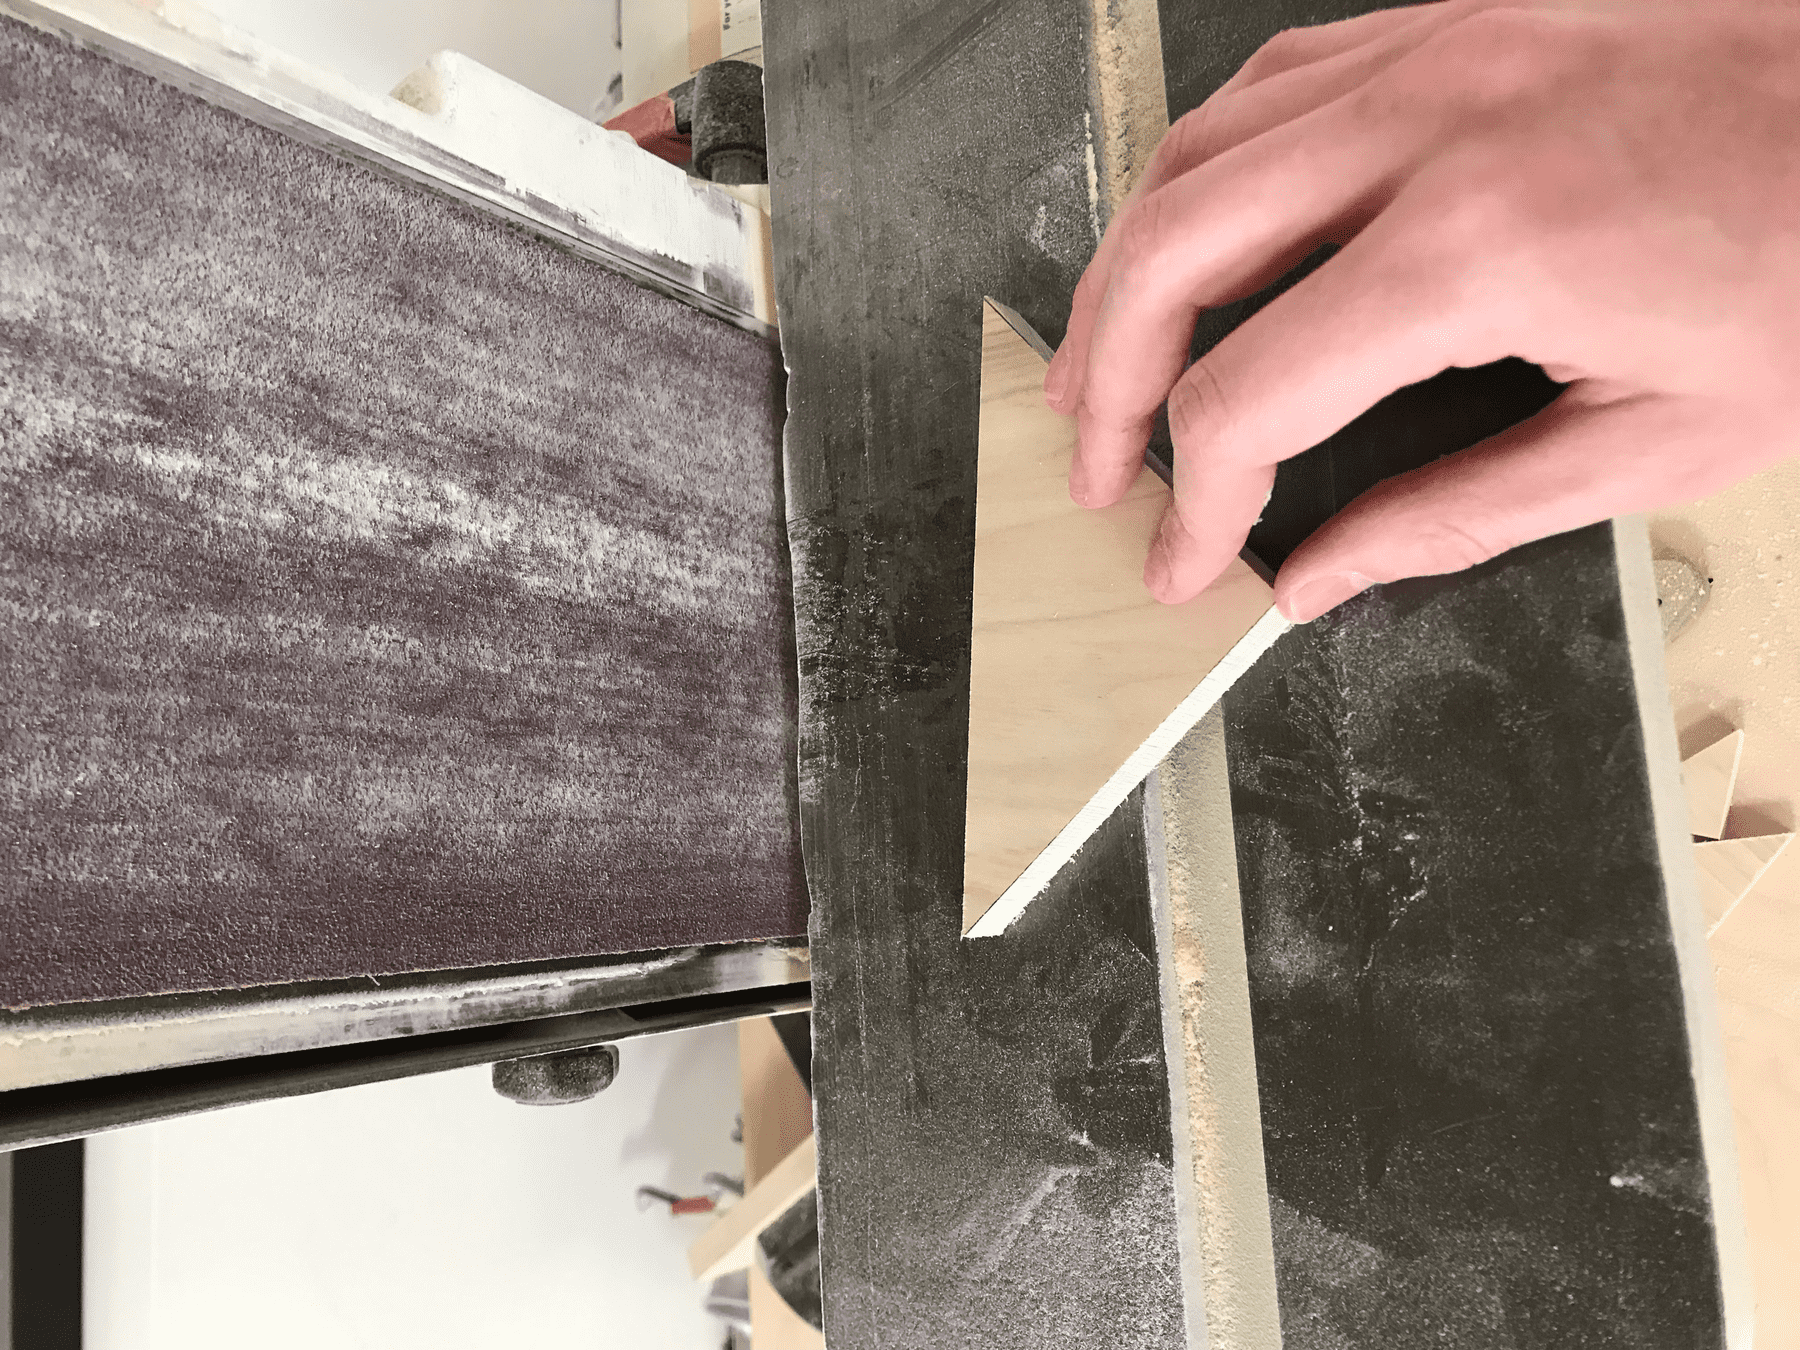 Sanding the edges with the belt sander
The only thing I purposefully made different between the 5 puzzles is the amount I sanded the pieces because I wanted to see how the different versions felt. Some I left pretty straight, others I rounded more.
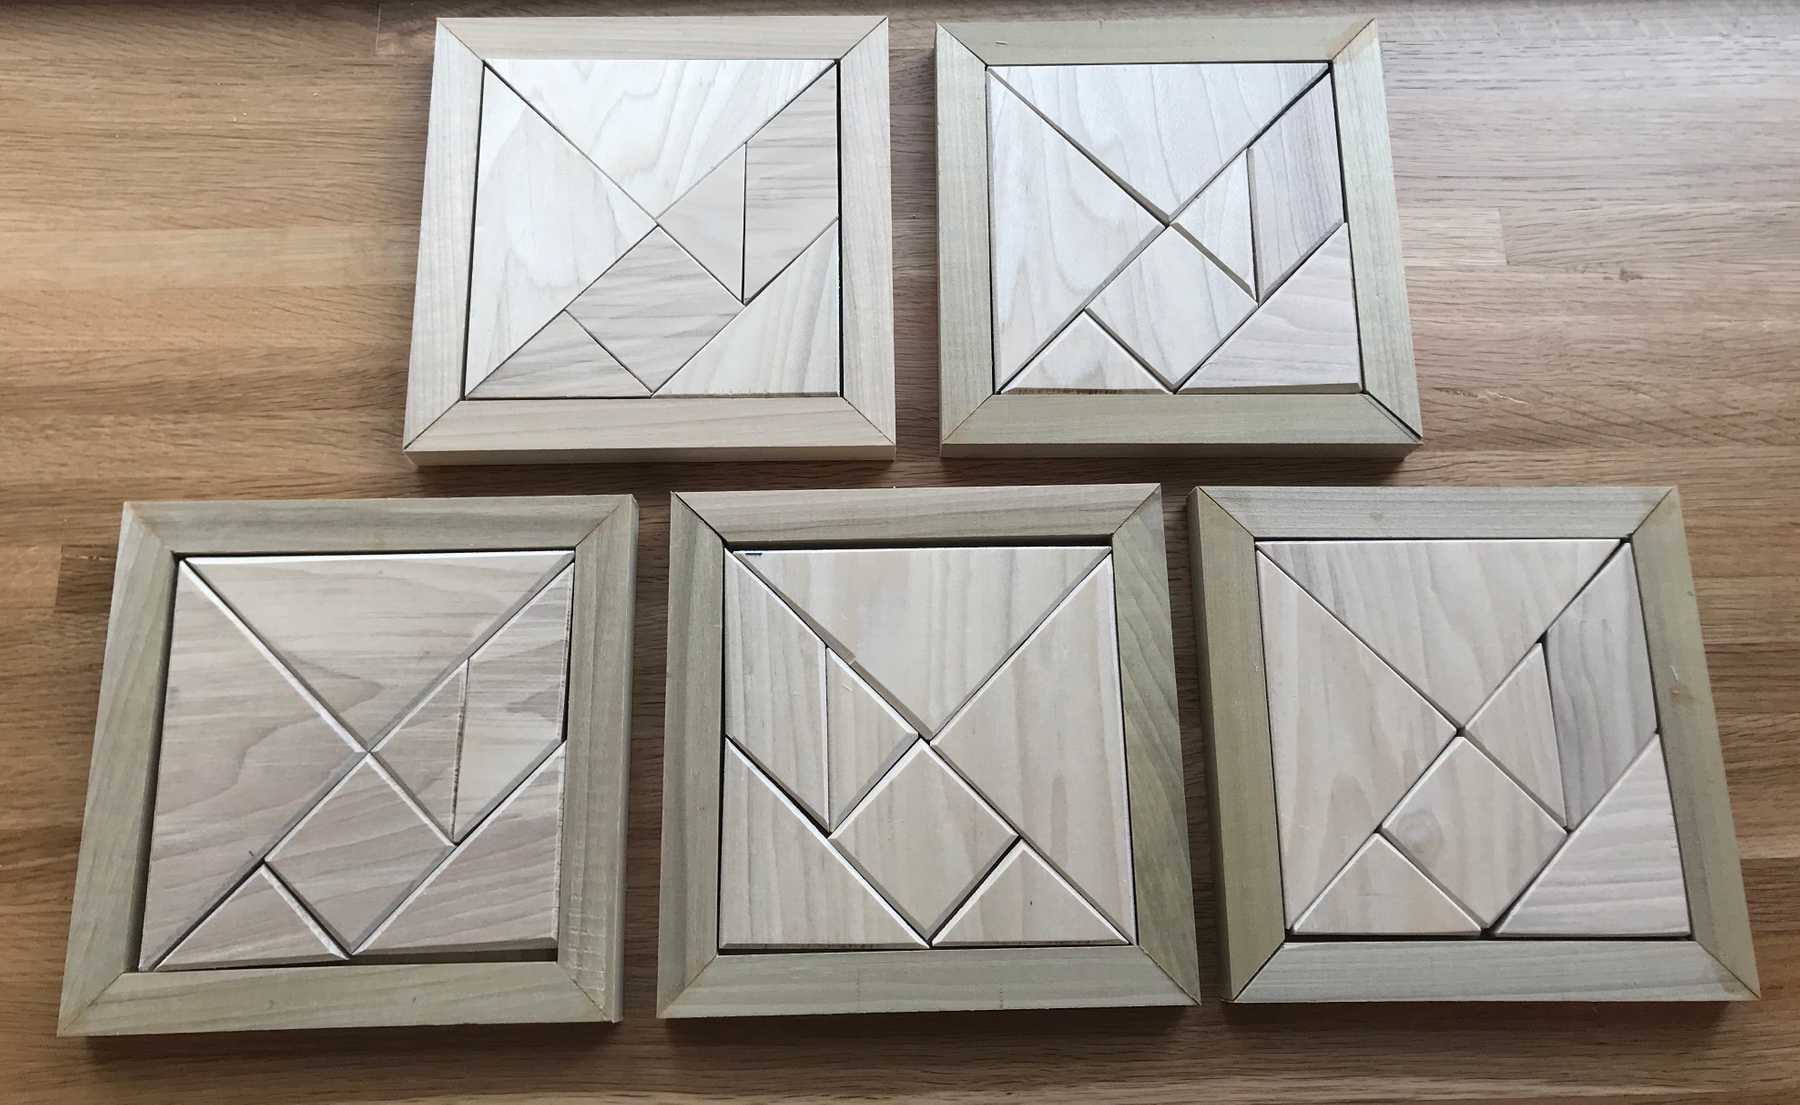
The Result
The final result!
