Radial drum machine
May 04, 2021
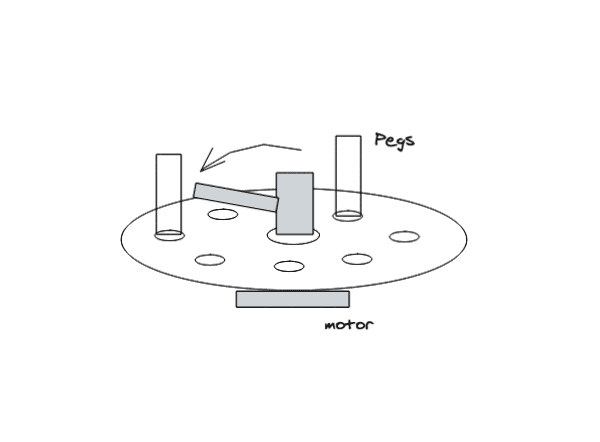
Intro to FabricationThis week I attempted to create a physical drum machine/Euclidian sequencer where a spinning mallet hits pegs set at intervals arranged in a circle around the center. The placement of the pegs determines the rhythm.
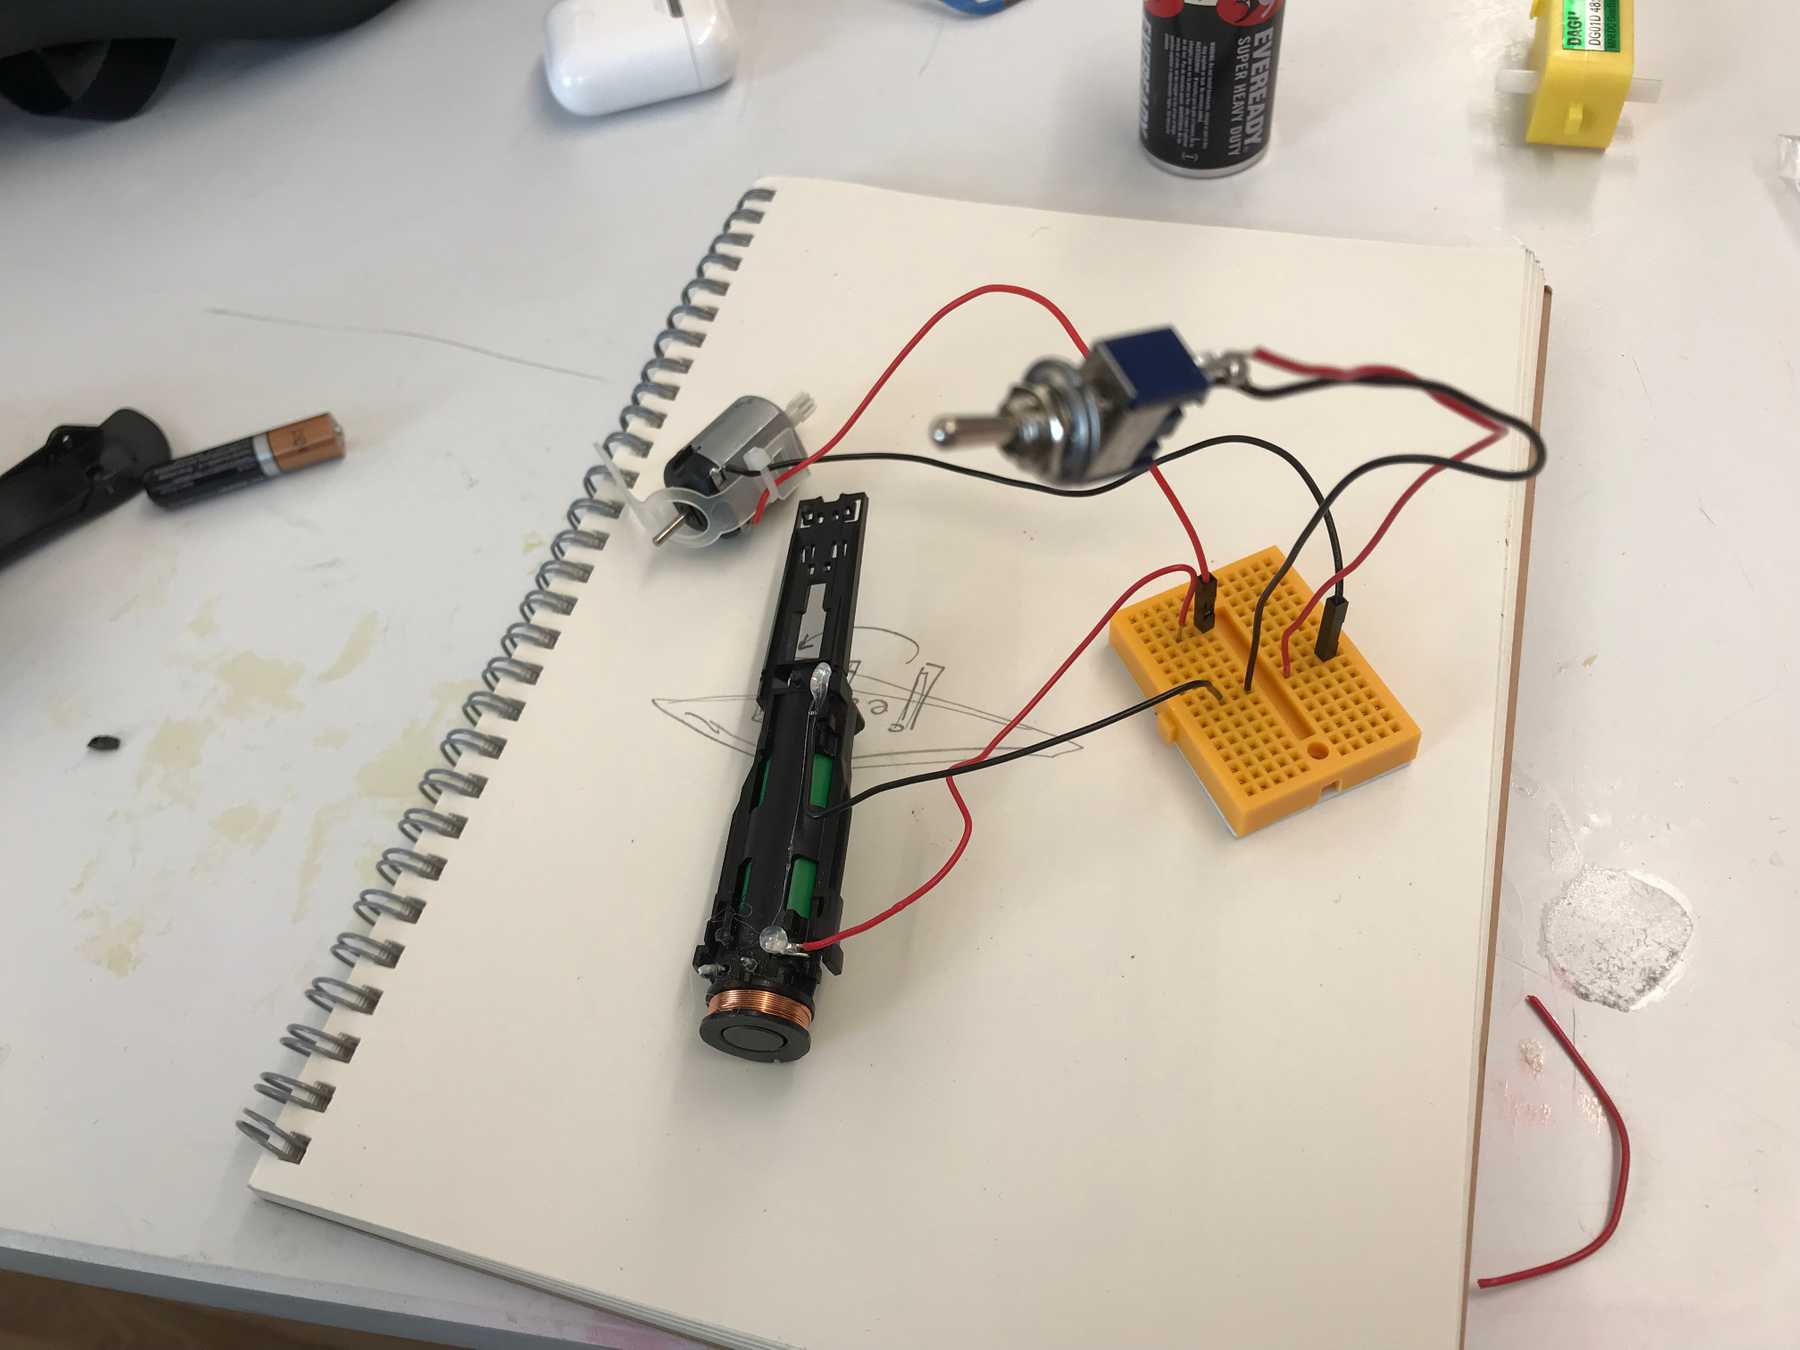
The Circuit
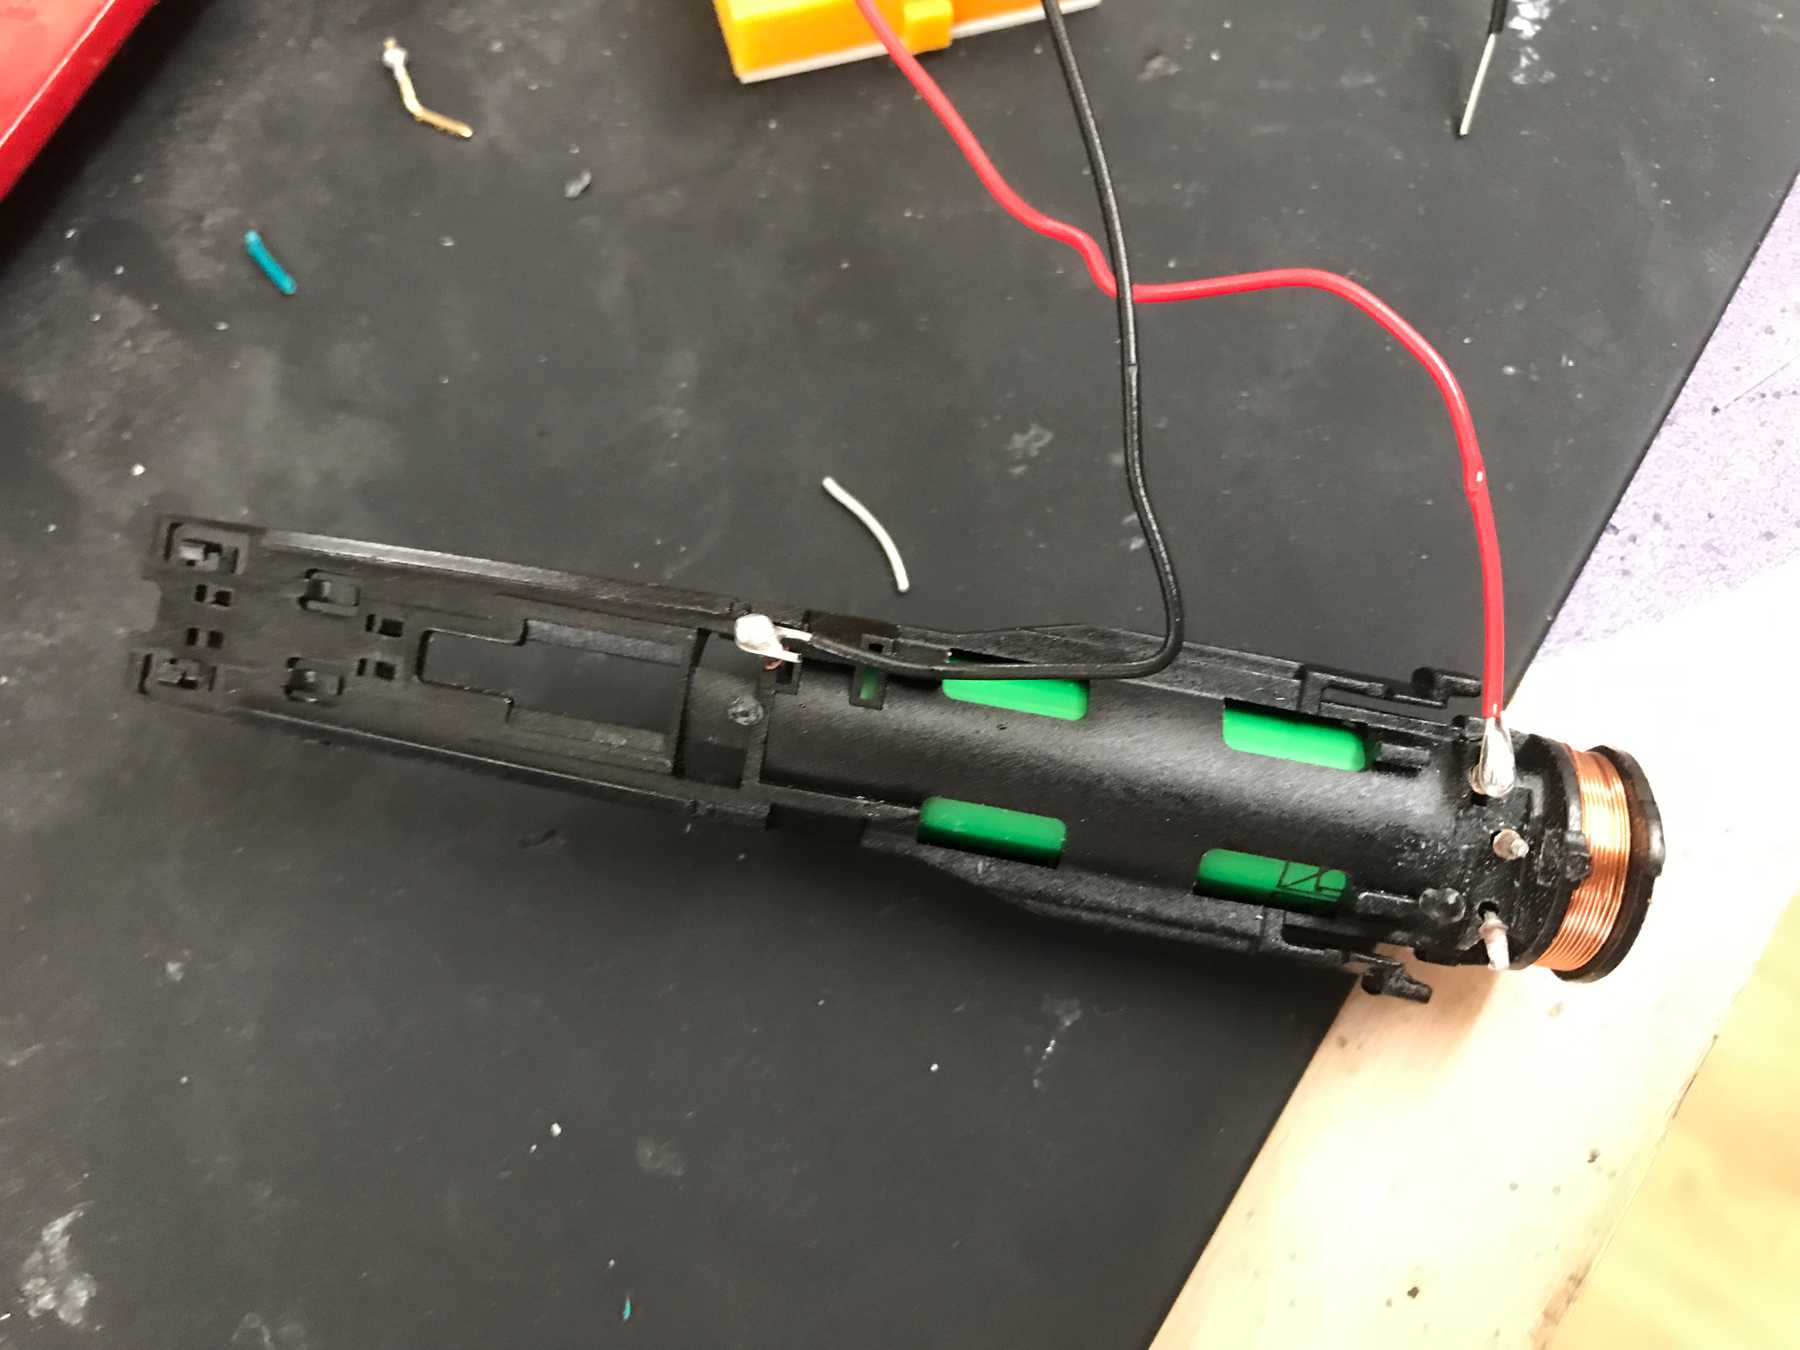
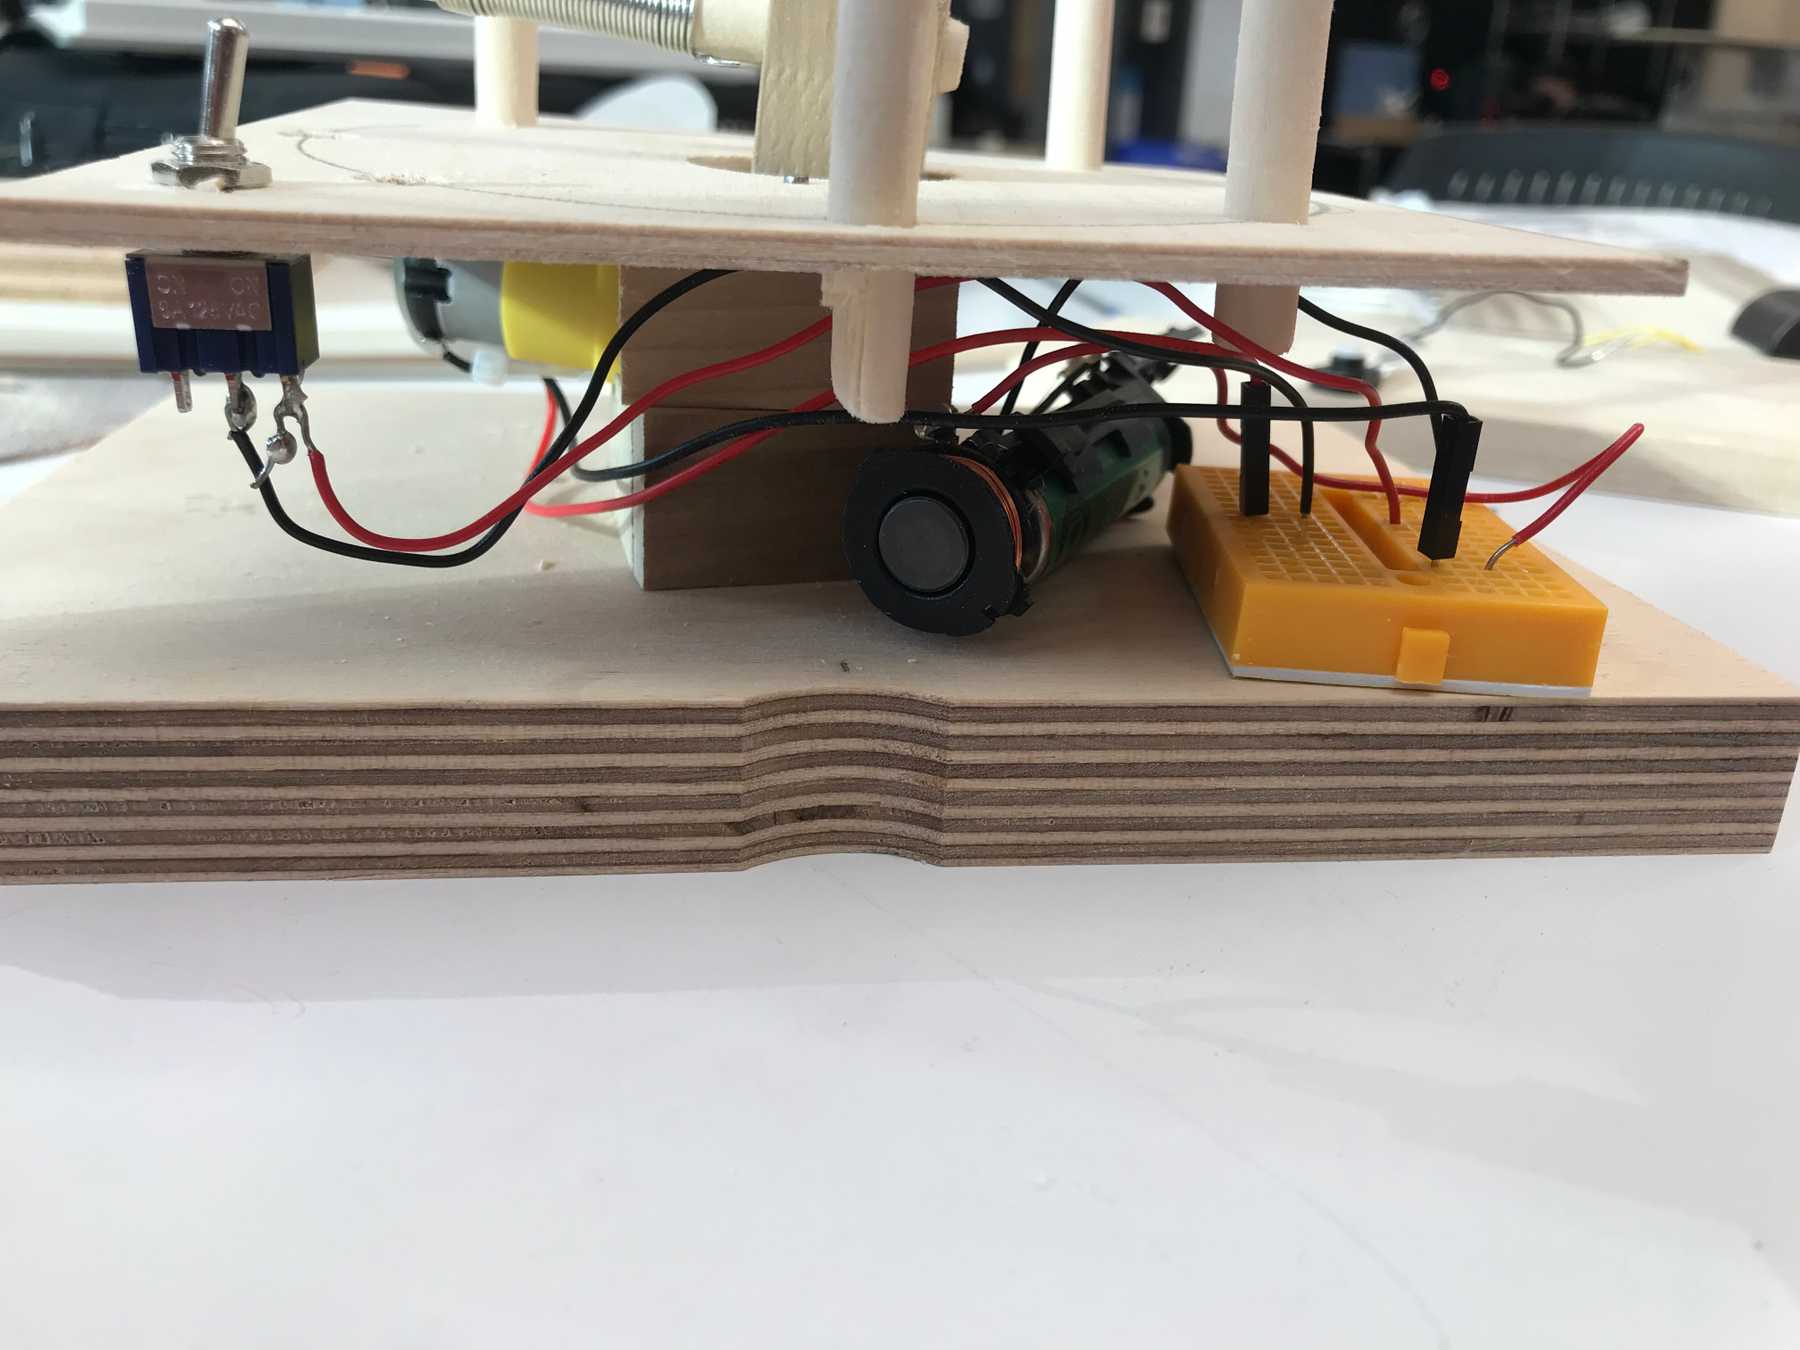
To power the device I found a single battery in a holder on the junk shelf. I soldered wires to the leads to connect to my circuit. I then added up a toggle switch in between the battery and the motor.
Mounting the Motor
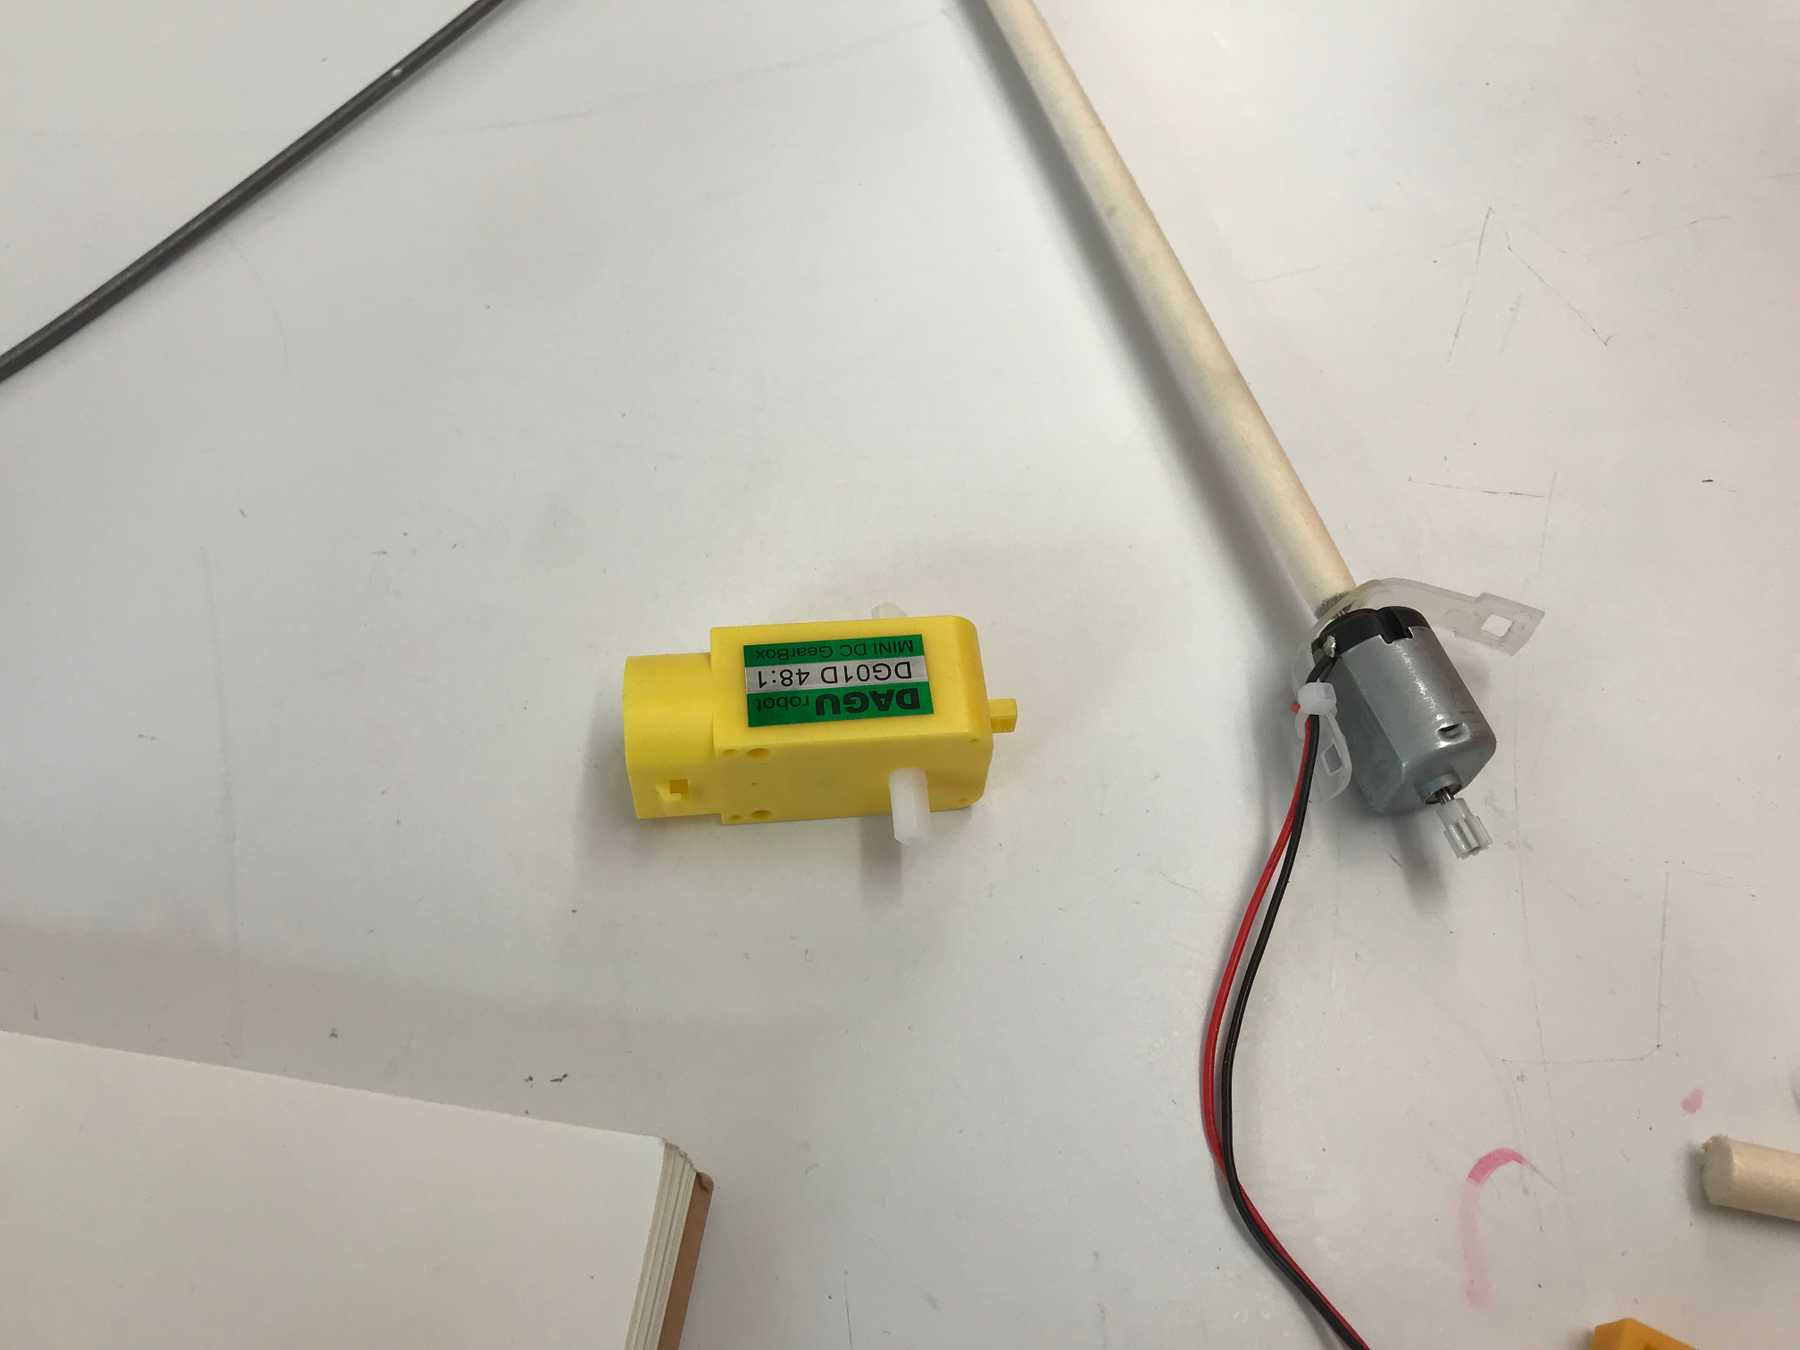
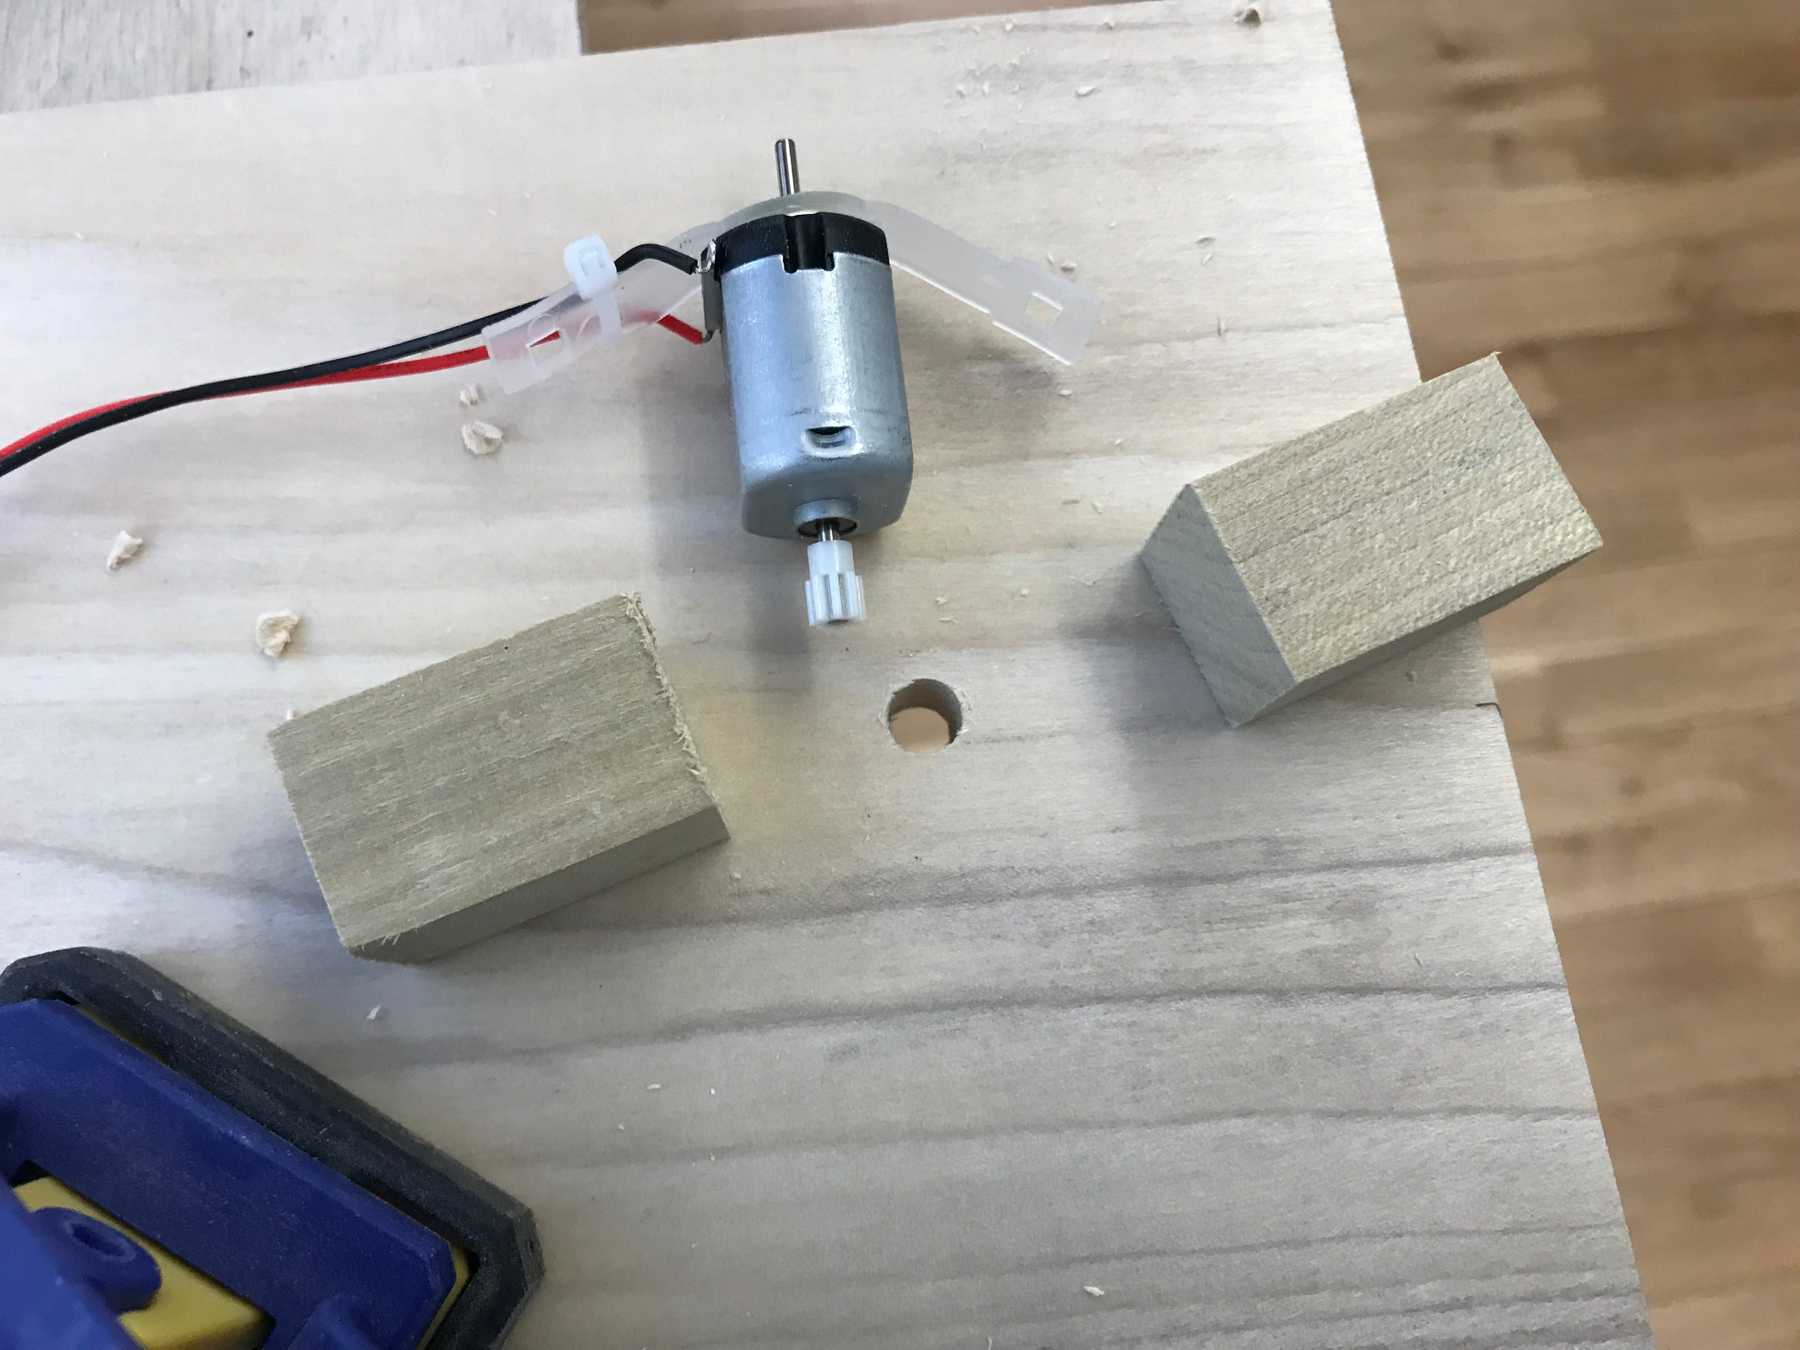
The motor I had on hand was a DAGU hobby gearmotor. I initially wanted to use the spindle because It was easier to attach to a dowel using a friction fit hole, so I started by removing the motor from the gearbox and testing the idea.
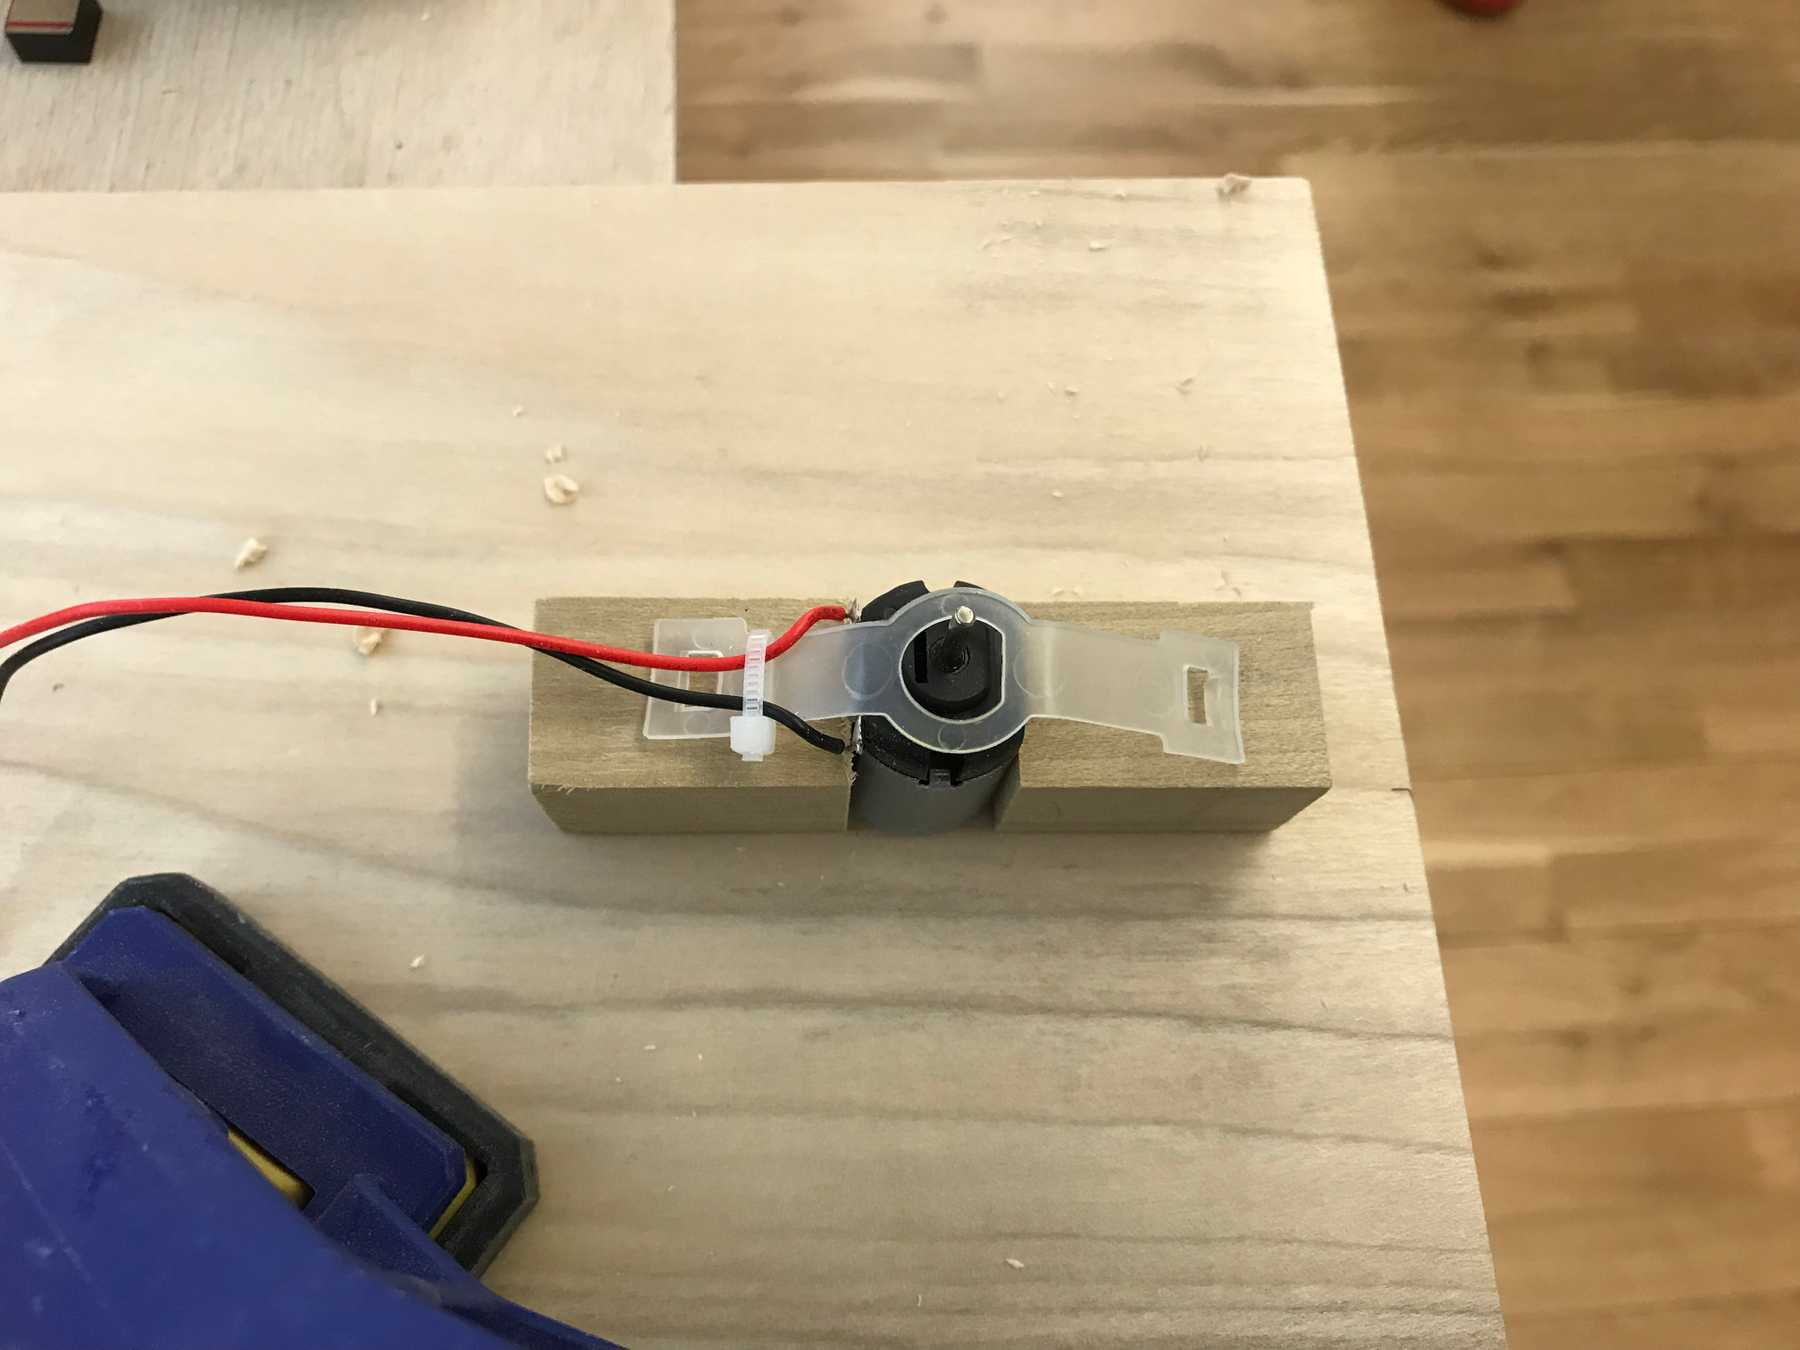
To mount it I thought I could nail the band to two wooden supports. I drilled a hole for the lower gear to fit and nailed two wooden blocks so that the motor fit snugly.
This design ultimately failed for two reasons: The motor was spinning too fast and was not that secure. I needed to use the gearbox so I had to modify the design.
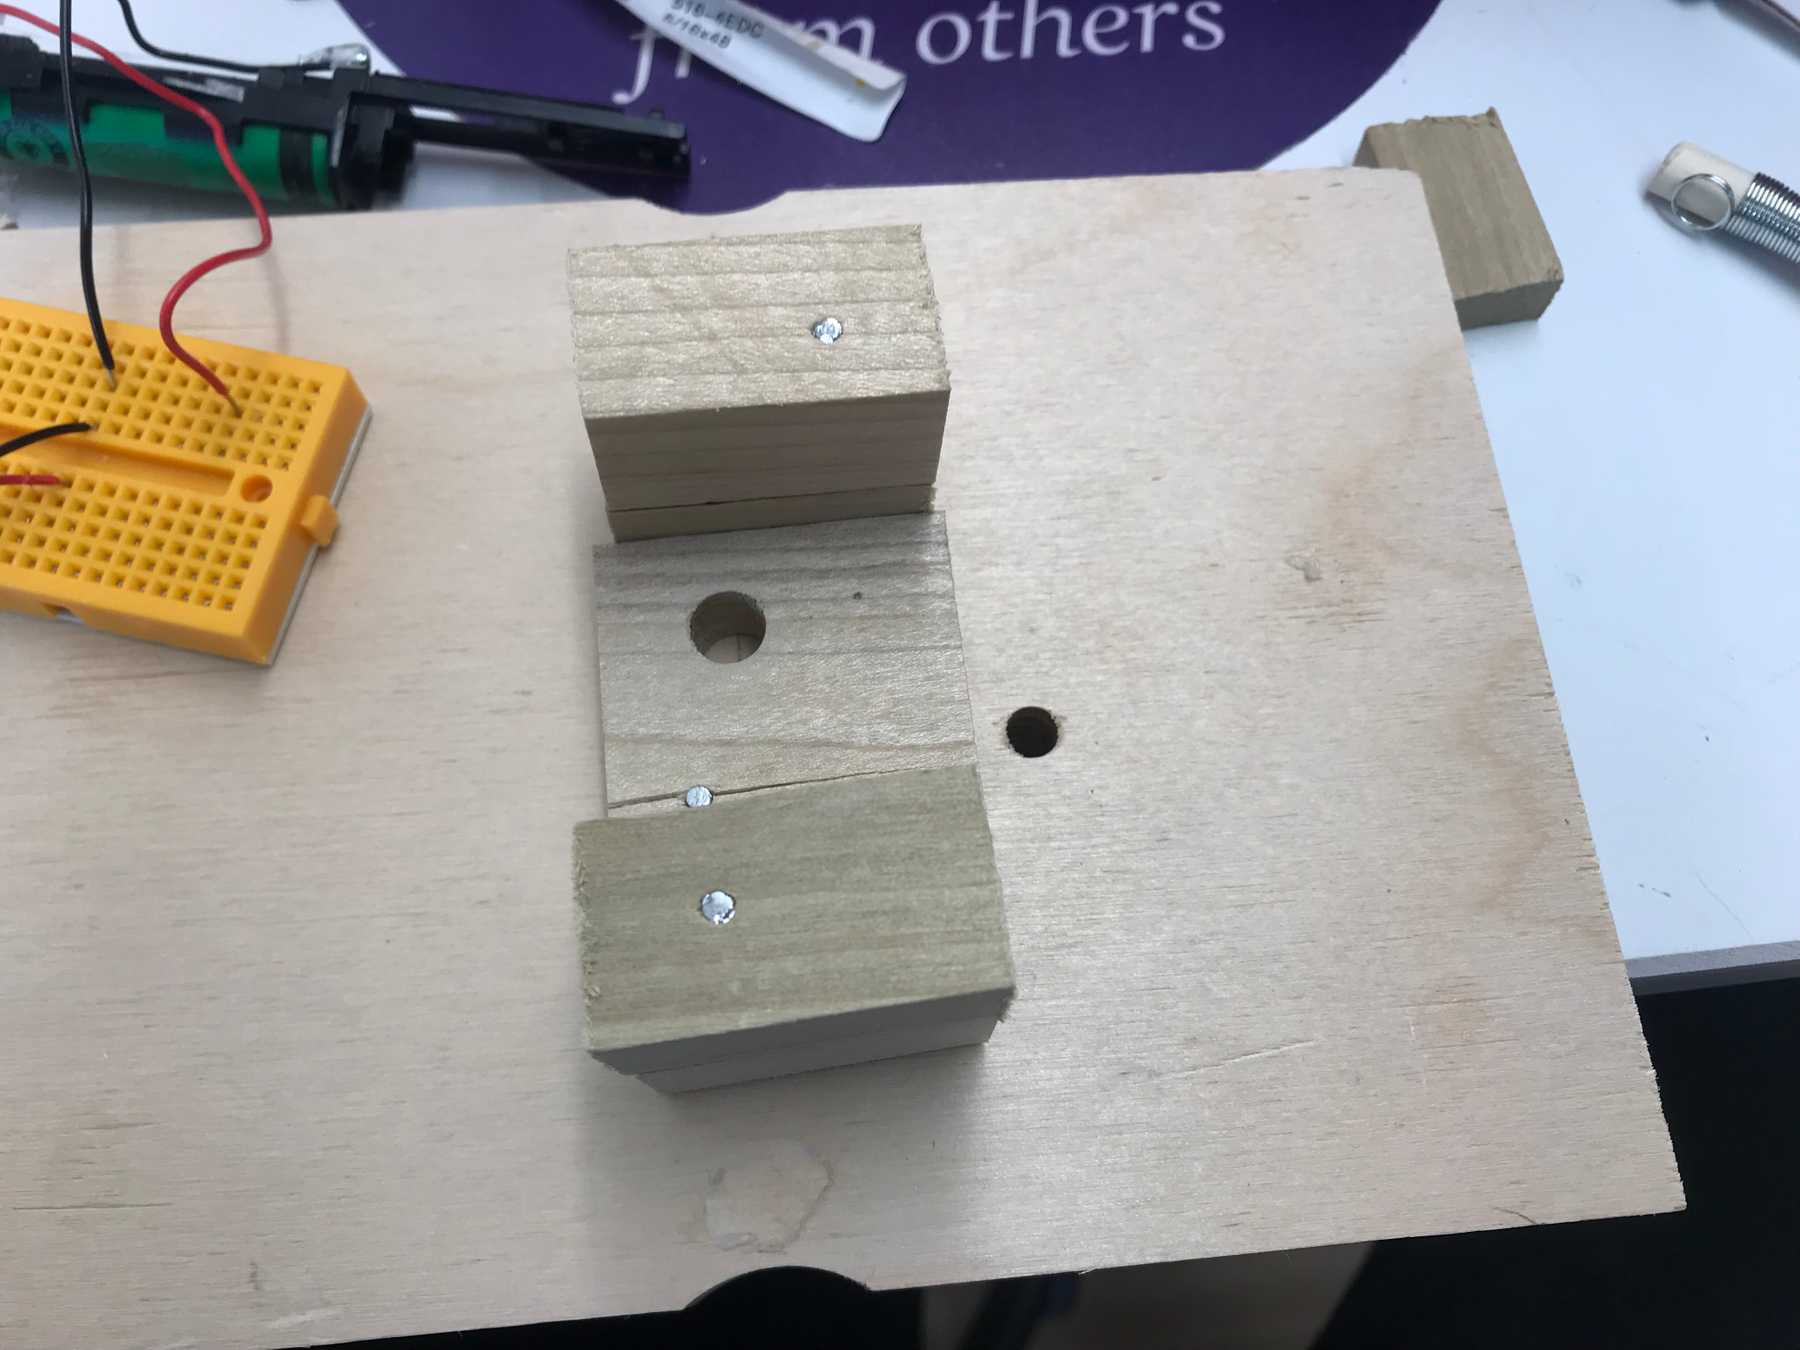 Second attempt at mounting the motor
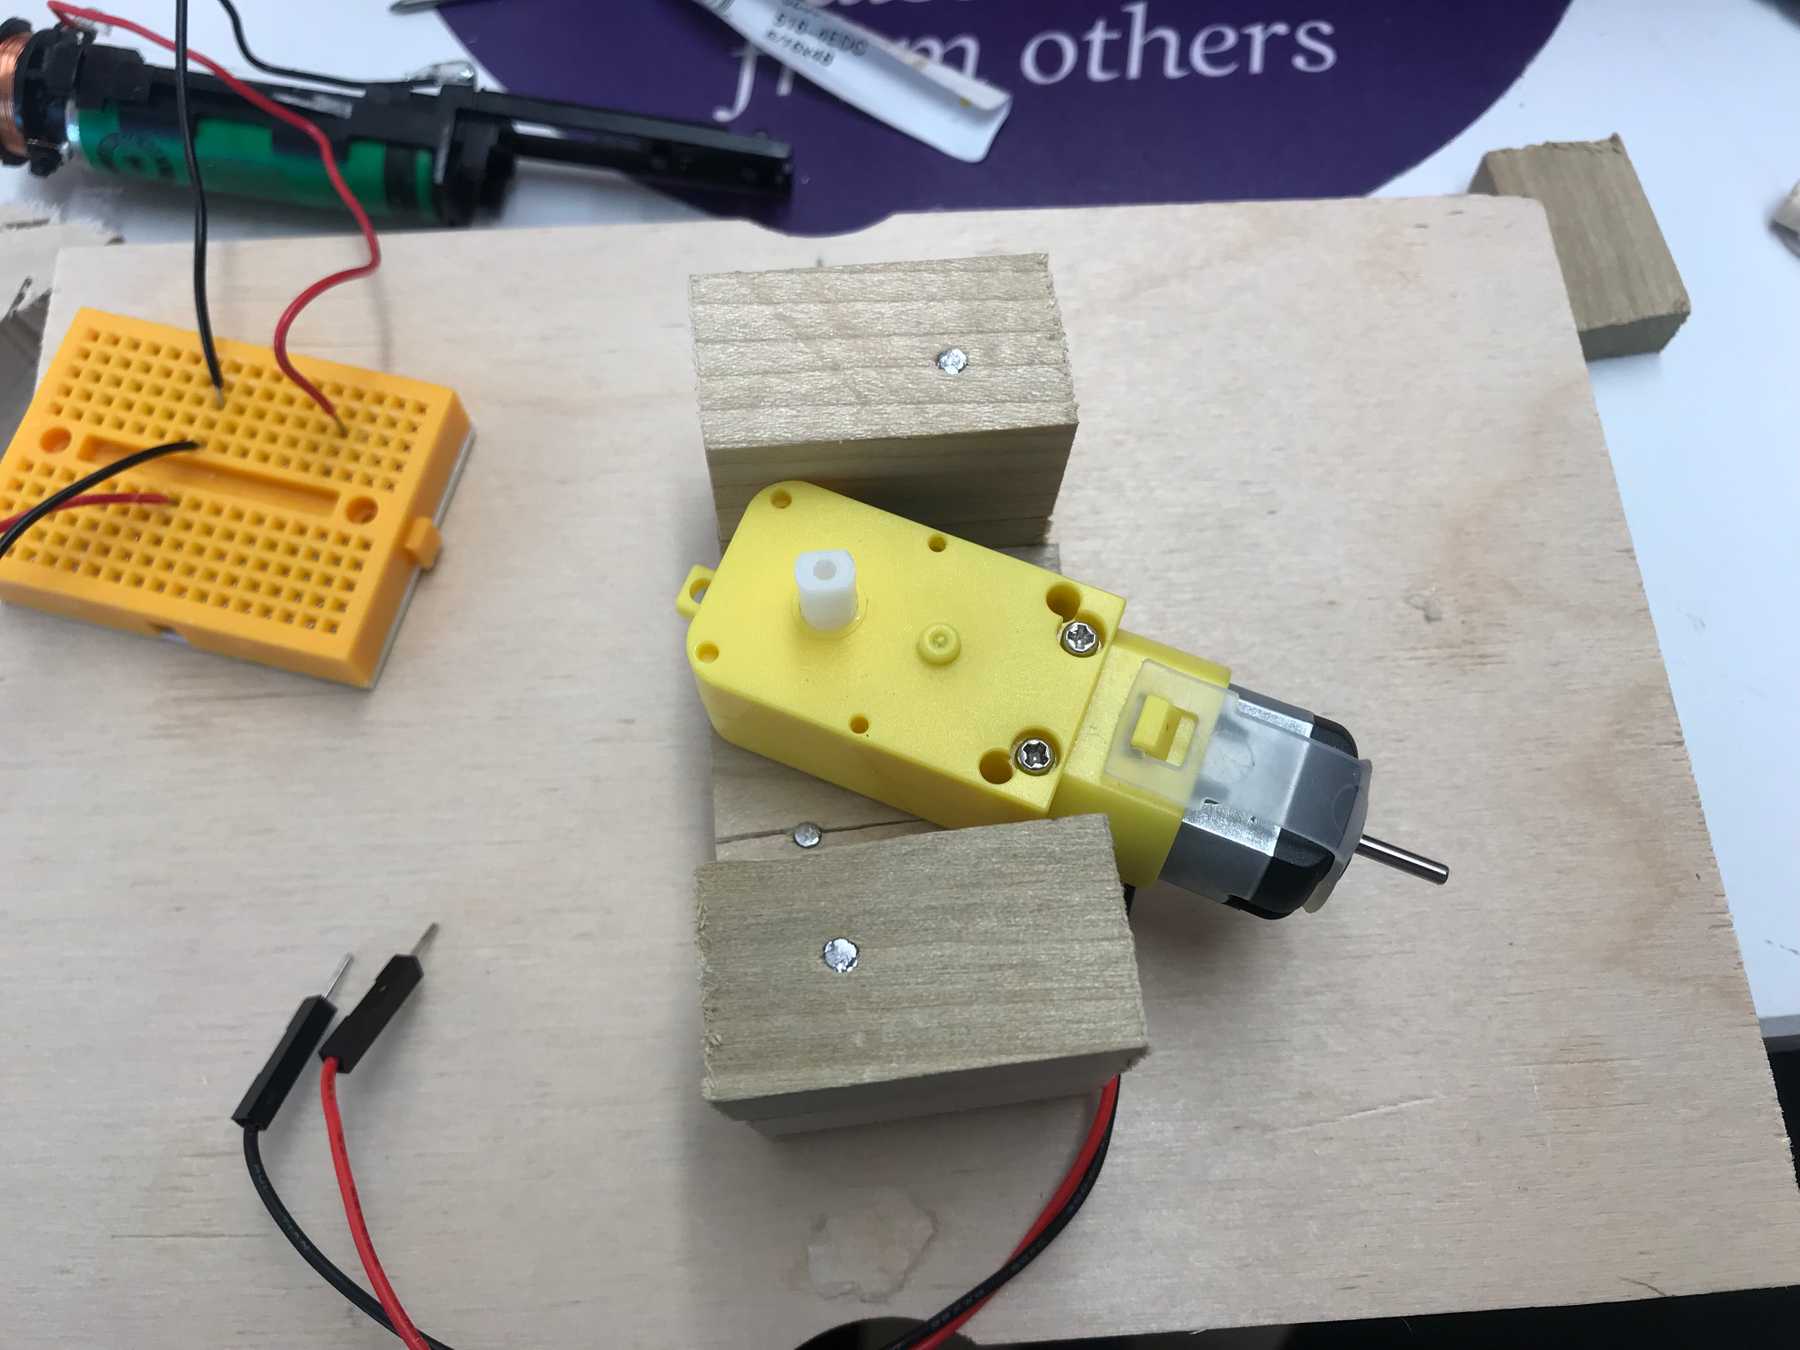
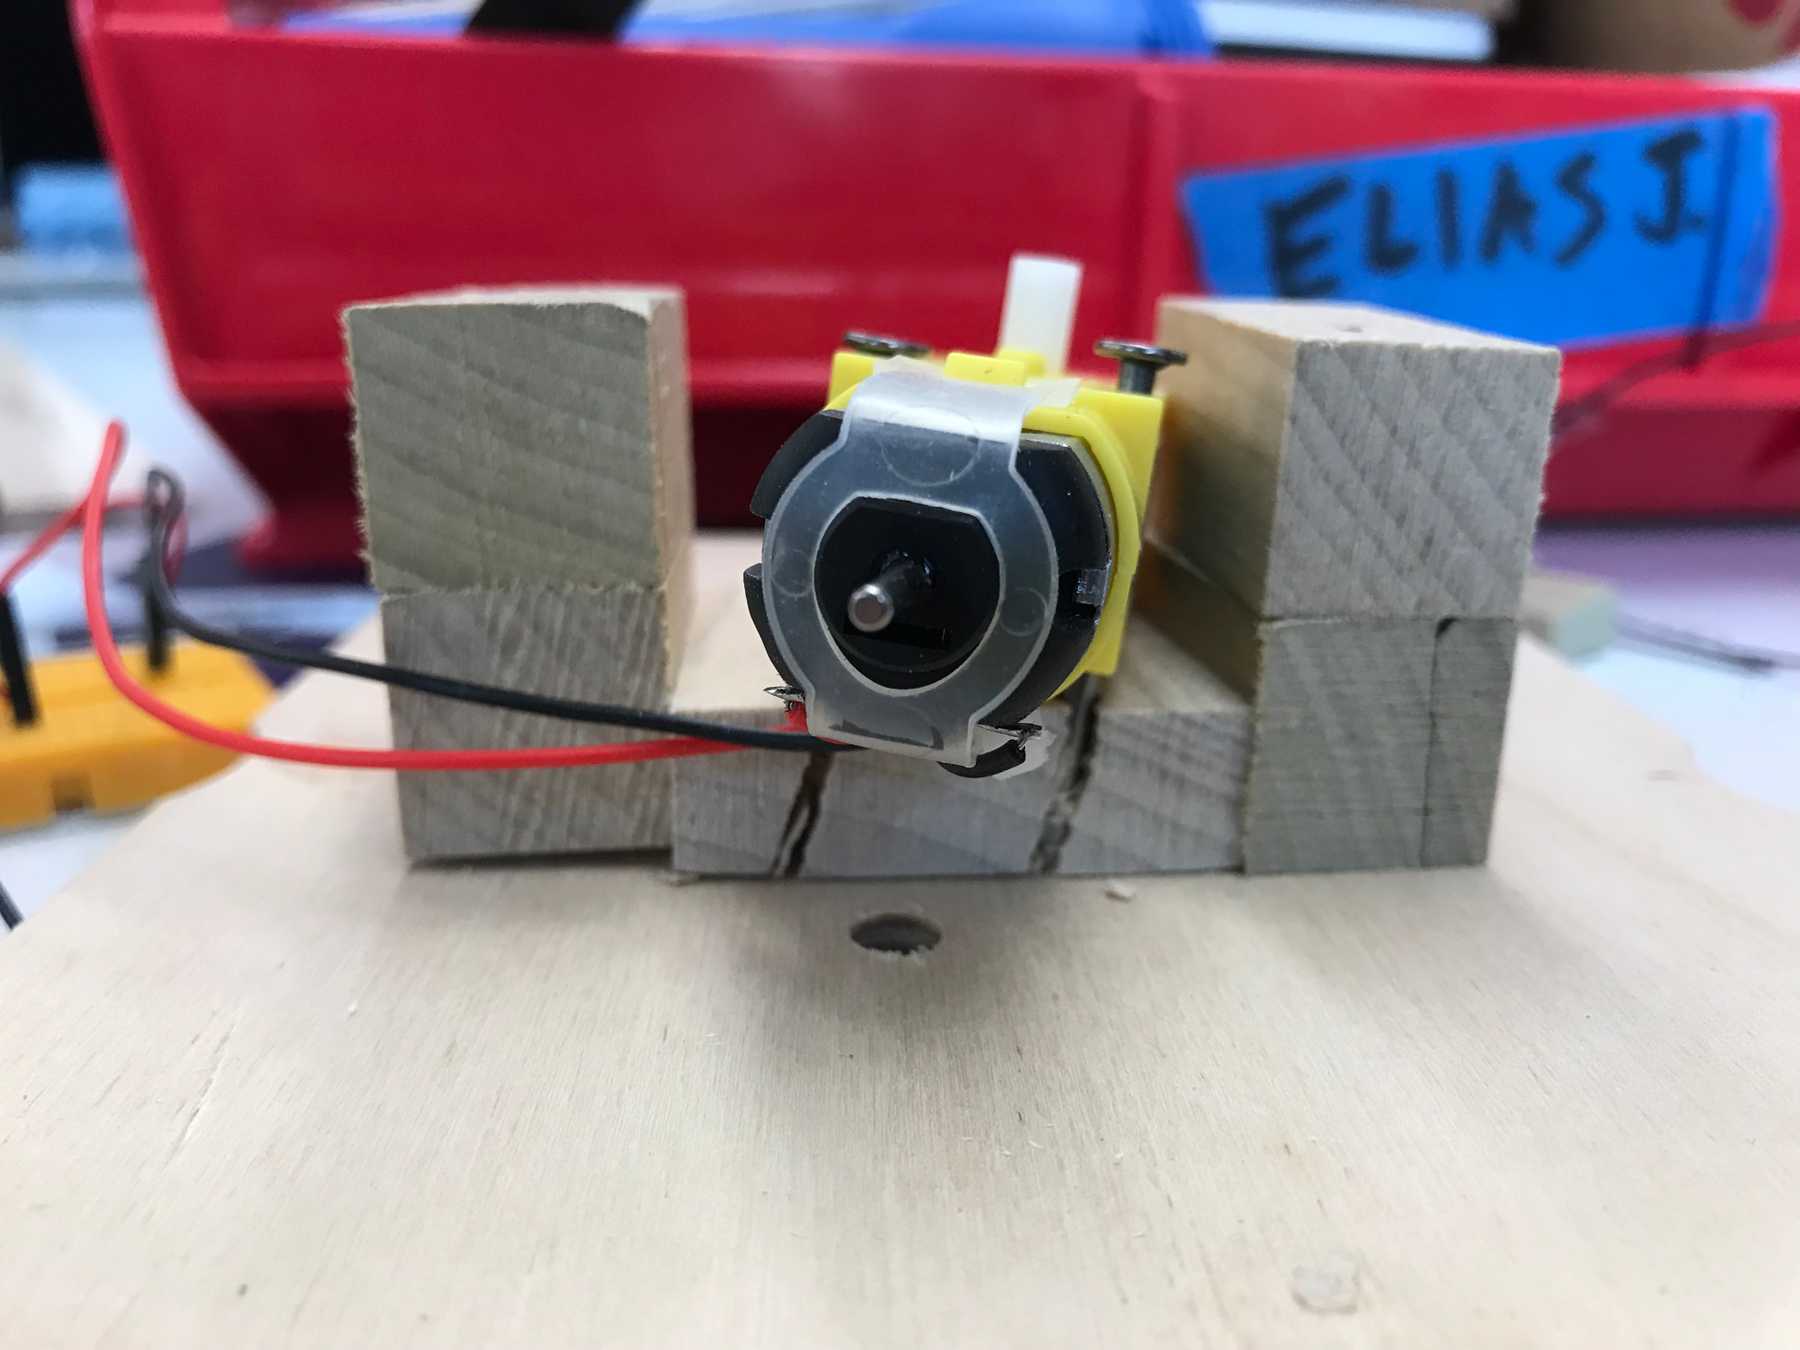
I extended the supports and created a piece that I could attach the motor to. I probably could have opened up the gearbox to remove one side but didn’t want to break it so I drilled a hole where it would go.
The base was short because it needed to be flush against the motor but this meant that when I nailed (yes, nailed) the motor down using holes in the housing, I split the wood and the motor was crooked.
The Spinner
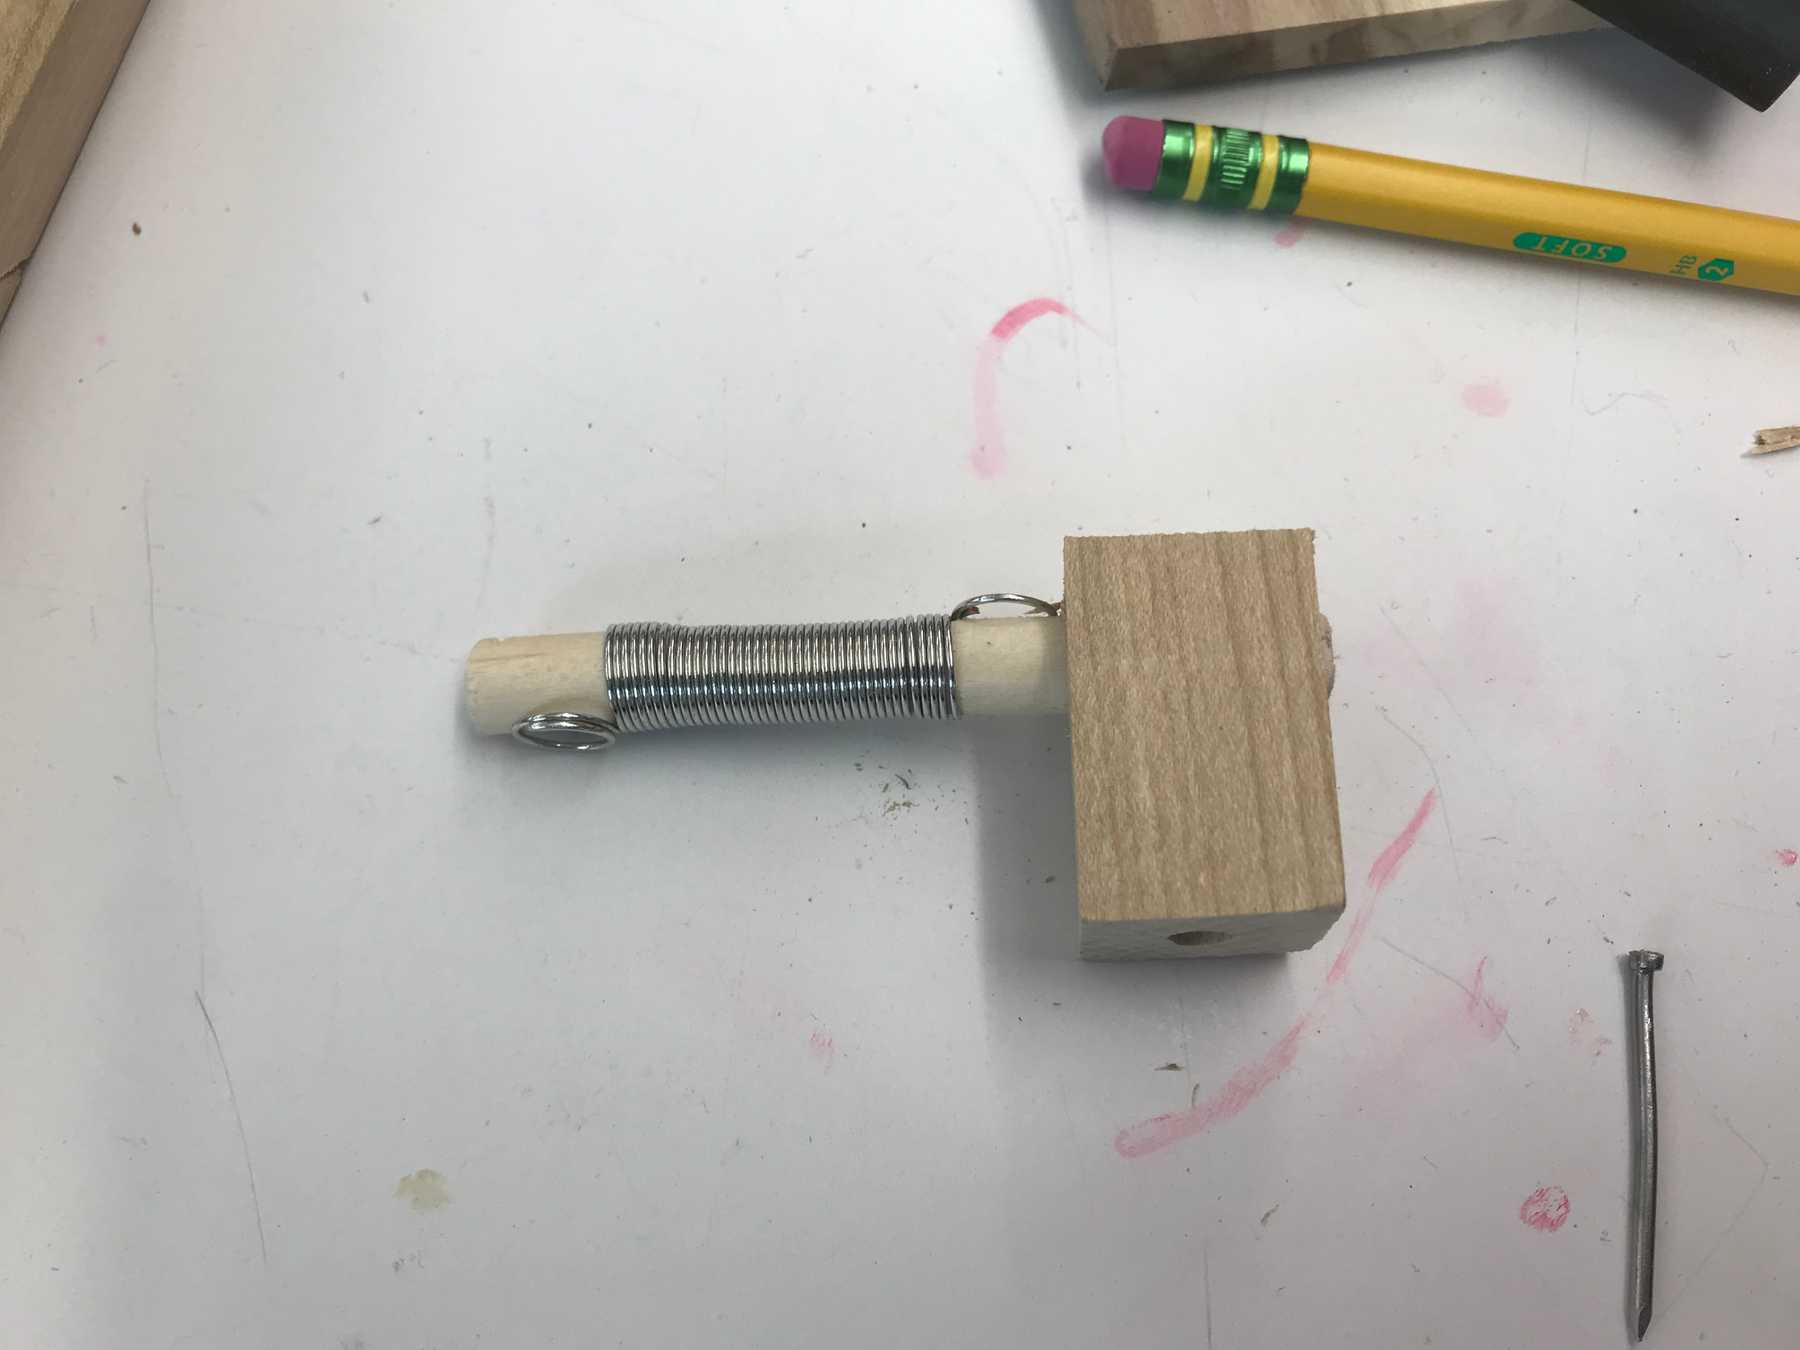
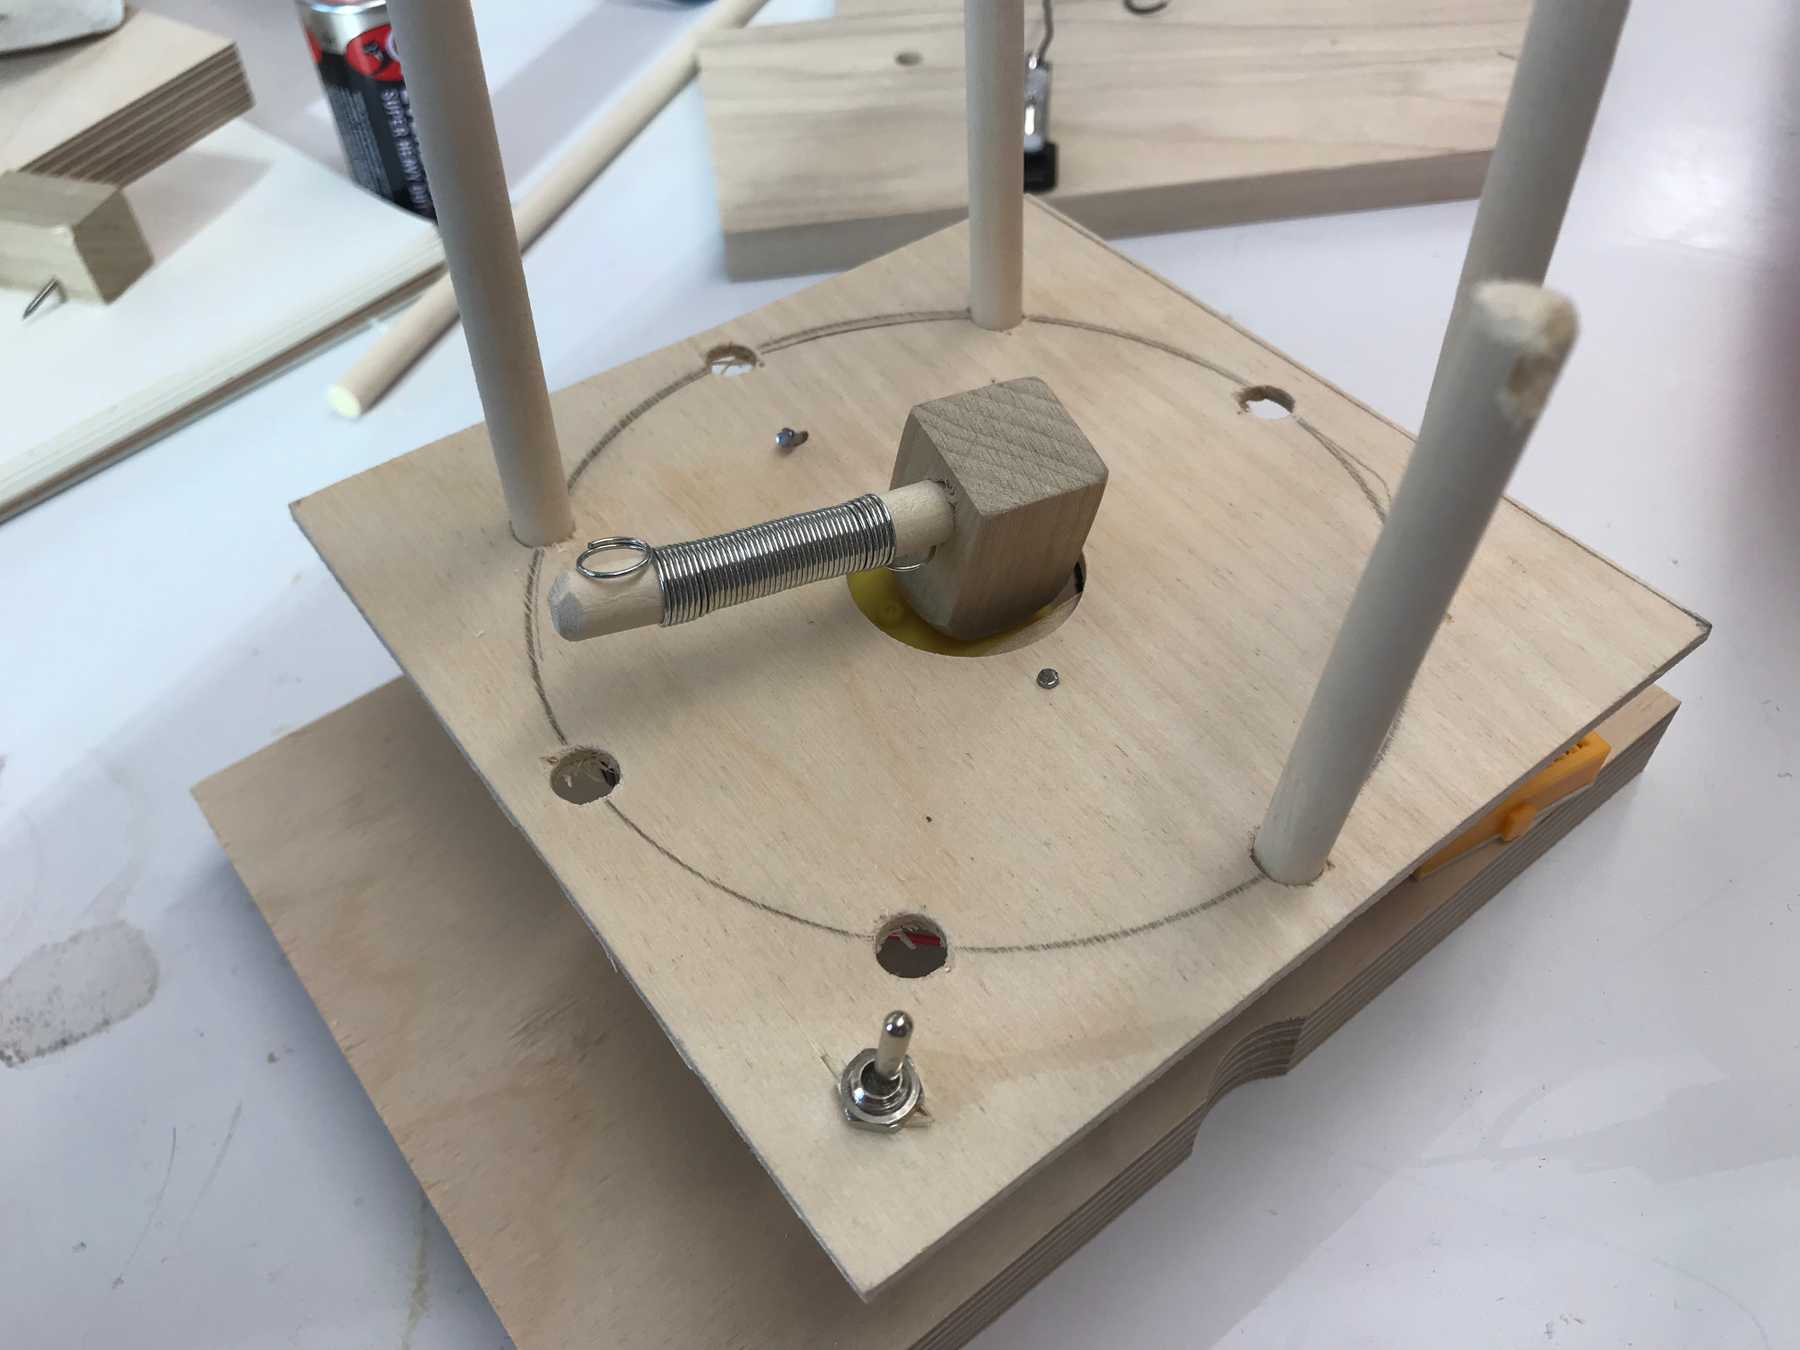
I created the spinner with a spring from the junk shelf attached to two parts of a dowel inserted into a square peg. I drilled a hole in the bottom so that it would fit onto the motor (not very securely). I needed to the spring because the rod needed to have some give when it hit the pegs.
The Faceplate
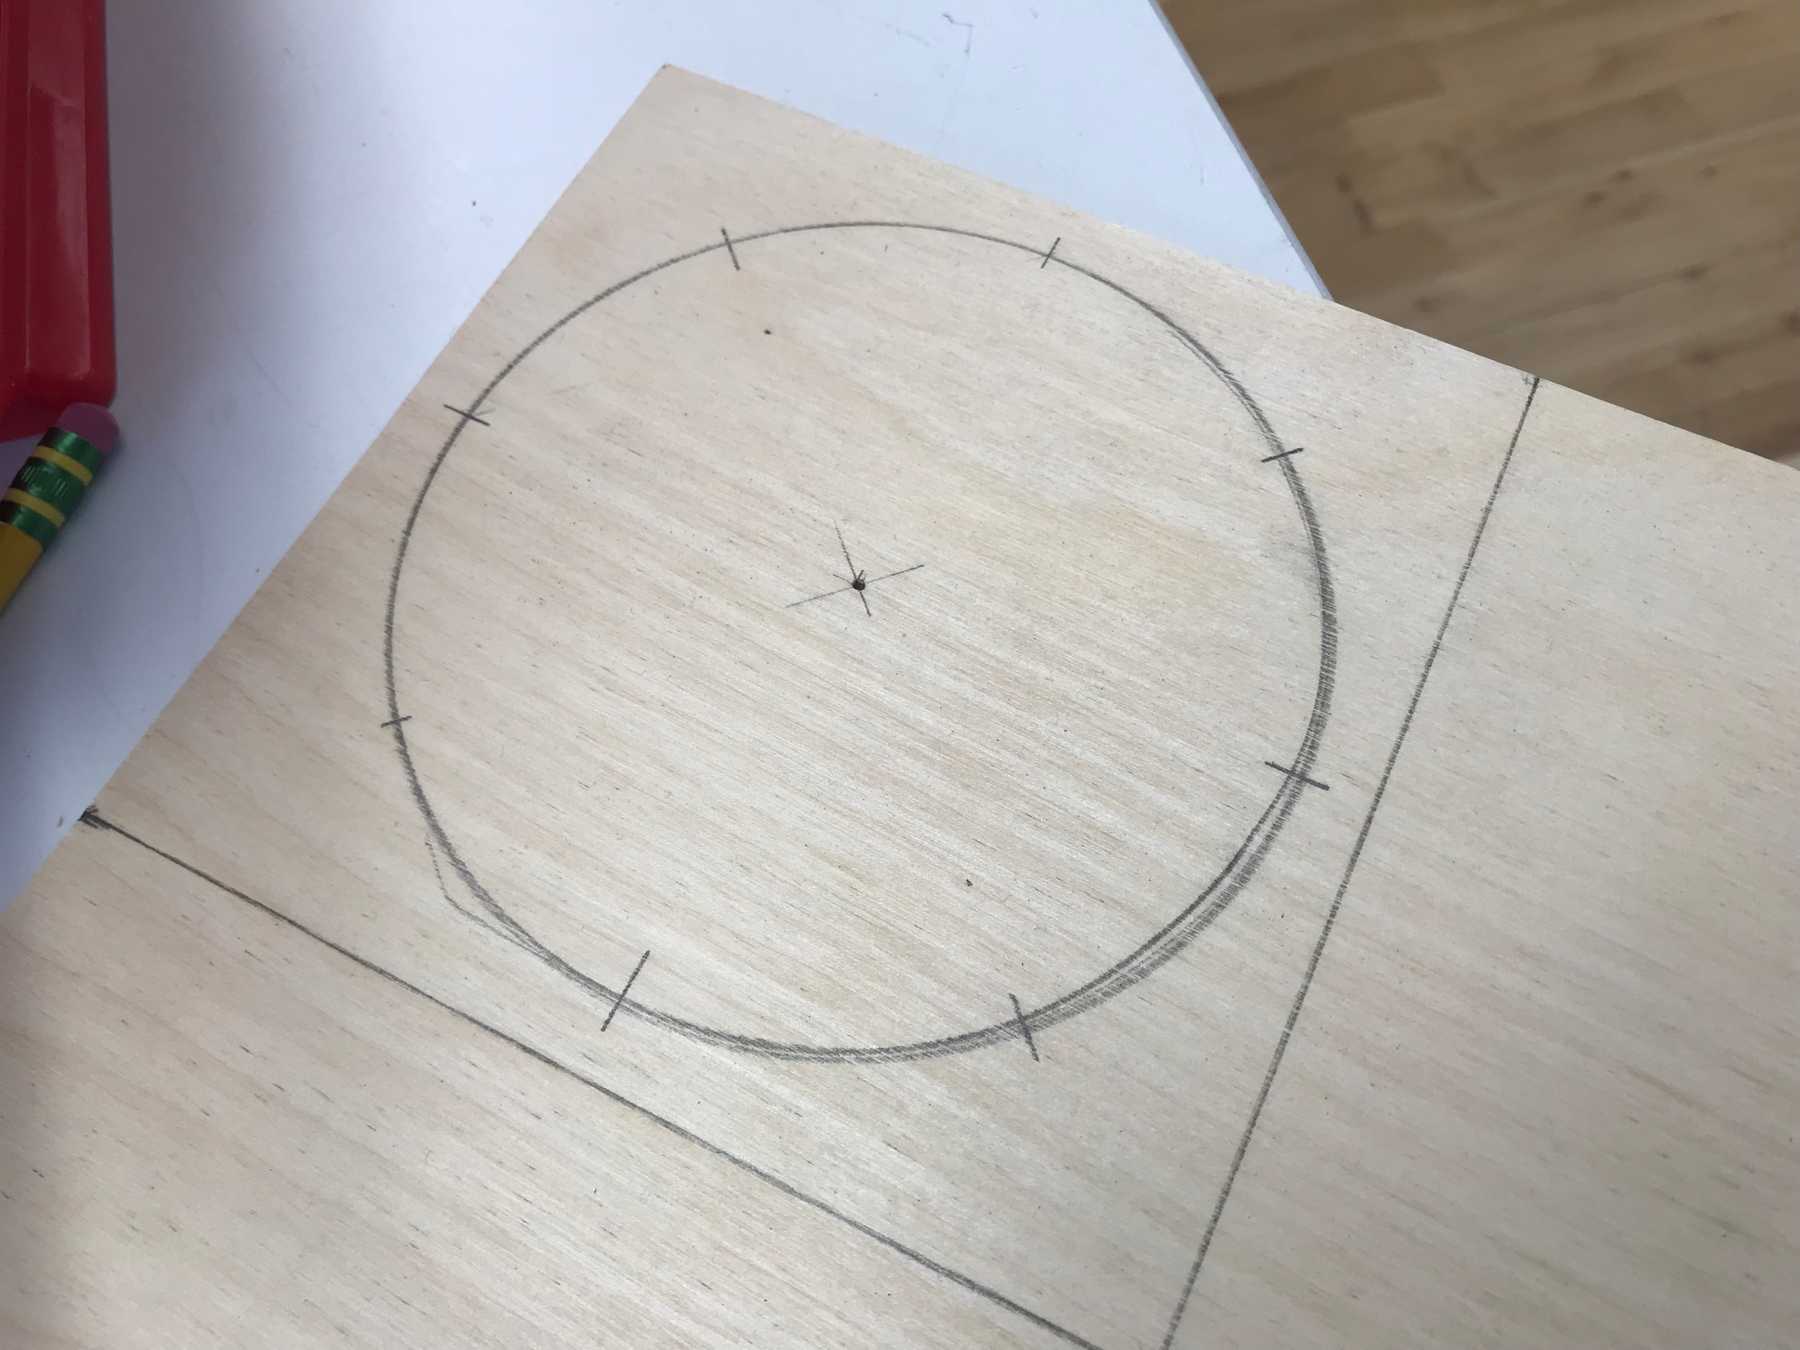
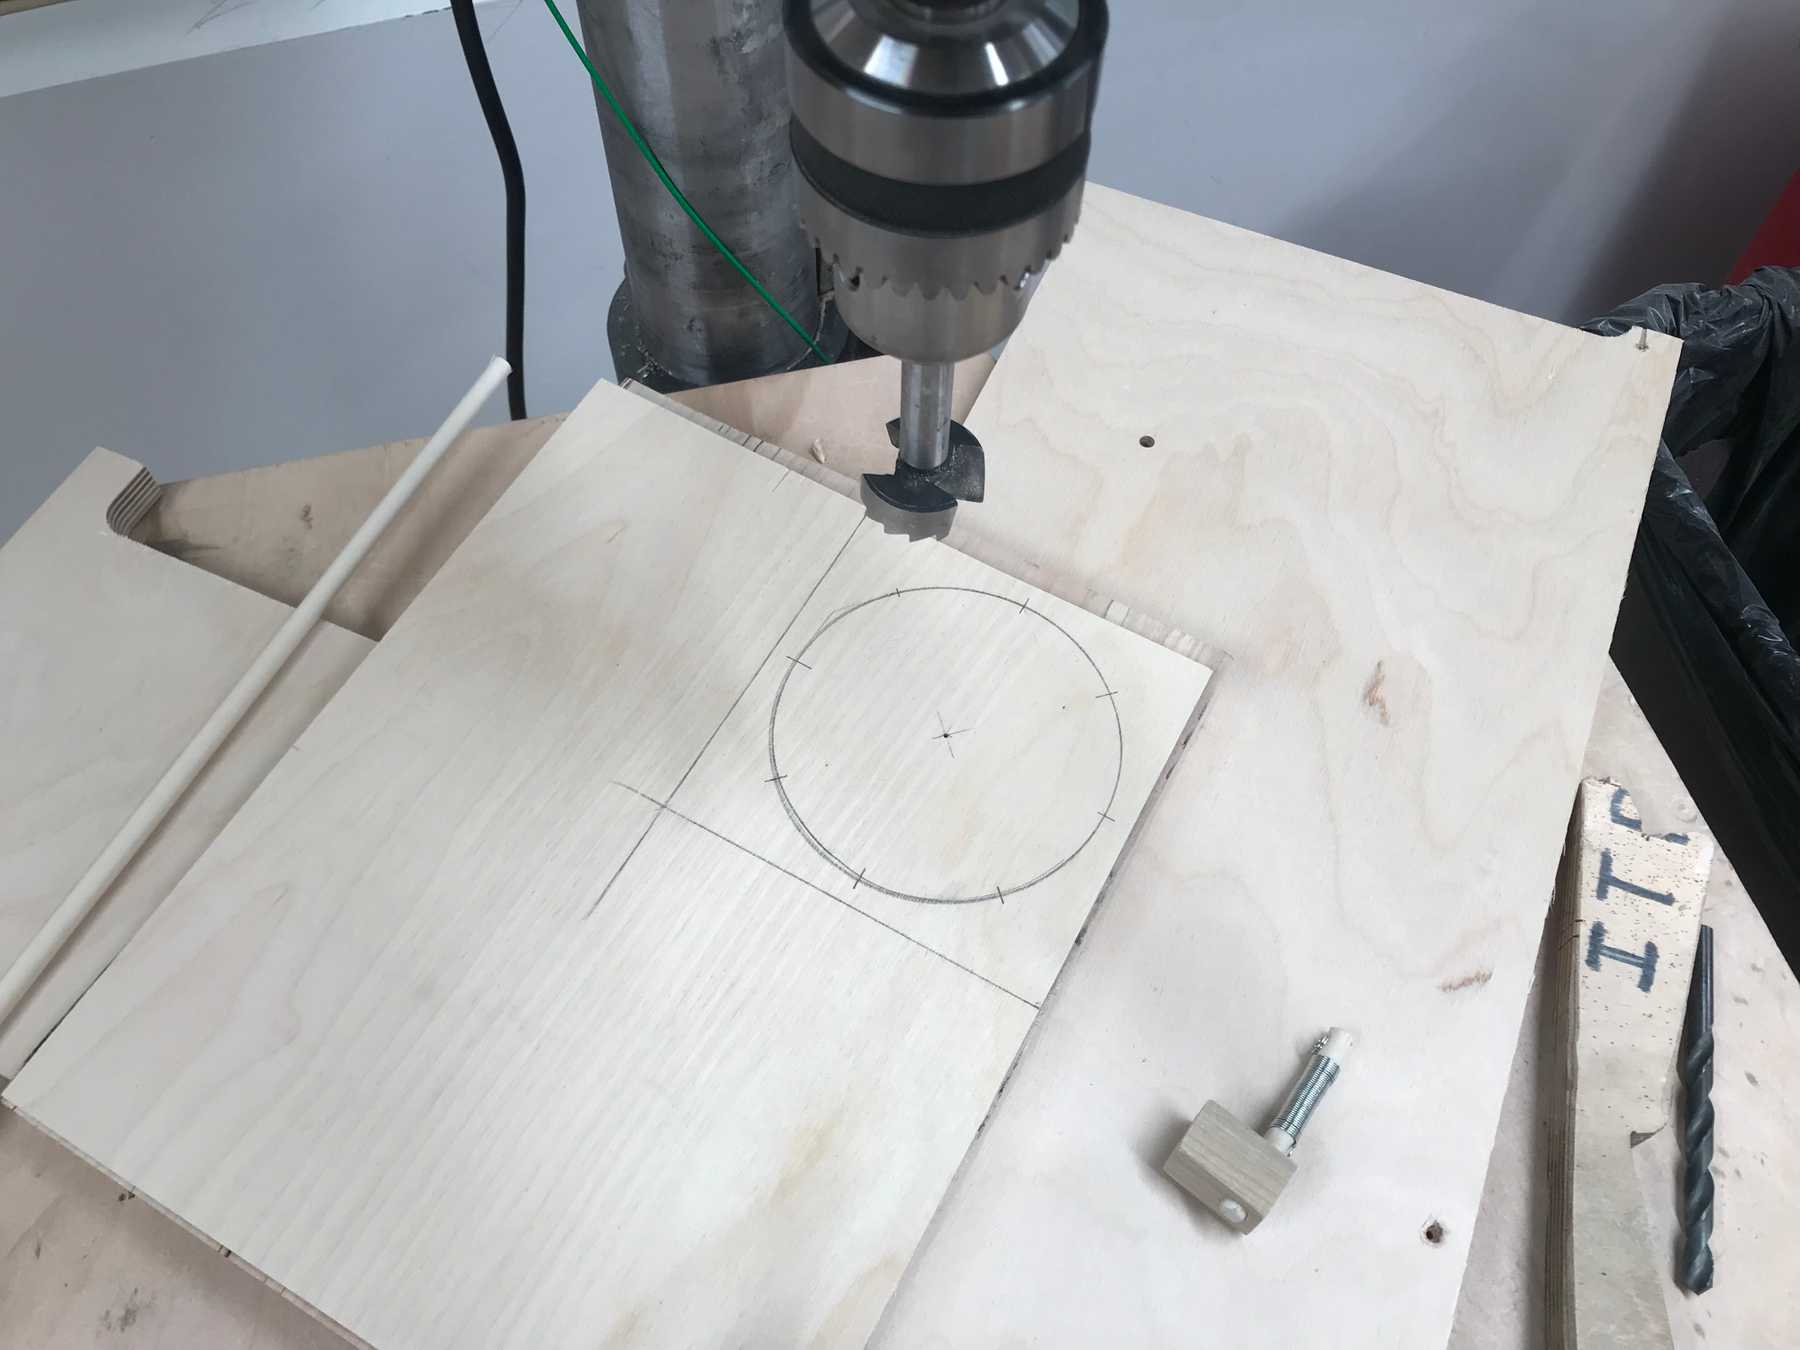
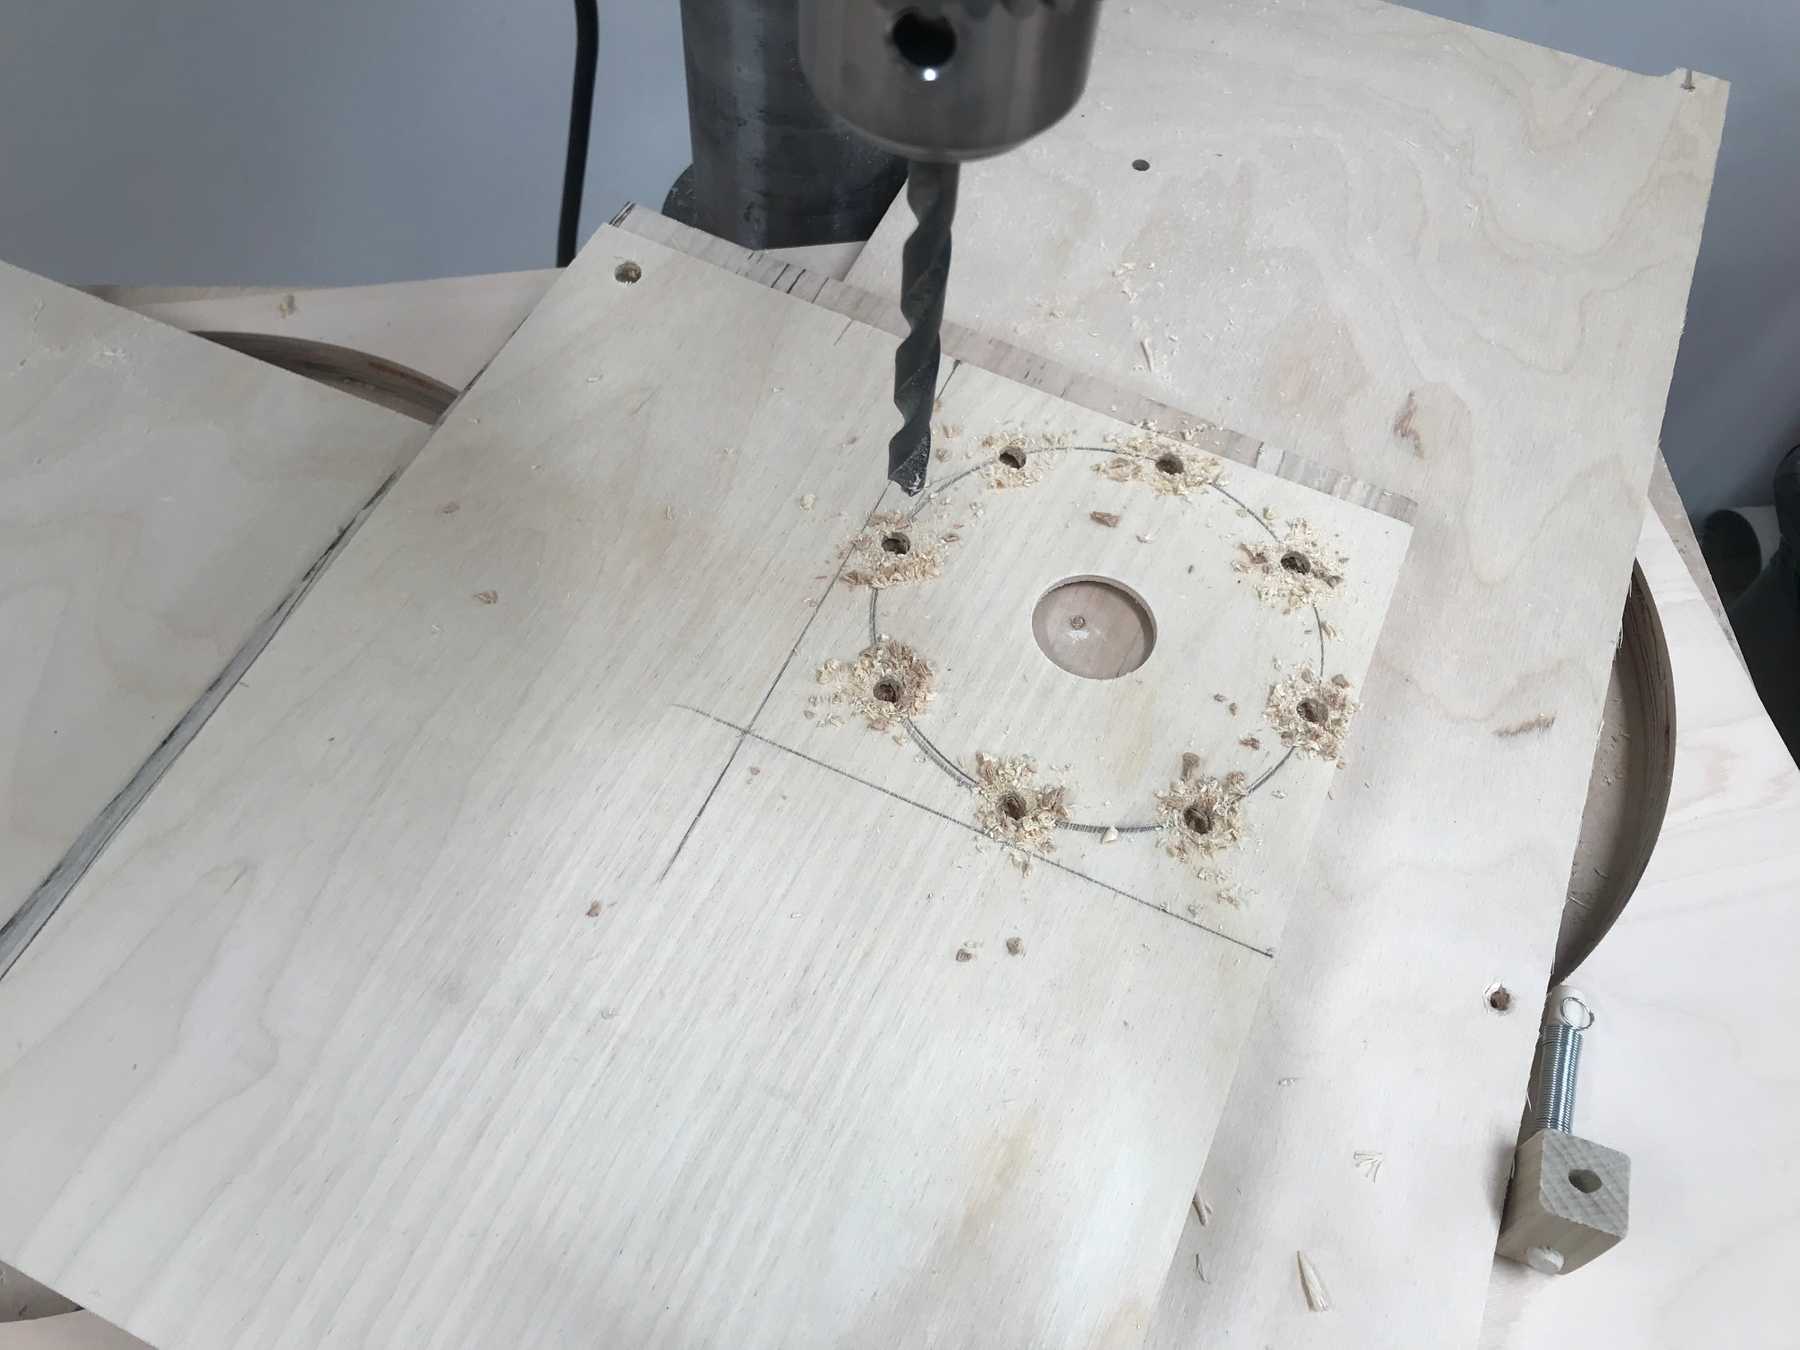
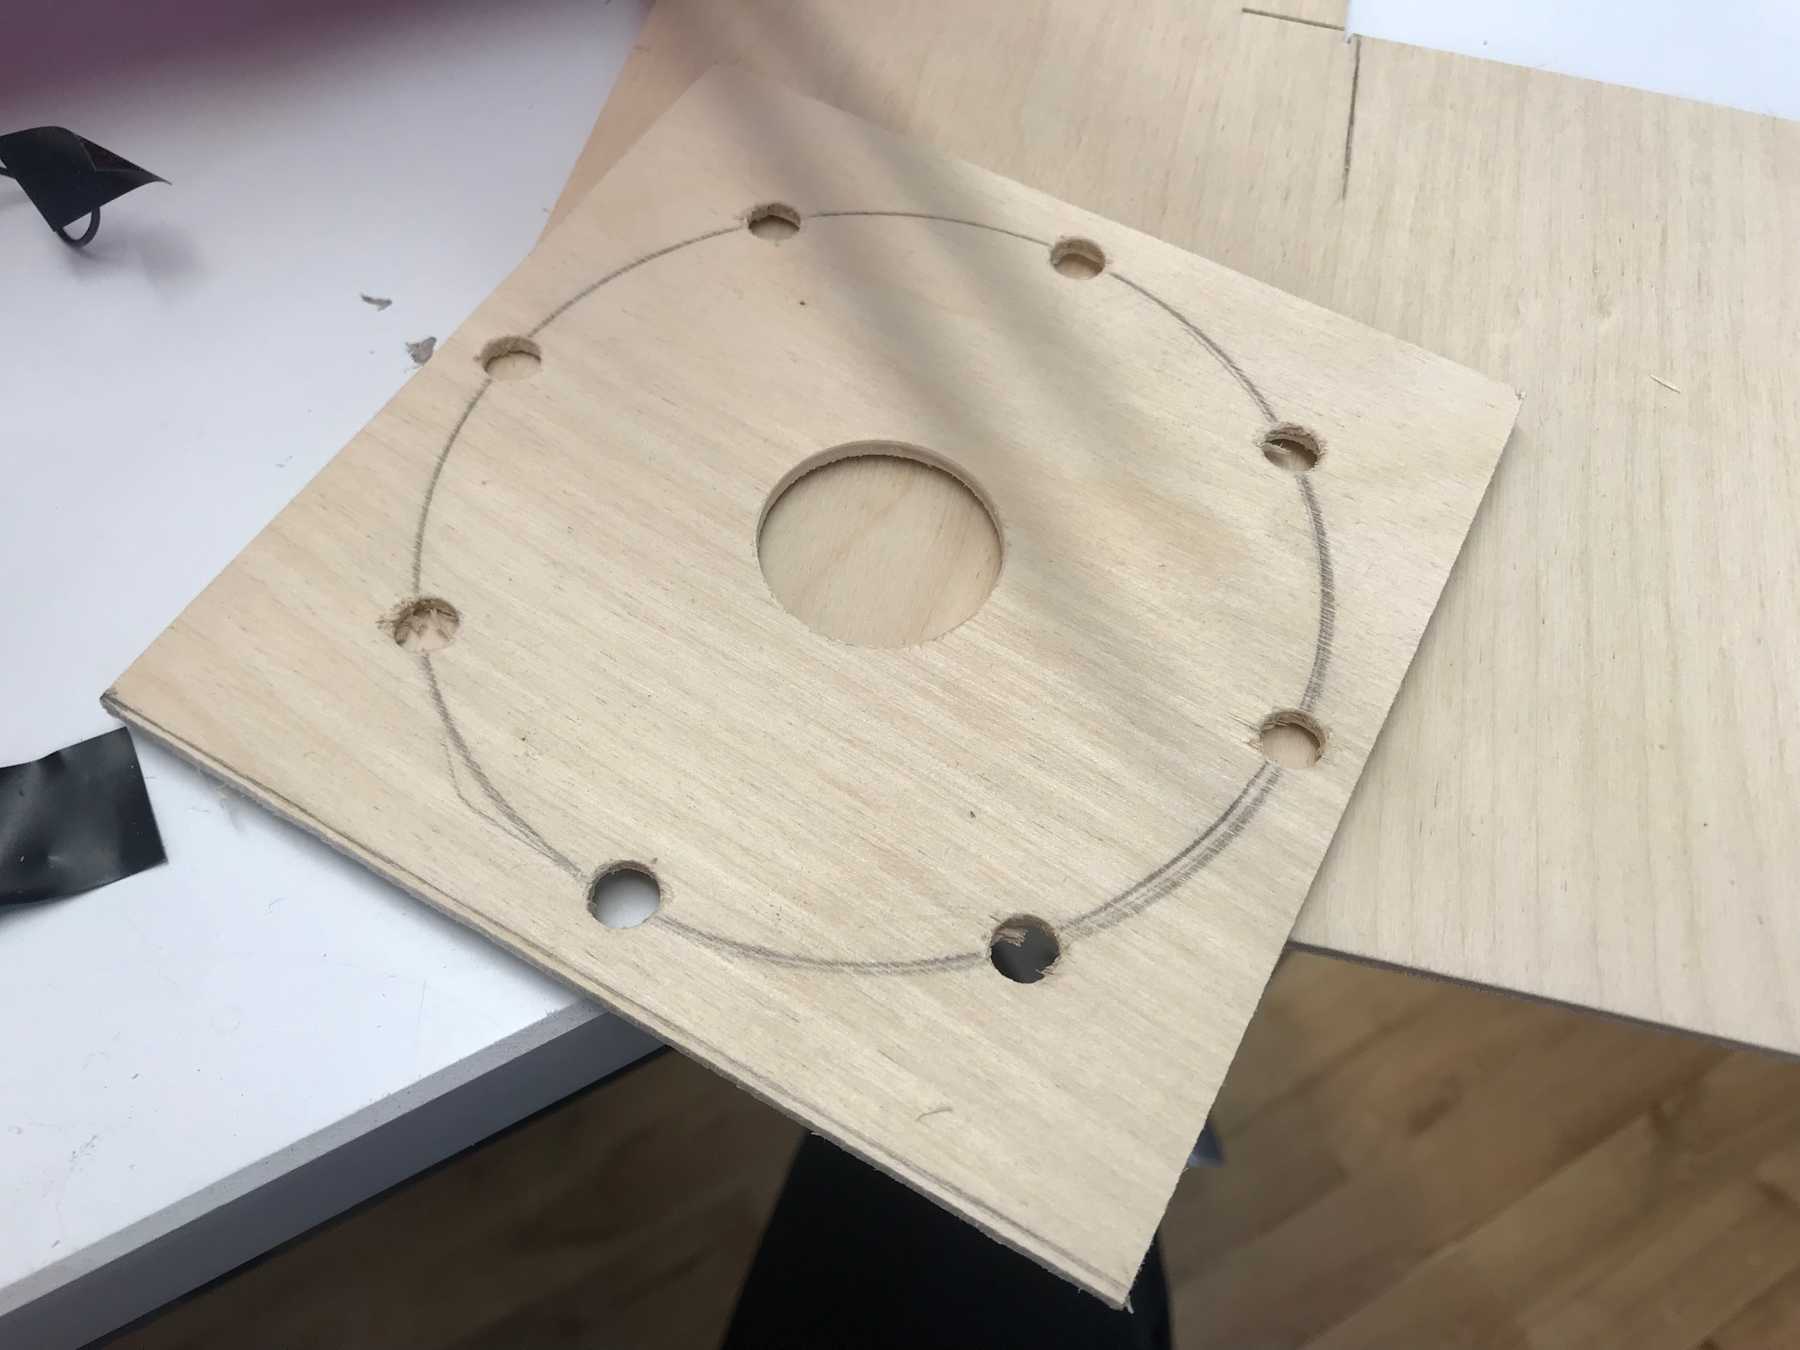
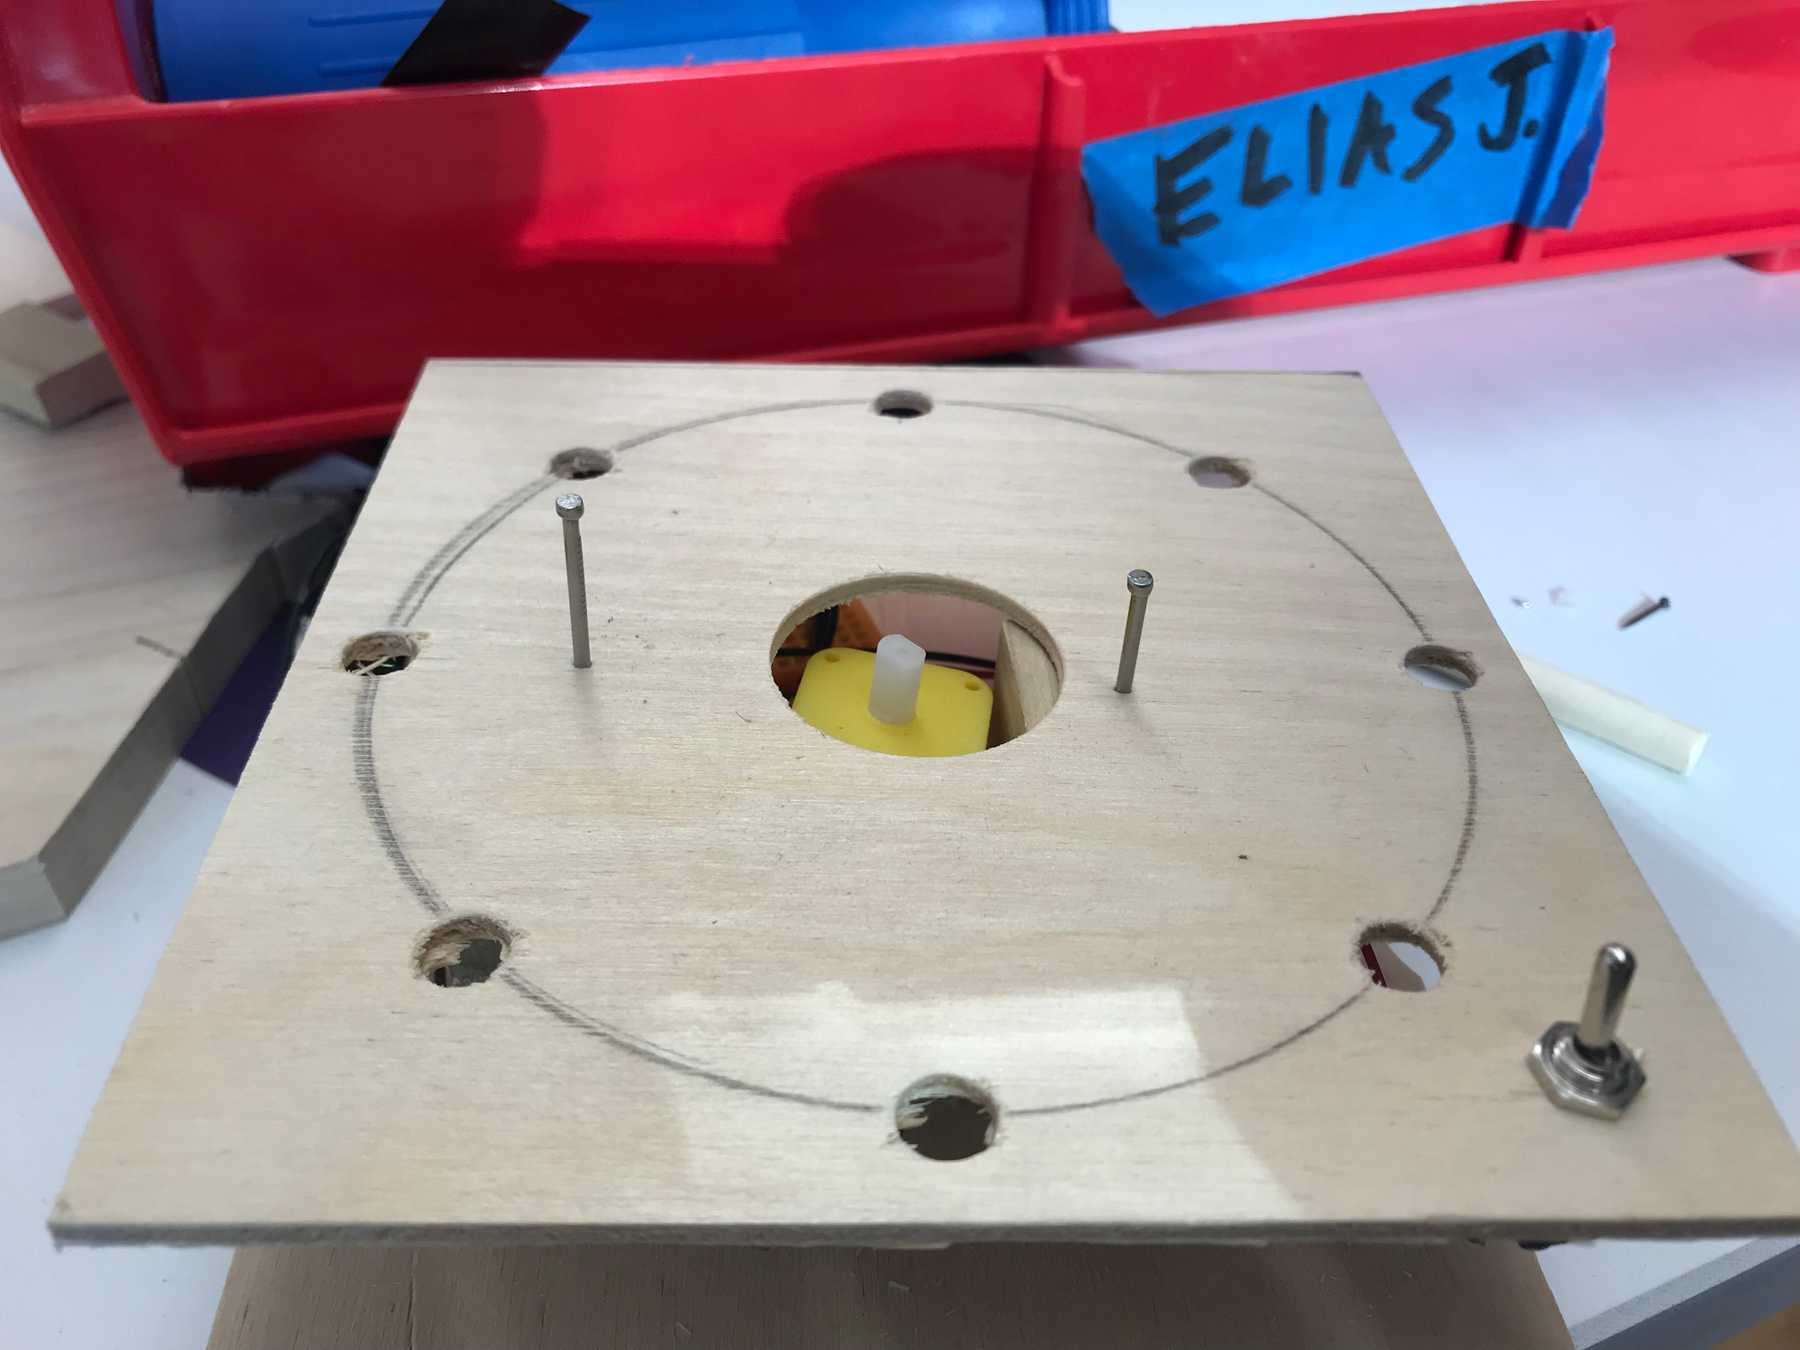
The faceplate consists of 8 holes drilled in a circle around a hole in the center for the motor.
After marking the points I drilled them using the drill press.
The final touch was a hole for the toggle switch. Once that was done I nailed the faceplate to the base.
The Result
The final result leaves a lot to be desired — The motor is crooked and the spinner falls of pretty easily. The actual sound is not that impressive although it can be interesting. I would like to have each peg be a different material created like a cymbal where the thing that gets hit is attached to a joint.
