Deconstructed Flashlight
March 30, 2021
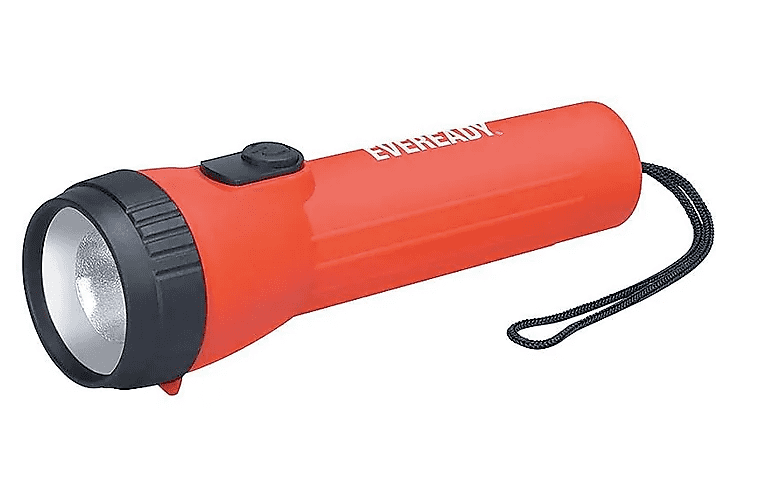
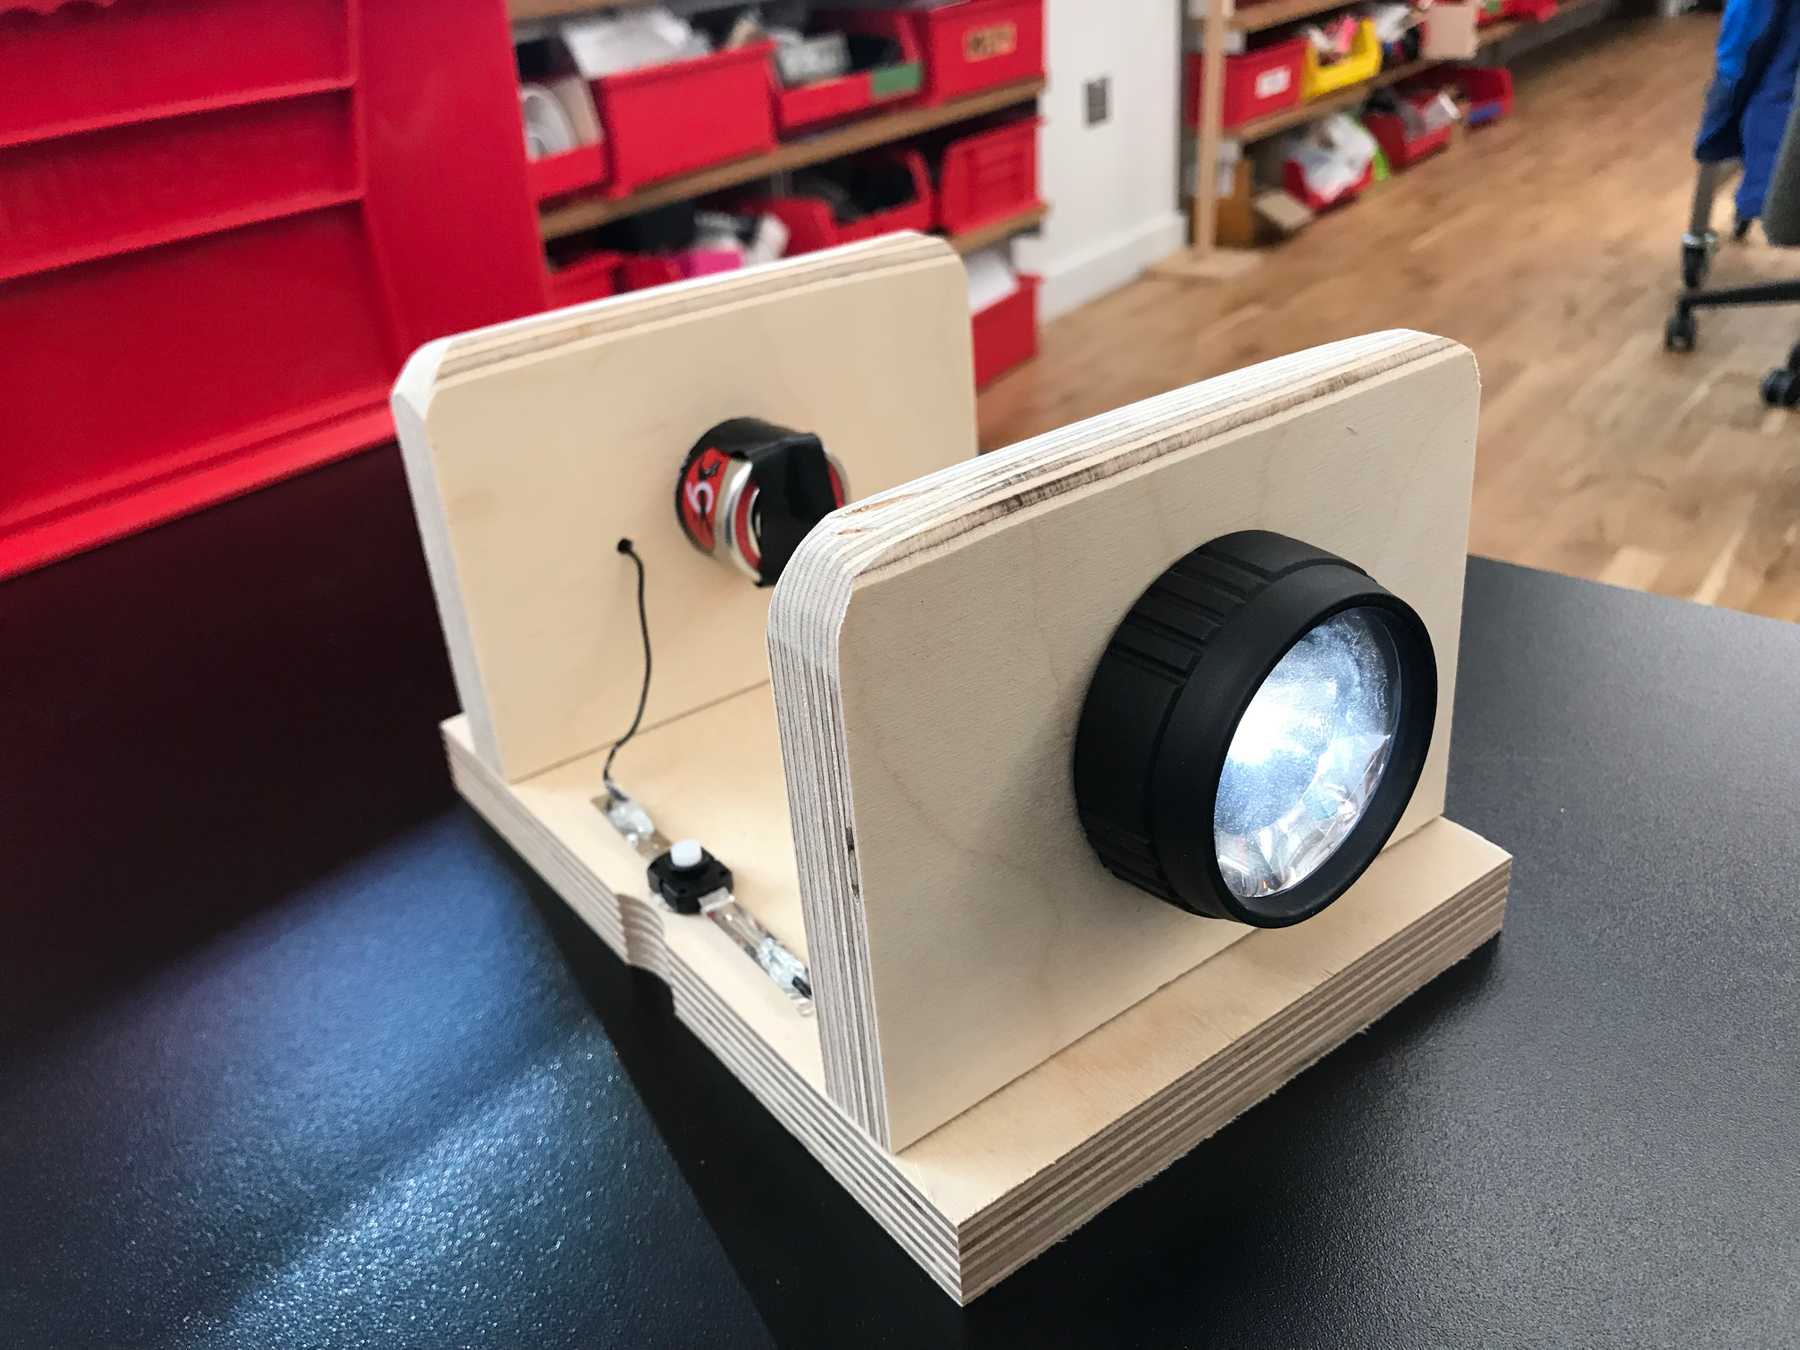
Intro to FabricationThis week I created a “Deconstructed Flashlight” out of a $5 dollar flashlight from the hardware store. I drilled large holes in two segments of wood to fit around the flashlight’s light and battery and connected them to the original toggle switch.
I found a piece of scrap that I would use for the two walls. I drilled the holes using the drill press and a hand drill with Forstner bits approximately the same size as what I needed. I then used the Dremel tool to sand the holes by hand to make them the perfect size so that the components fit snugly within.
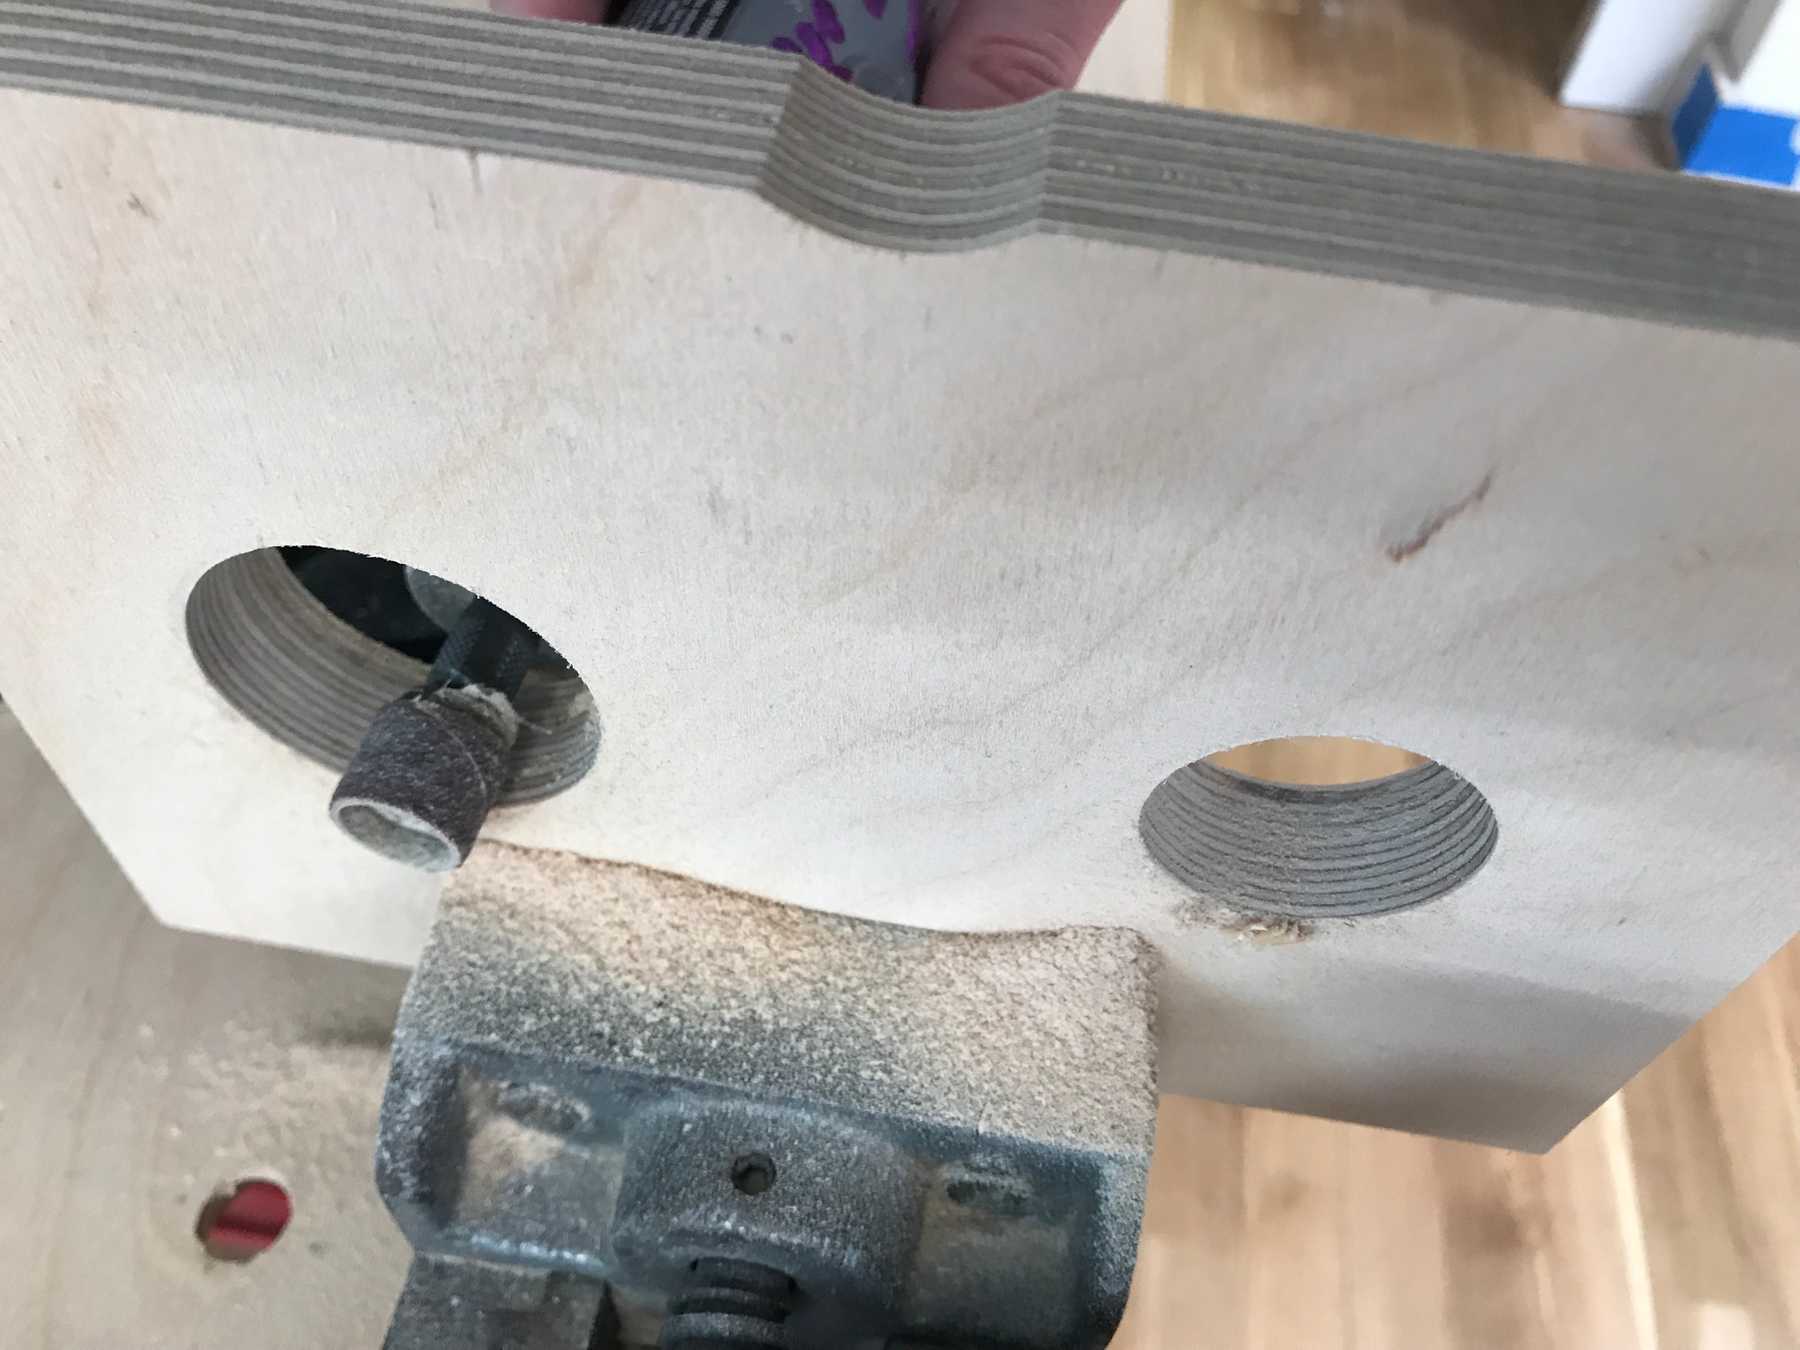 Using the dremel to widen the holes
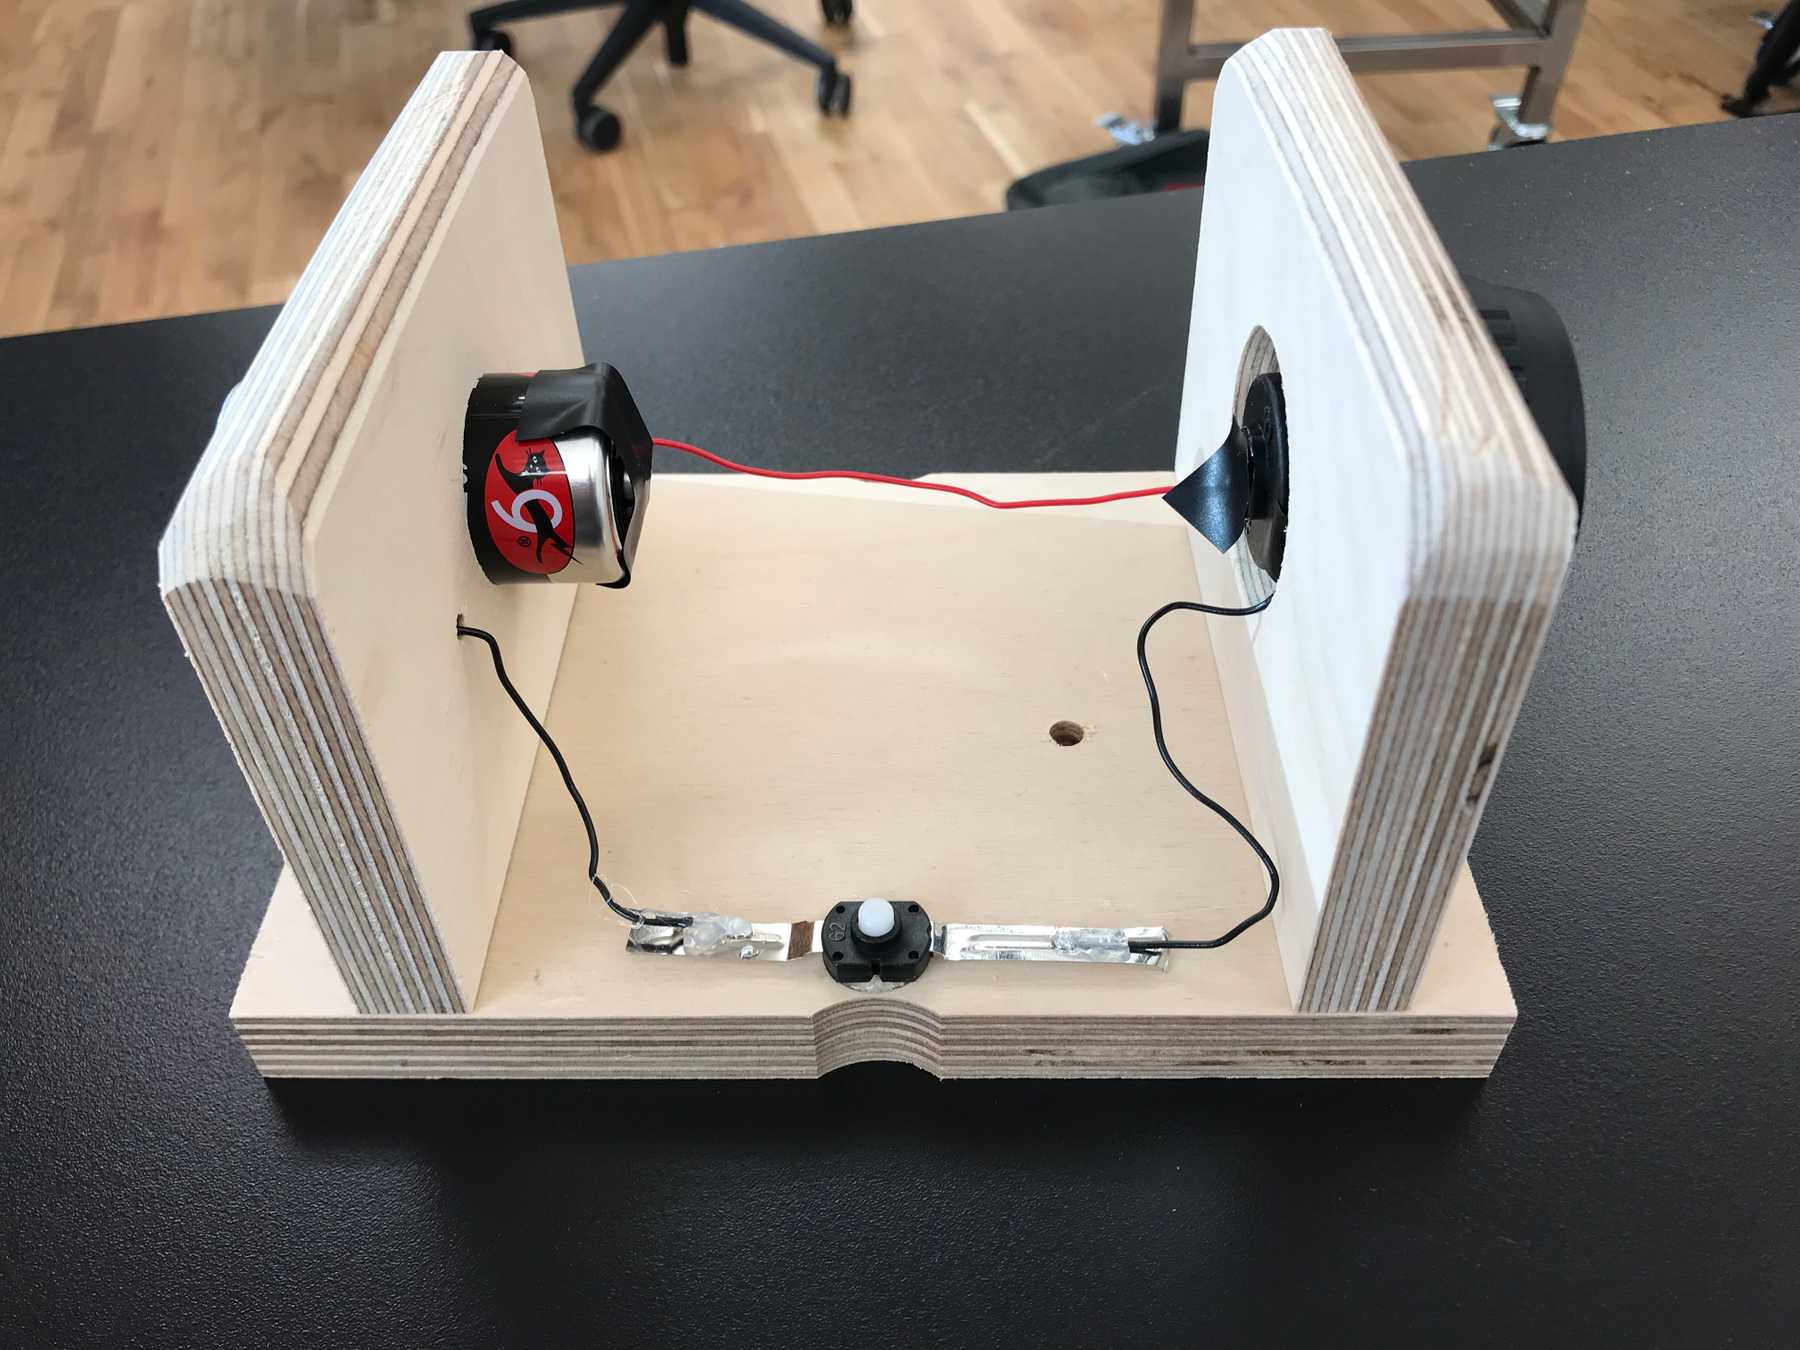
Once the holes were ready I started on the electronics. In my first attempt, I tried soldering directly to the light fixture but ended up breaking an LED. I ended up using electrical tape for the light and battery connection, but did manage to solder the button connection.
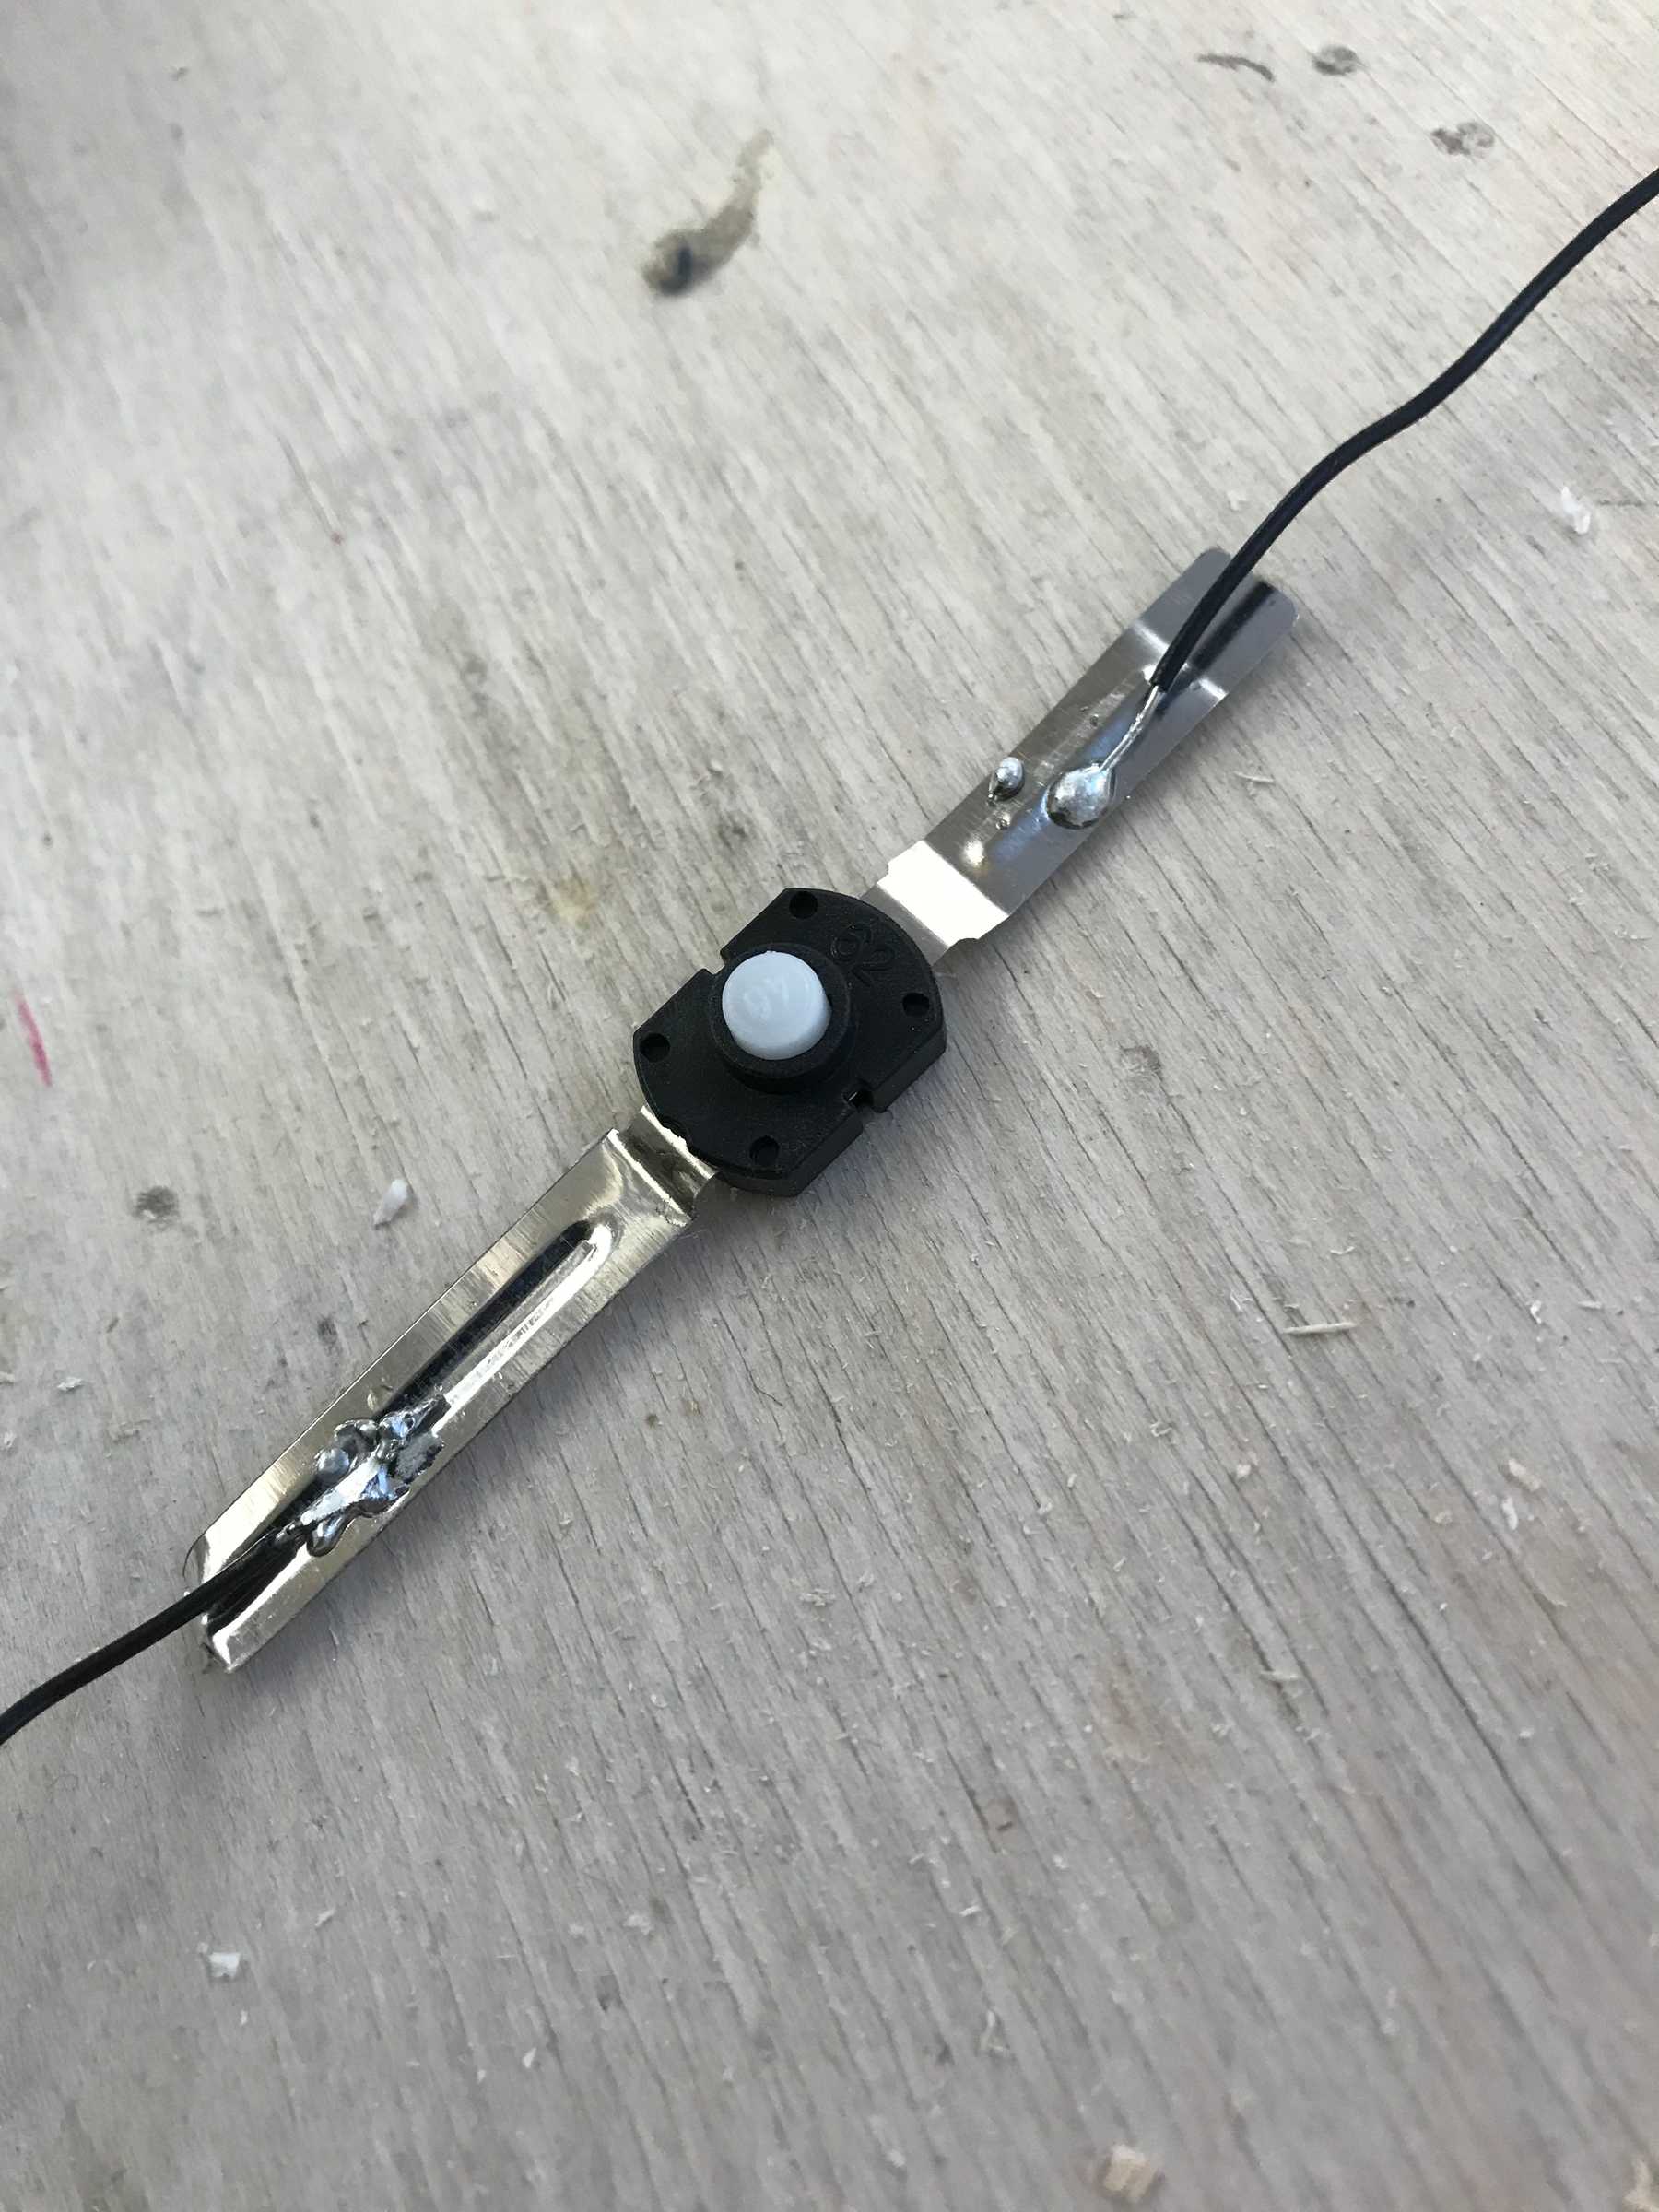 Soldering wires to the toggle button
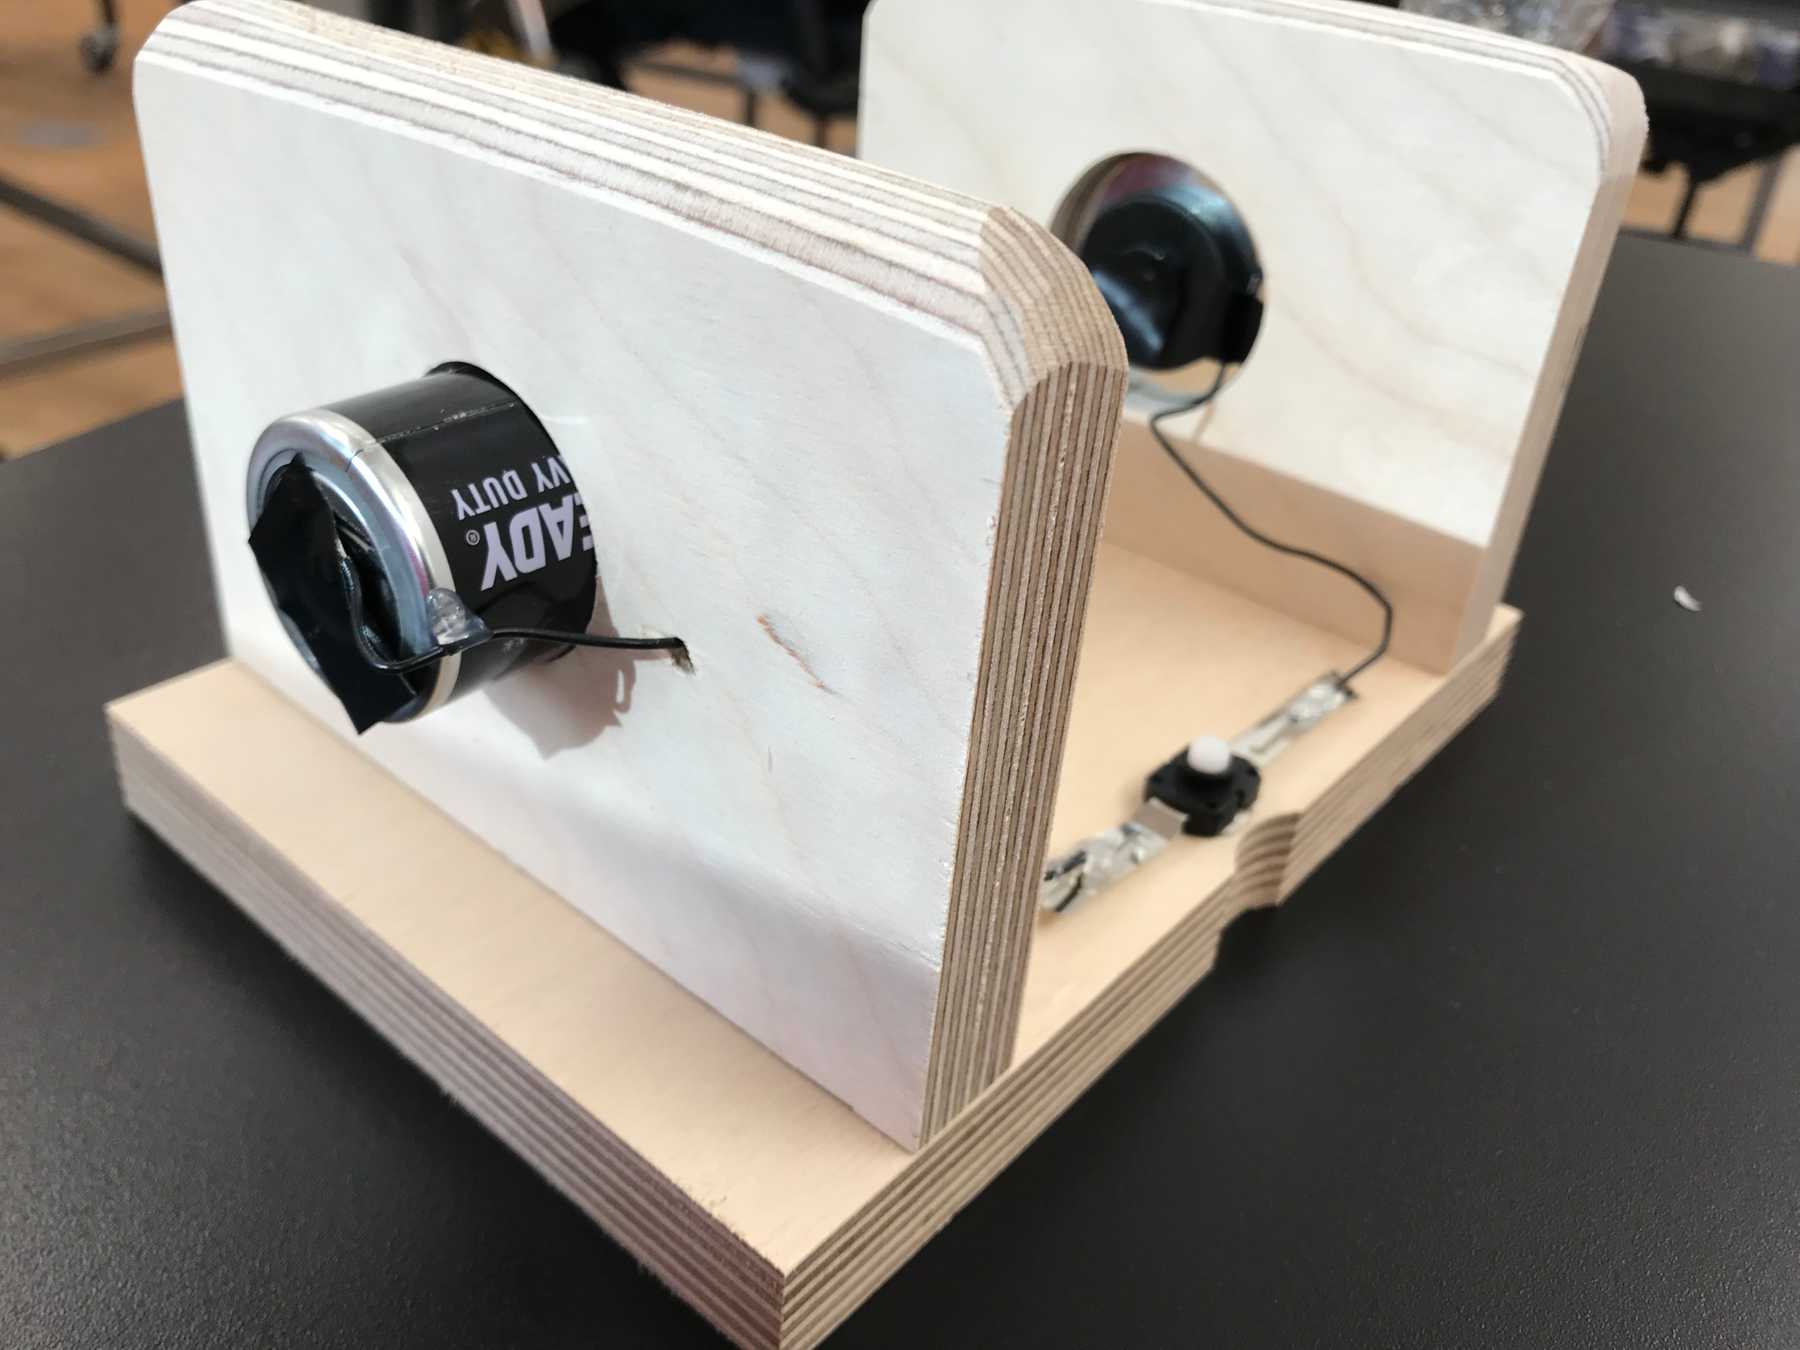
I used the belt sander to smooth the tops of the vertical segments and hot glue to attach them and the button to the base. I also drilled a small hole for the wire connecting to the back of the battery. The final result is simple but pretty much how I imagined. The toughest aspect was making sure the electrical connections were solid. If I were to do this again I would definitely spend more time creating more secure contact, maybe by using the spring included in the original flashlight.

