Laser Cut Chess Set
April 13, 2021
Intro to FabricationFor this week’s laser cutter assignment I created a chess set. I found some inspiration online for a board with slots into which the pieces fit.
Preparations
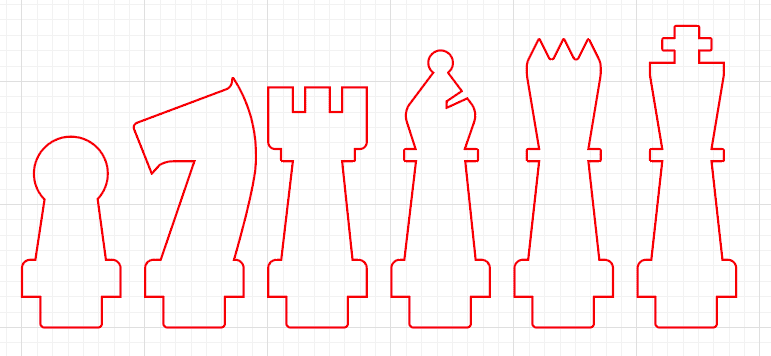
I designed the board and pieces in Illustrator, using the grid to make sure that they were proportional to each other.
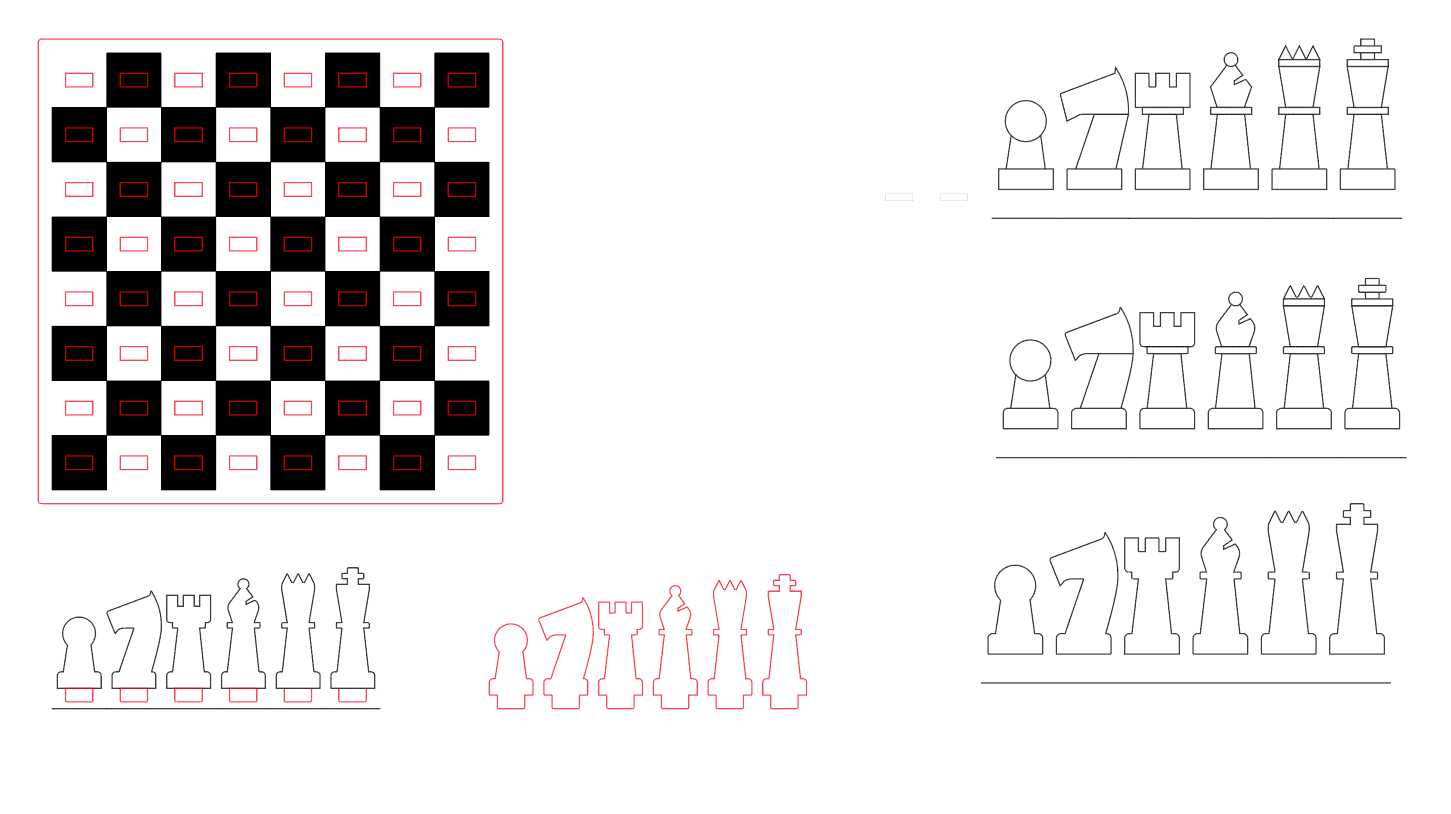 Screenshot of the Illustrator file showing the board and chess pieces
The pieces went through several iterations. In this screenshot you can see the semi final (top right, without rounded edges) and final (middle right) versions. I went for the classic silhouettes but tried to keep the design minimal.
I designed the pieces on the grid with a one inch wide base plus 1/8 inch padding on each side. The knight is the only piece that extends into the padding. I then scaled them down for the final version so that the total width including padding was one inch — the same width as the board squares. The nubs and slots were 1/4 inch by 1/2 inch since I would be using 1/4 inch acrylic.
Testing and Fine-Tuning
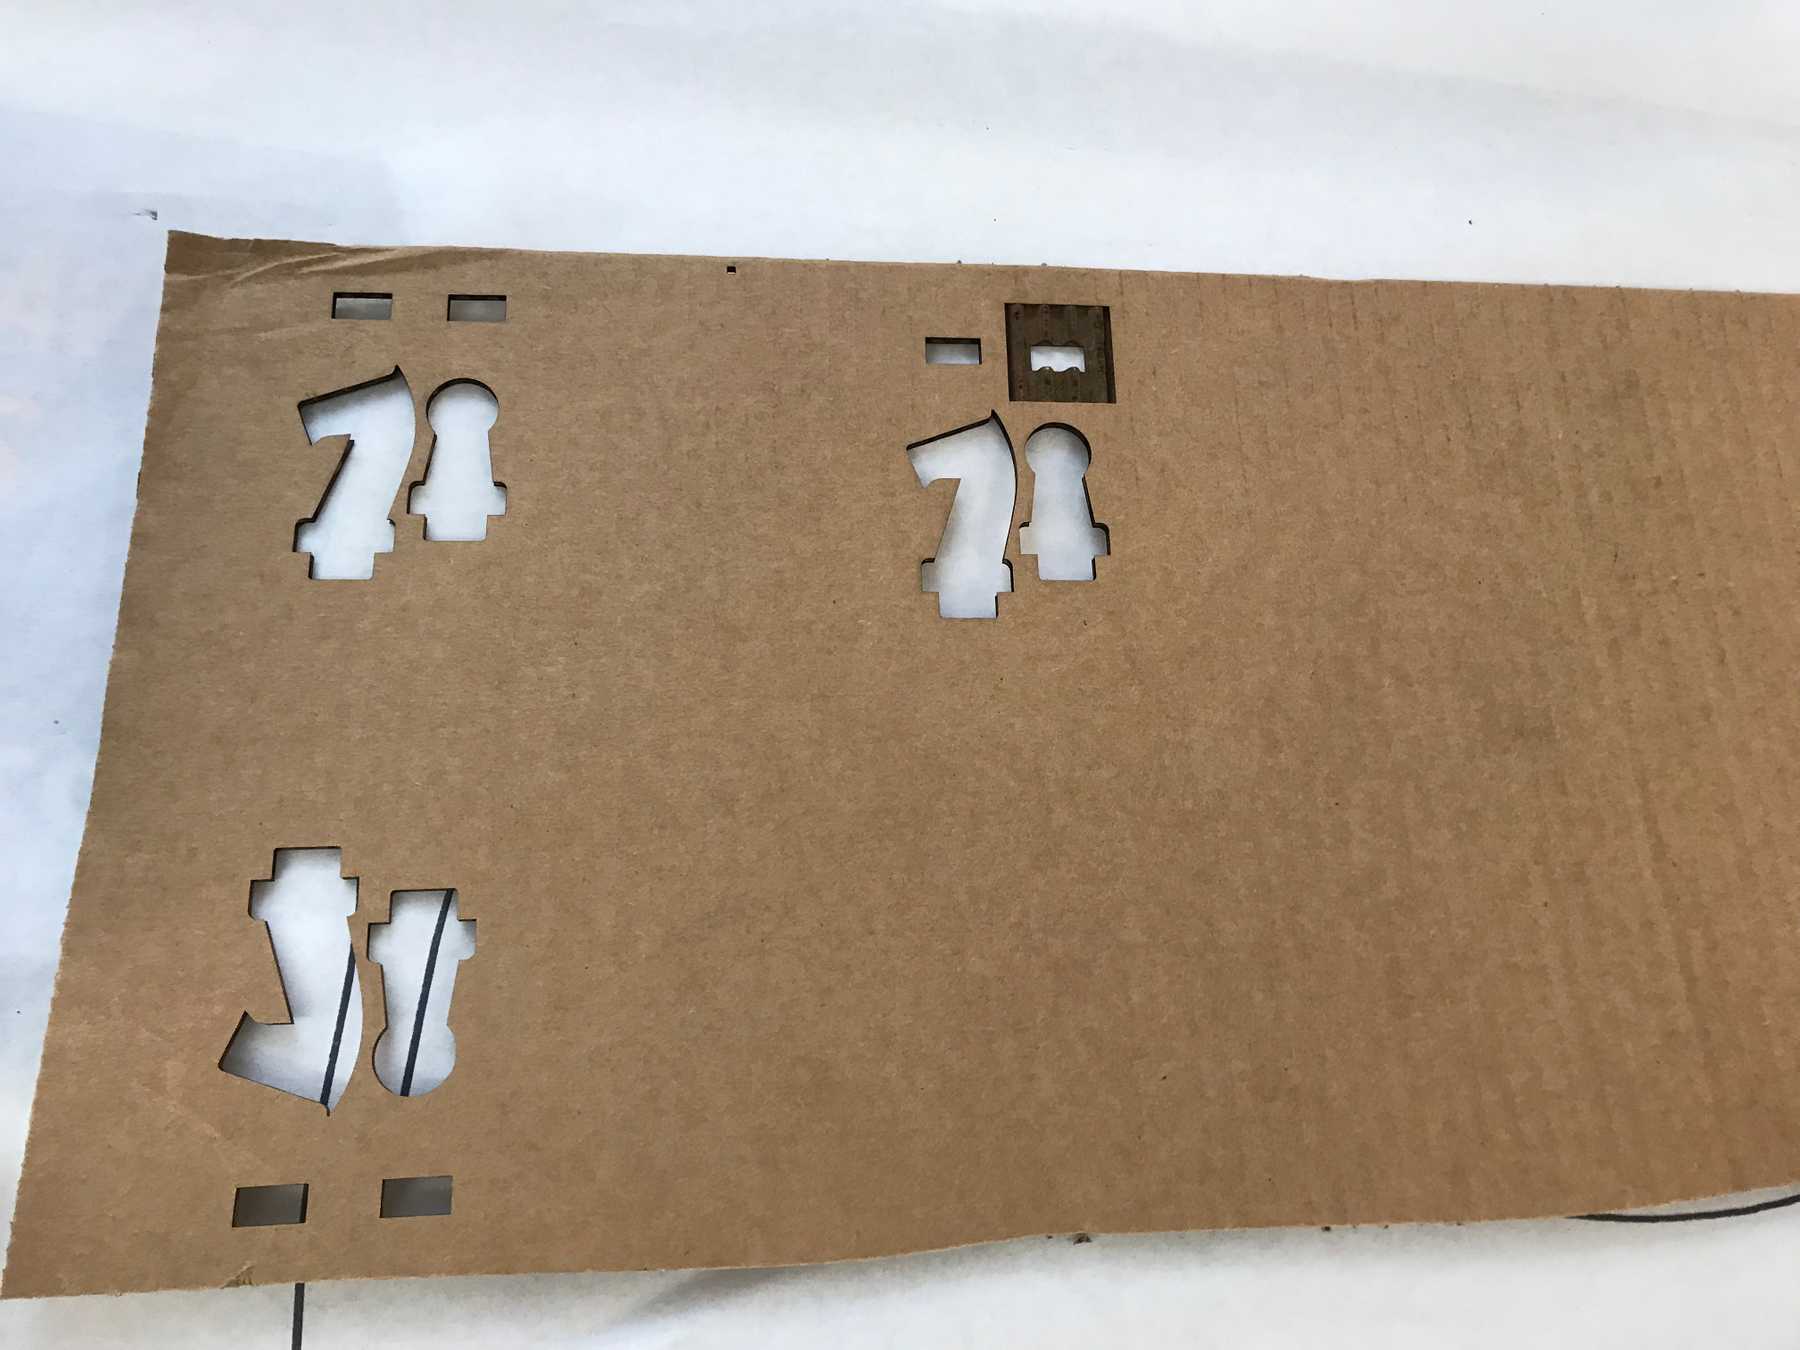
I tested the design with cardboard first and found that the slots were too big to snugly hold the pieces.
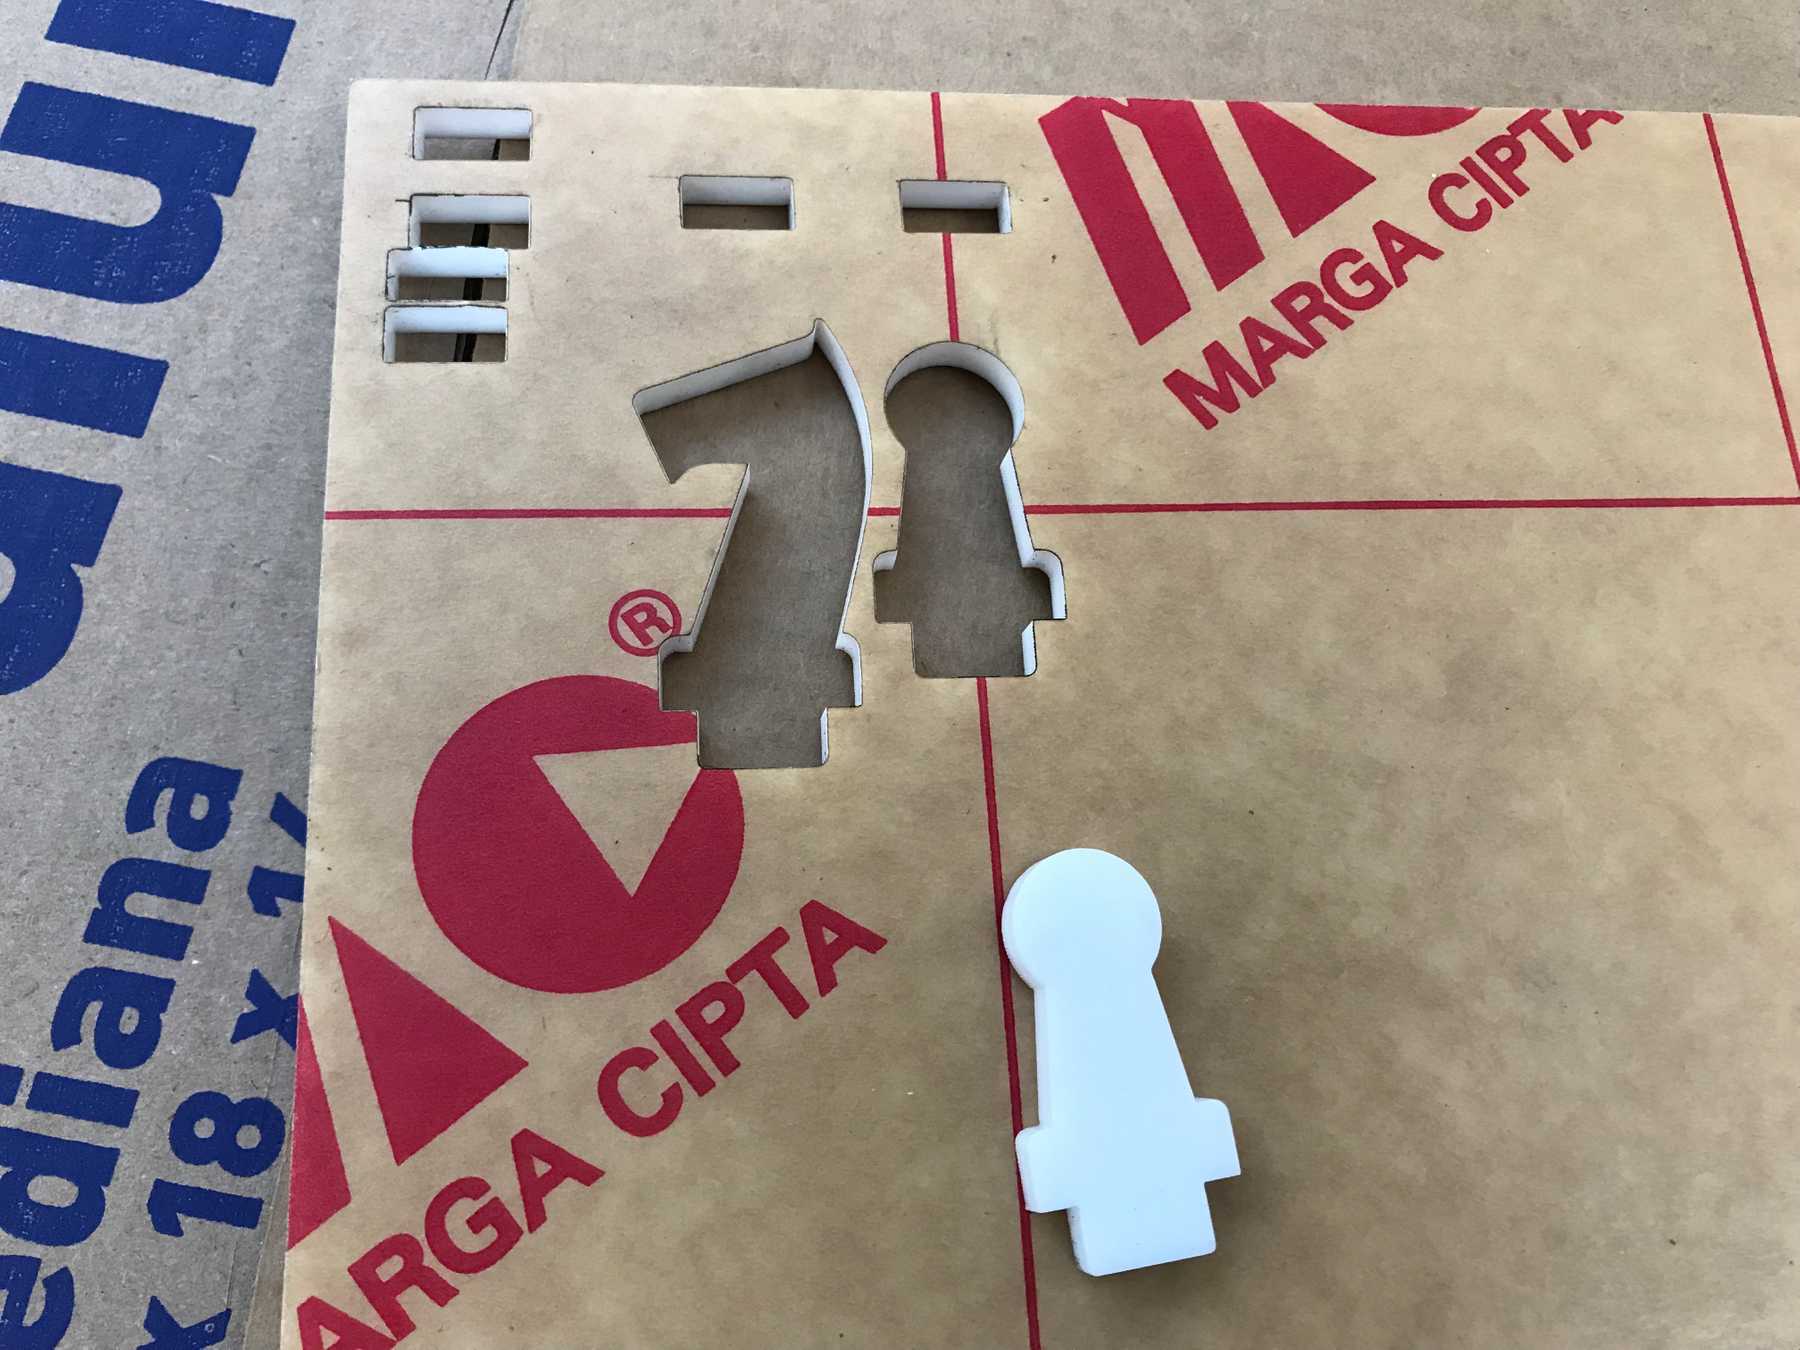
After a few tests I reduced the size to 0.48x0.23 inches and tested with acrylic.
After a few acrylic tests I was confident that the smaller size worked and was ready to cut the rest.
Cutting
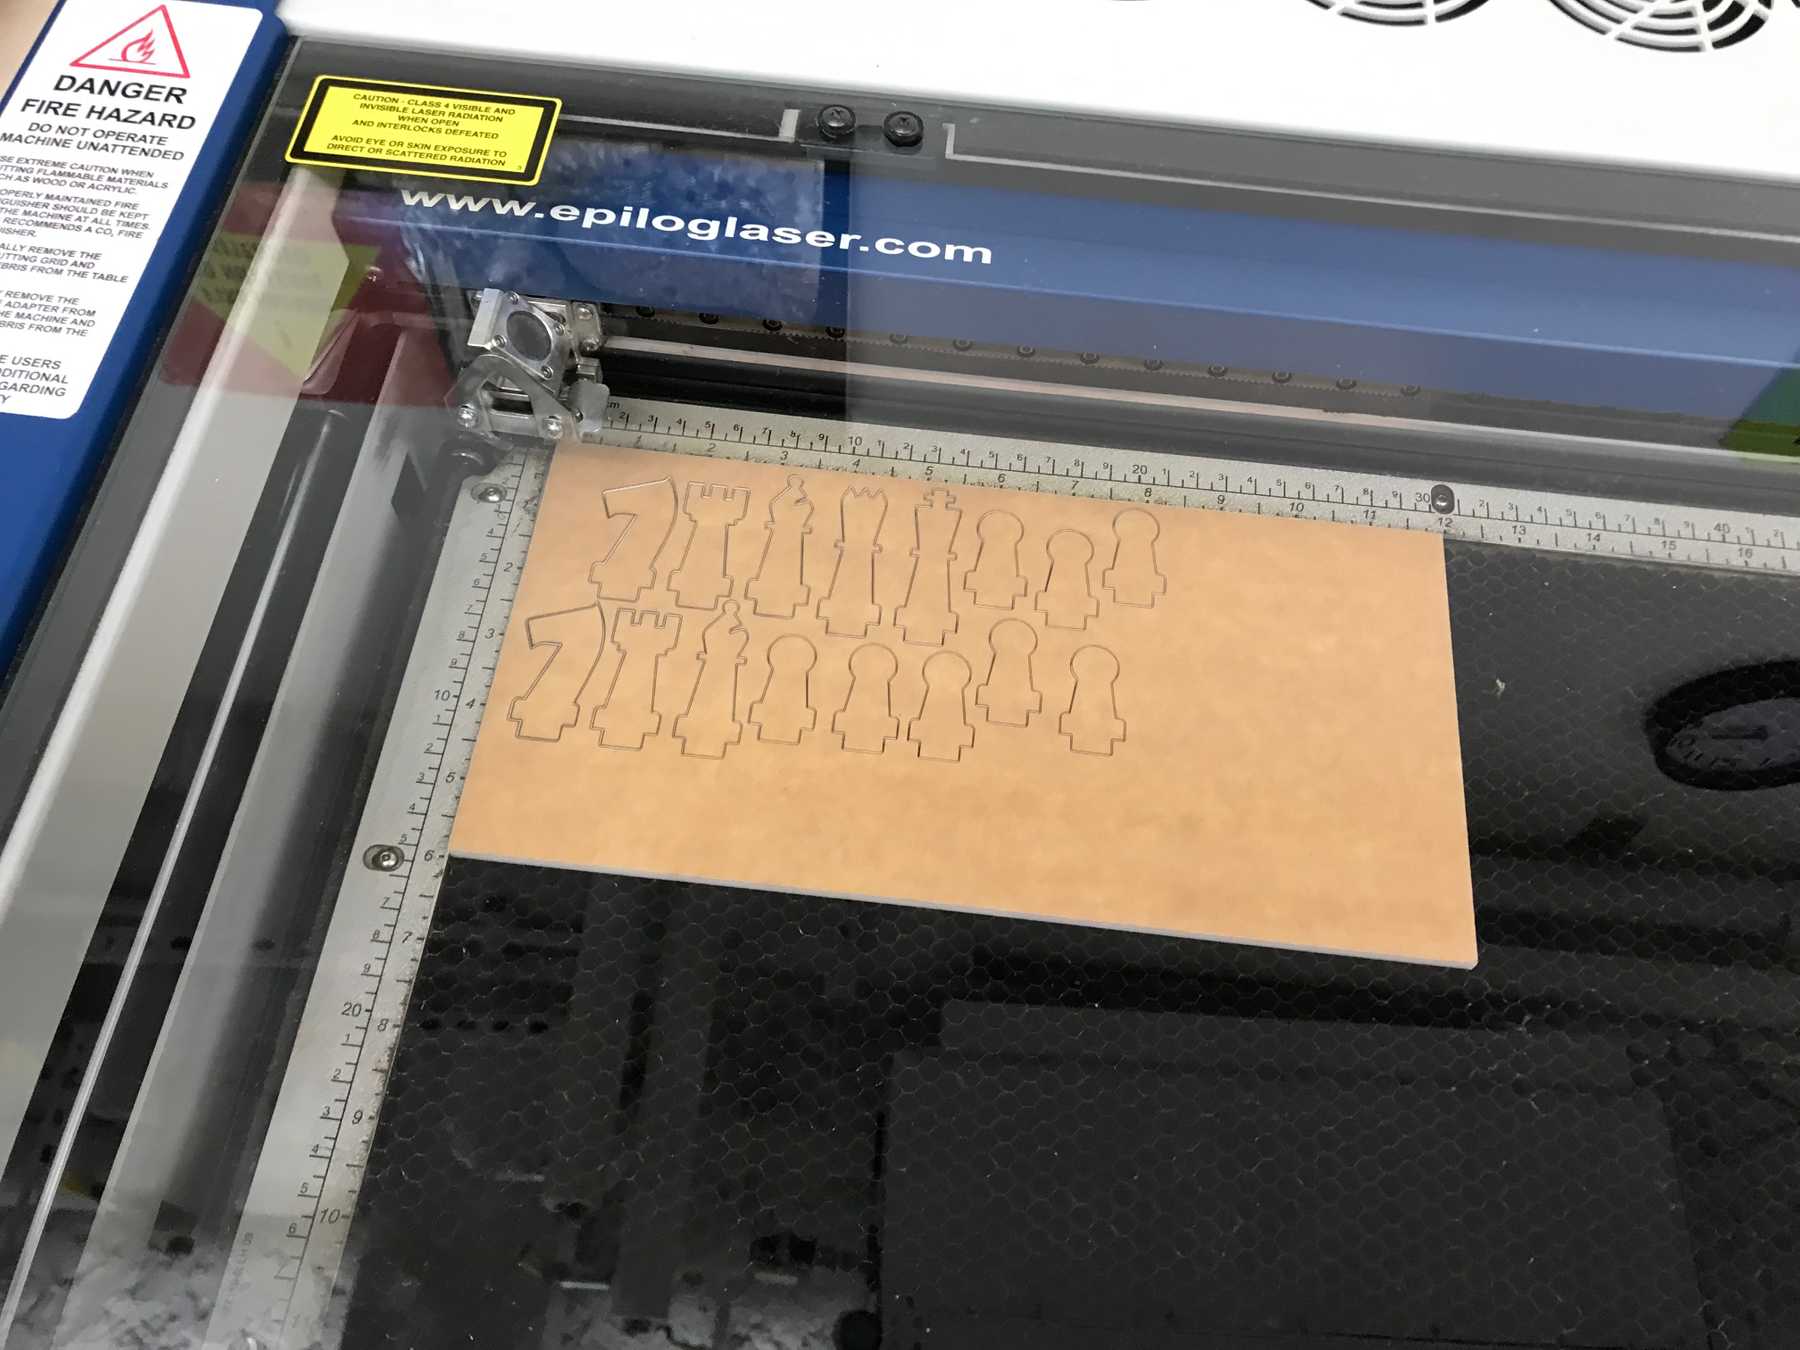
I started with the pieces with both black and white acrylic.
I then cut and engraved the base — every other square was engraved. The base took about 15 minutes.
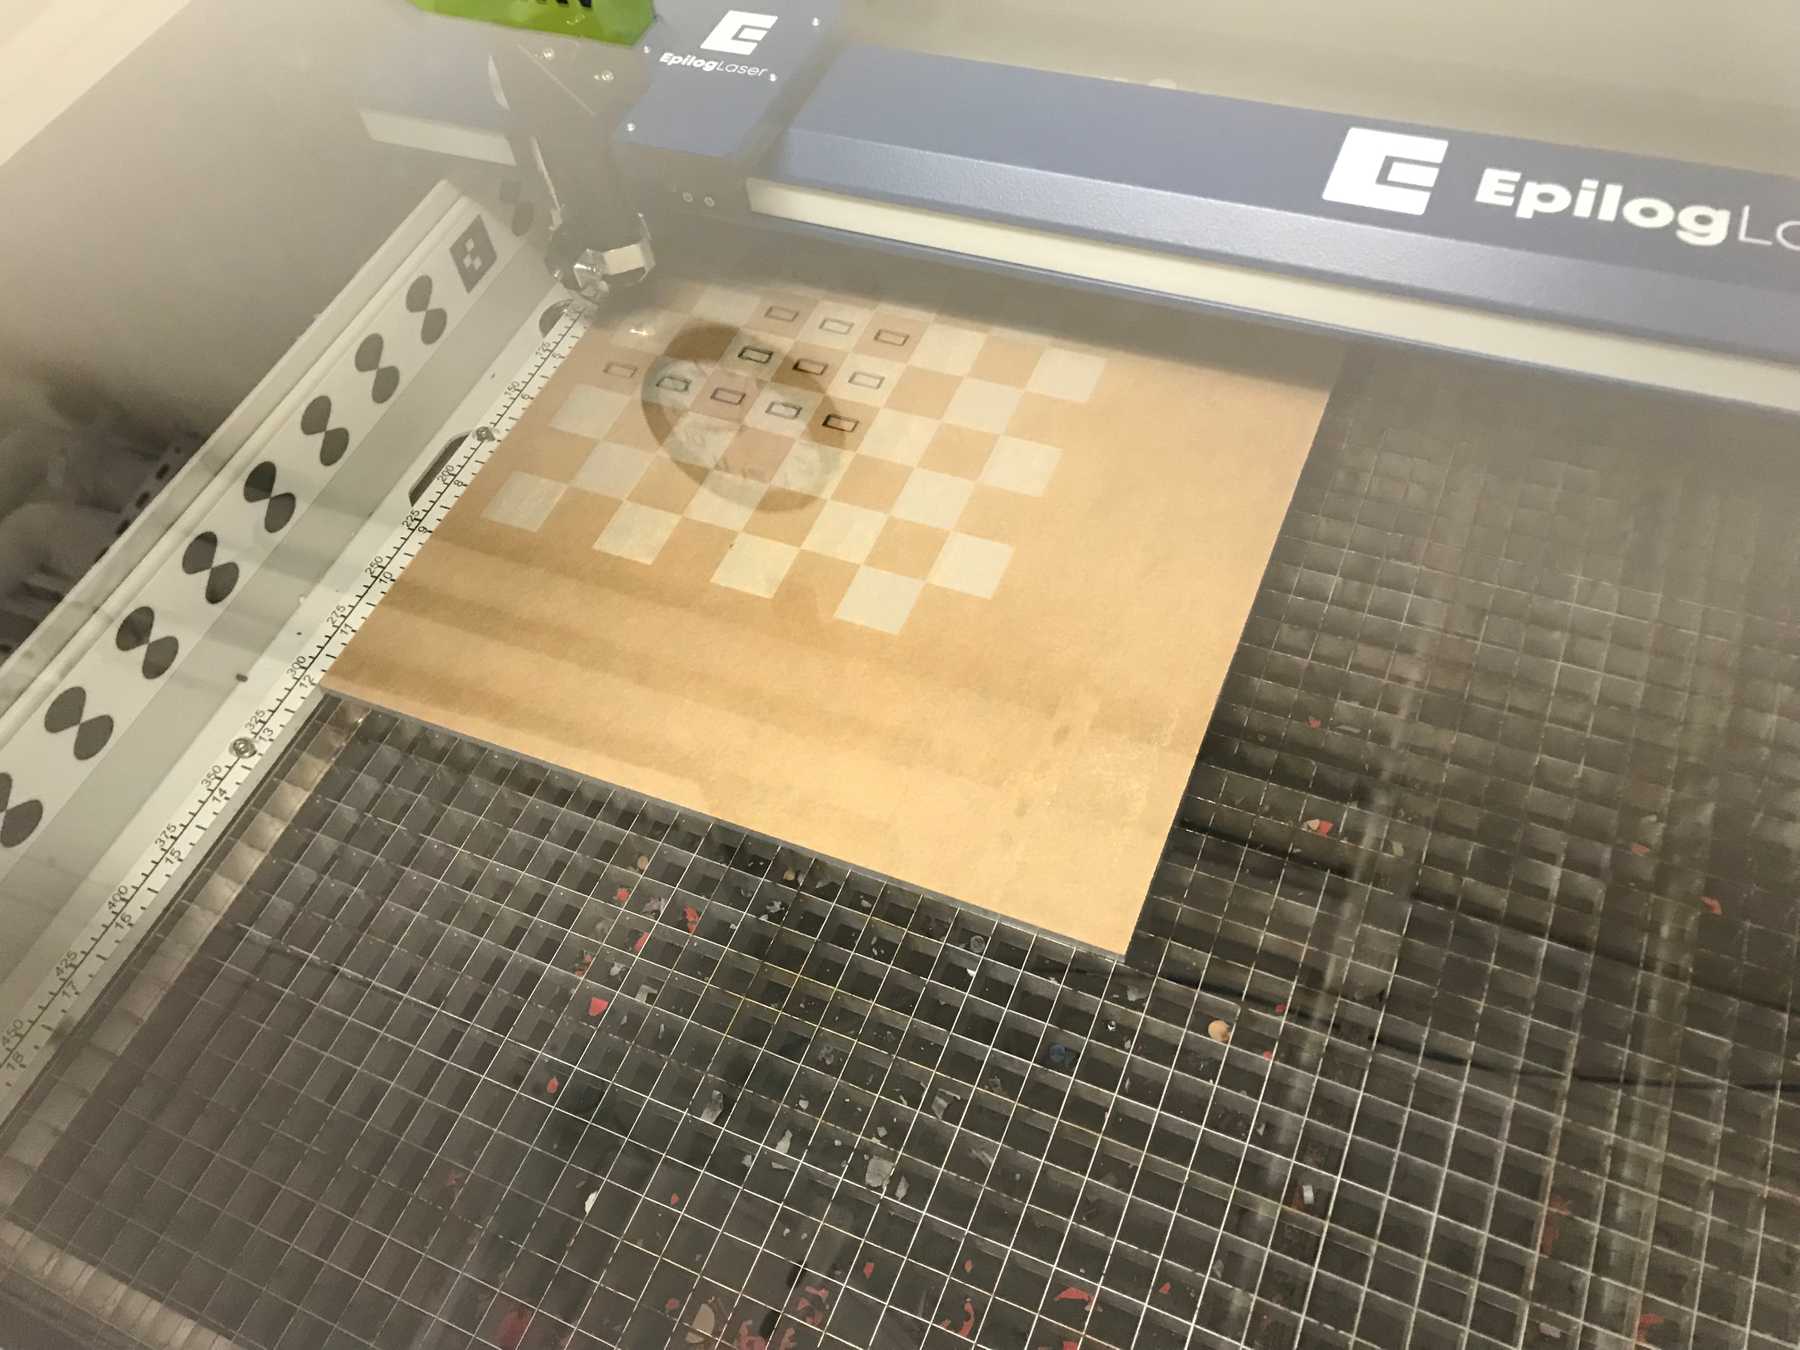 Cutting and engraving the base
Unfortunately I kept the paper on for this step which led to a partial engraving — the paper was not completely removed from the engraved squares. Next time I will definitely remove the paper for an engraving like this.
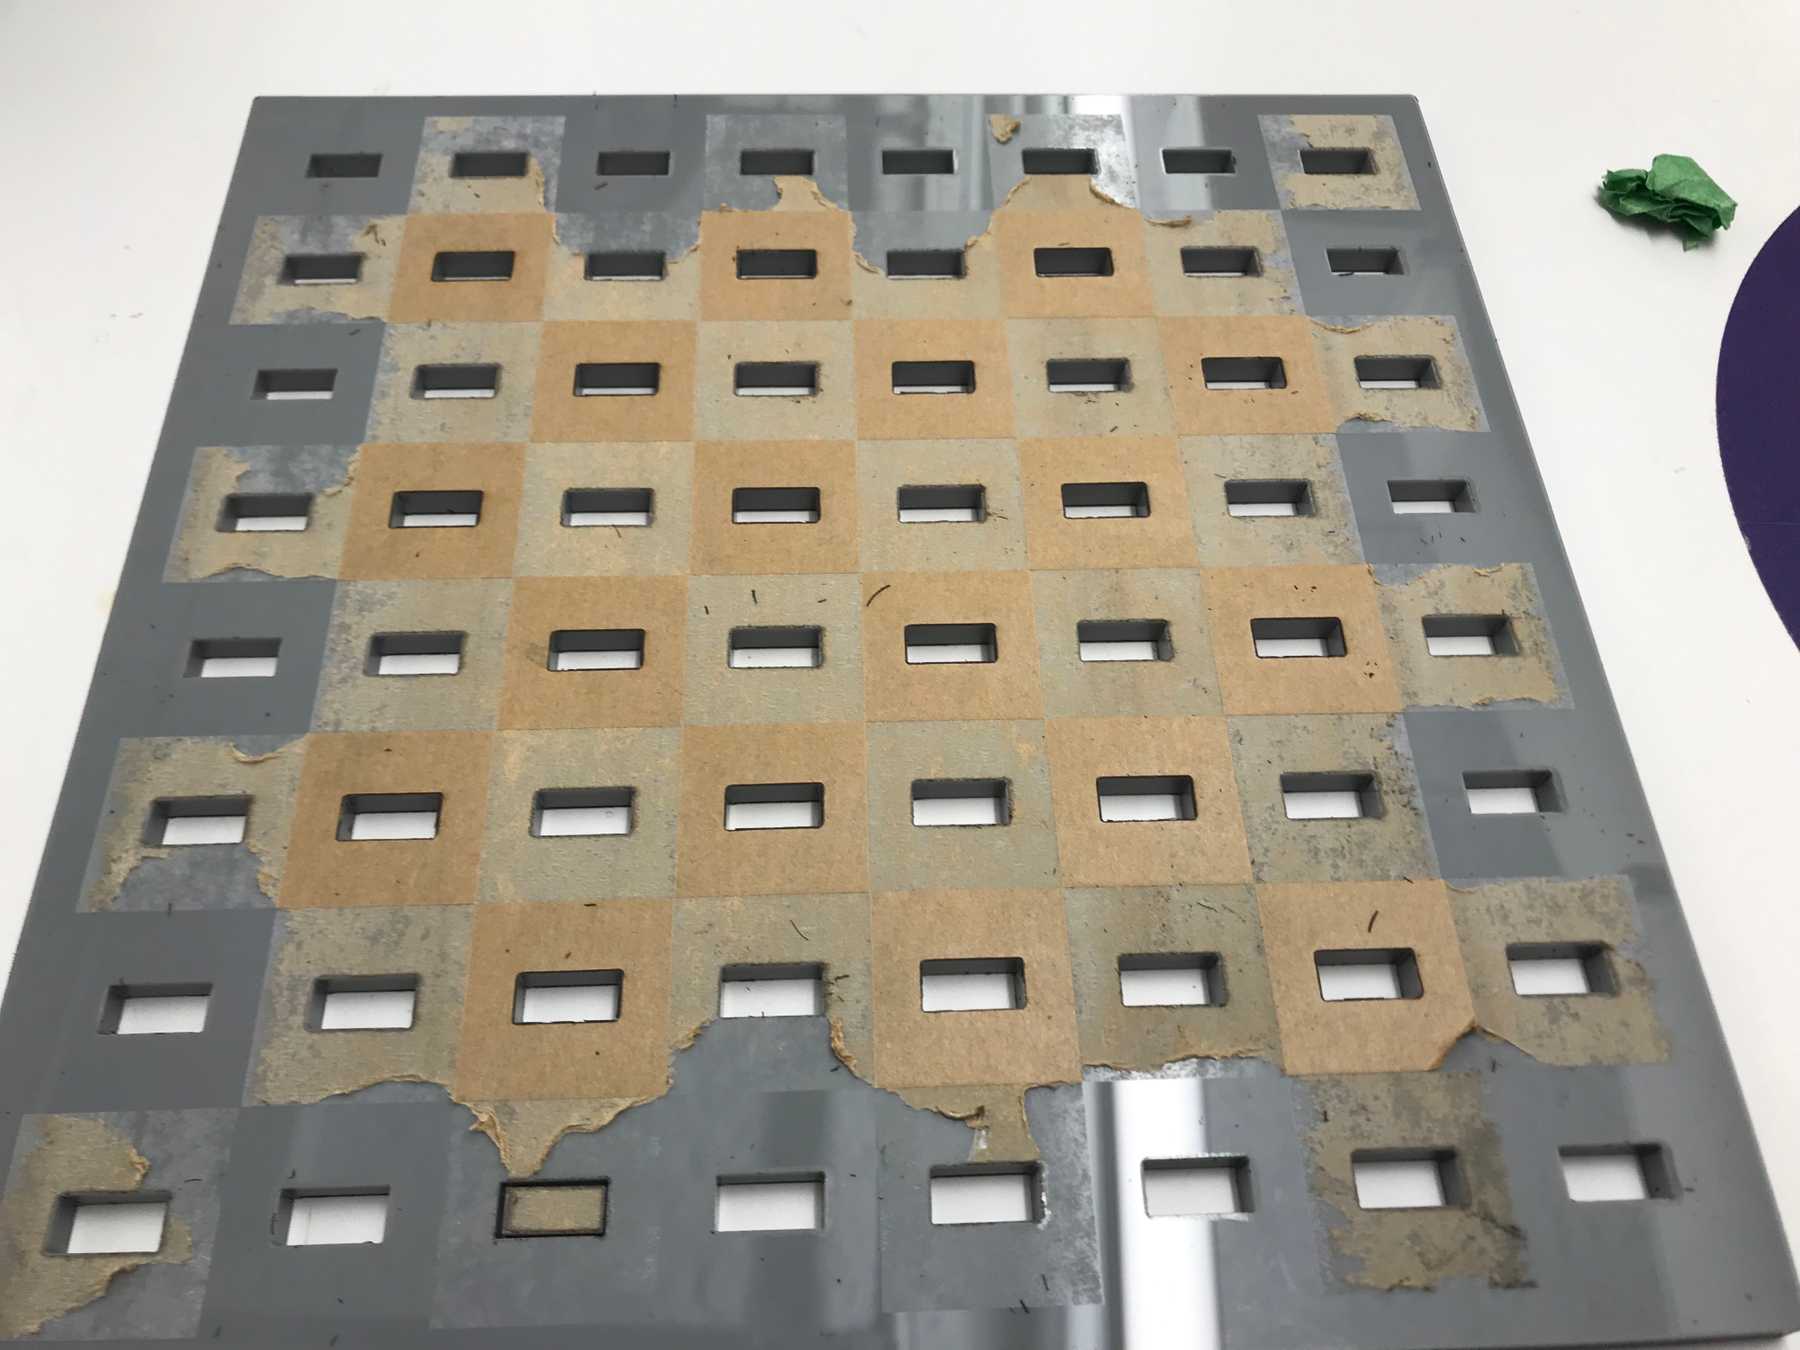 Removing the paper from the engraved board
Result
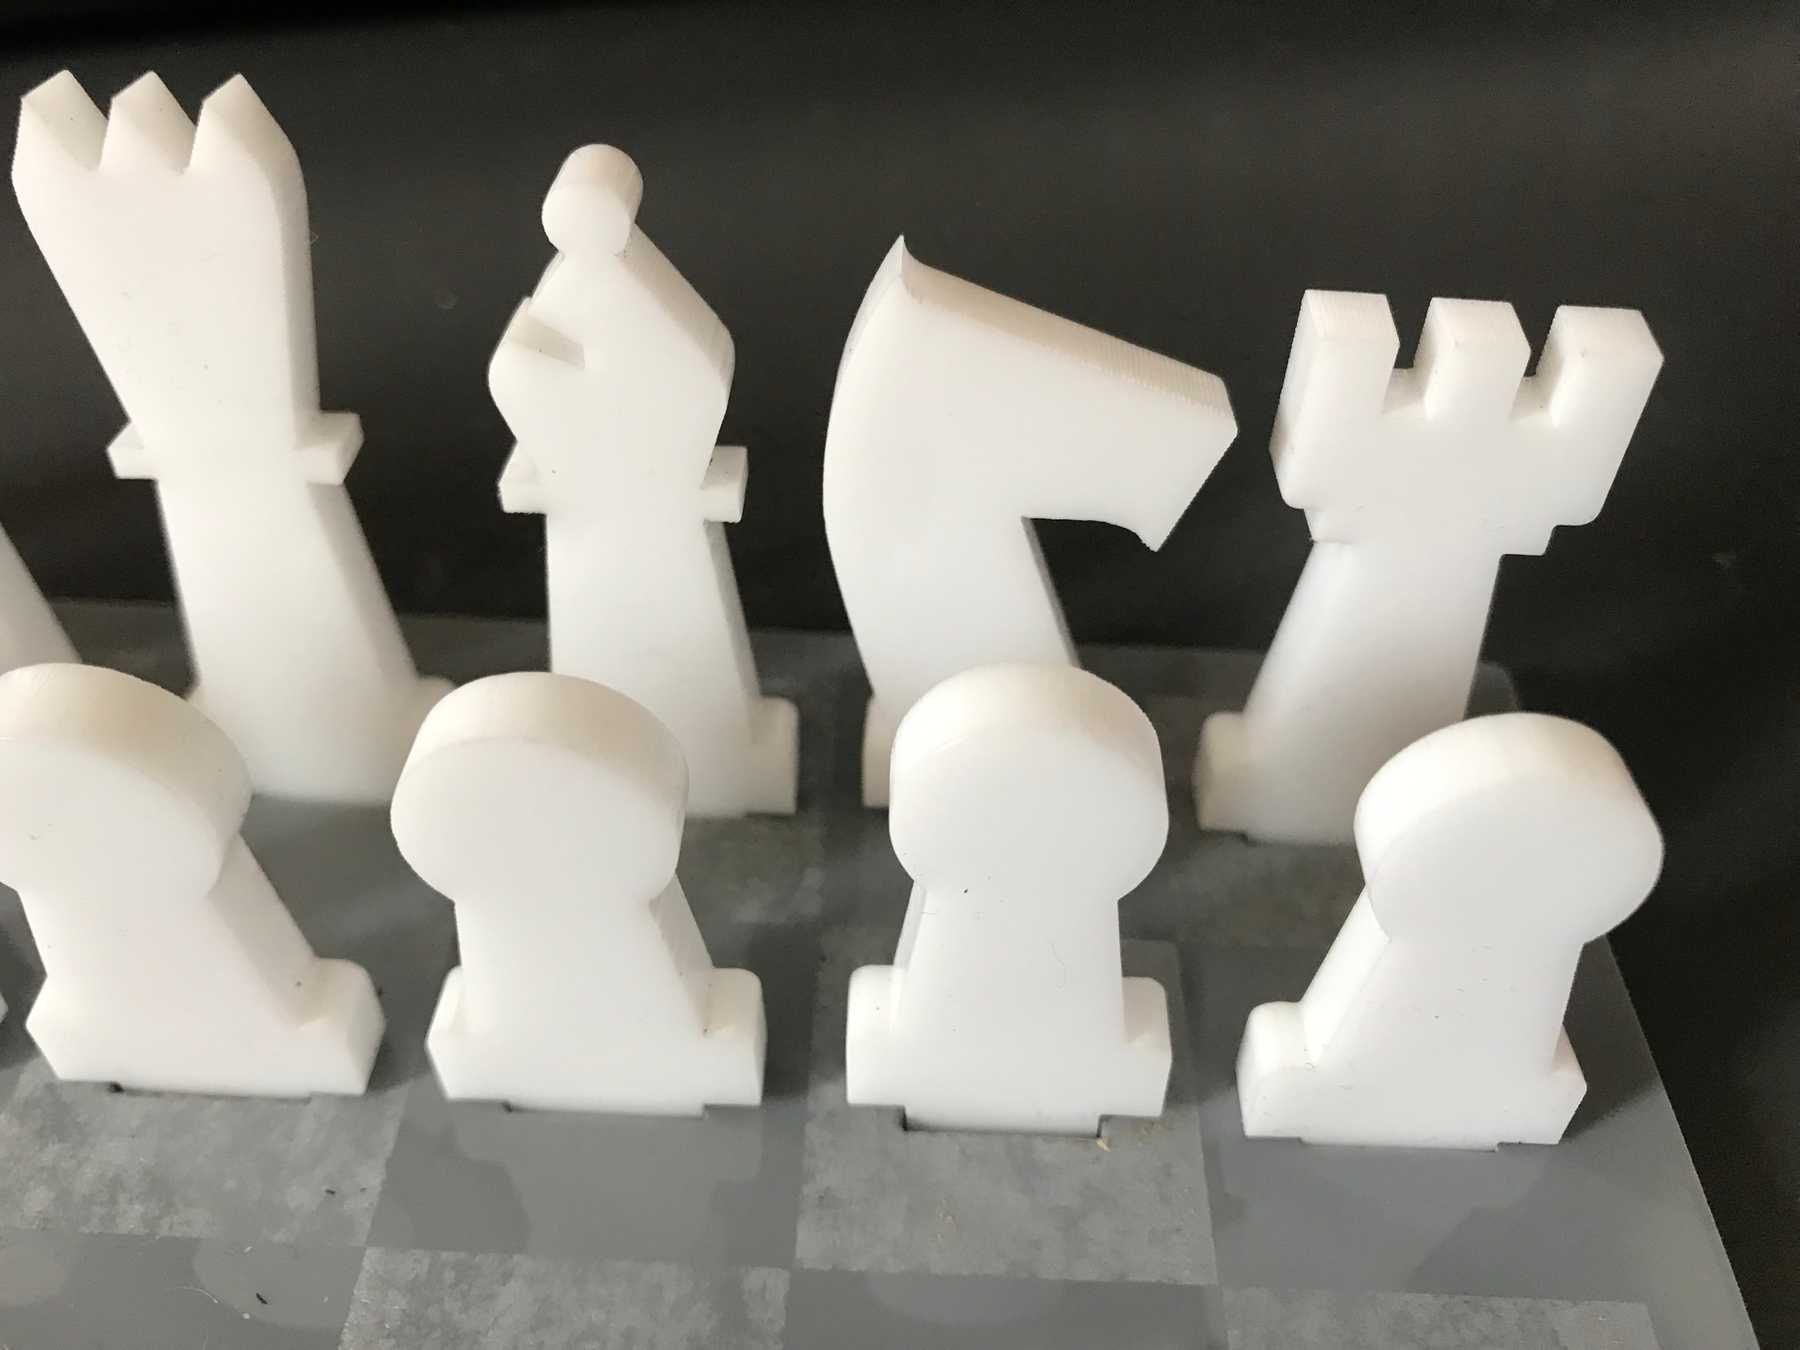
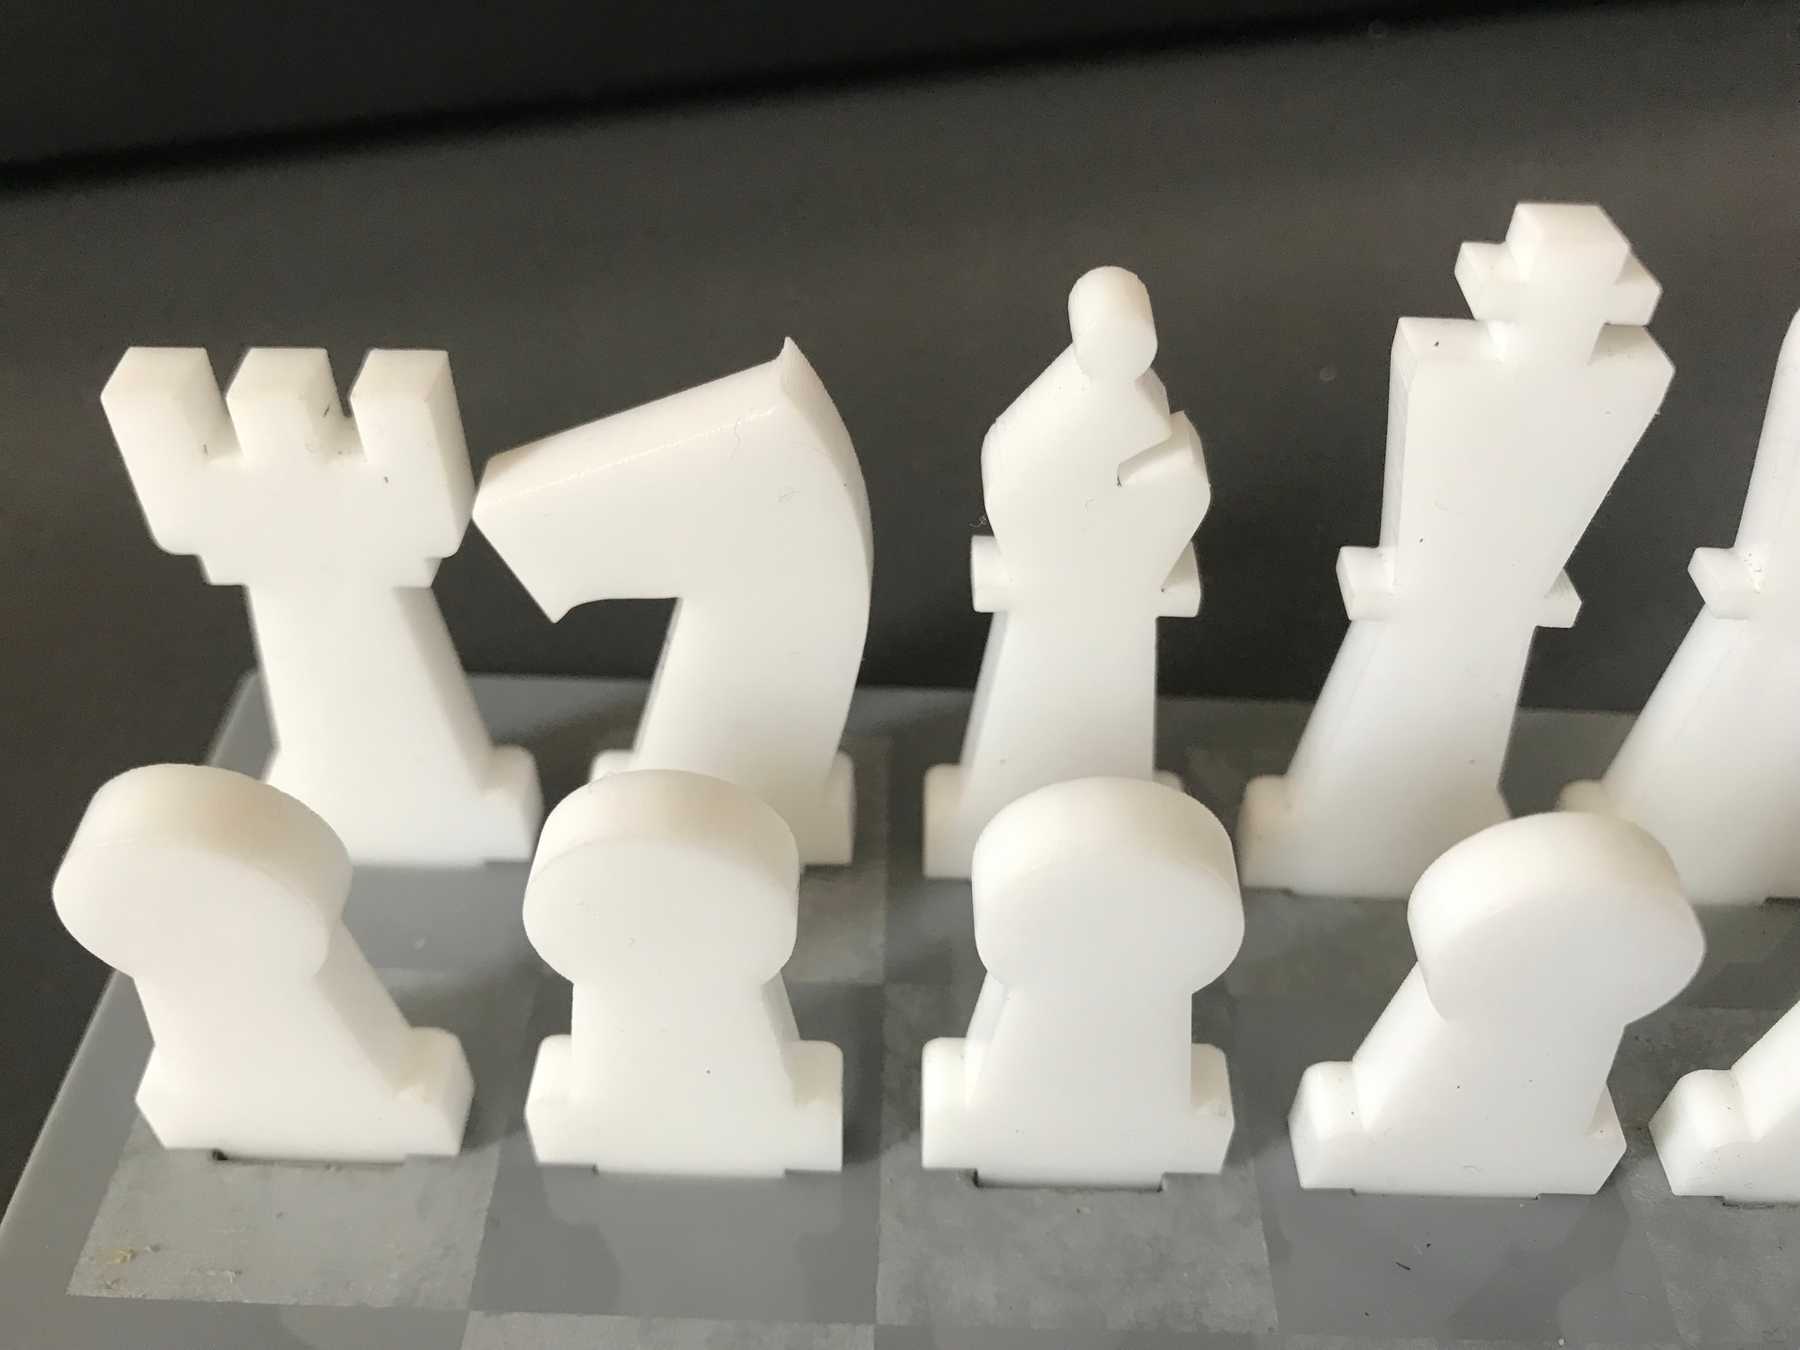
The partial engraving created sort of an industrial/concrete effect which I don’t mind. I really like how the pieces came out and they fit well in the slots.
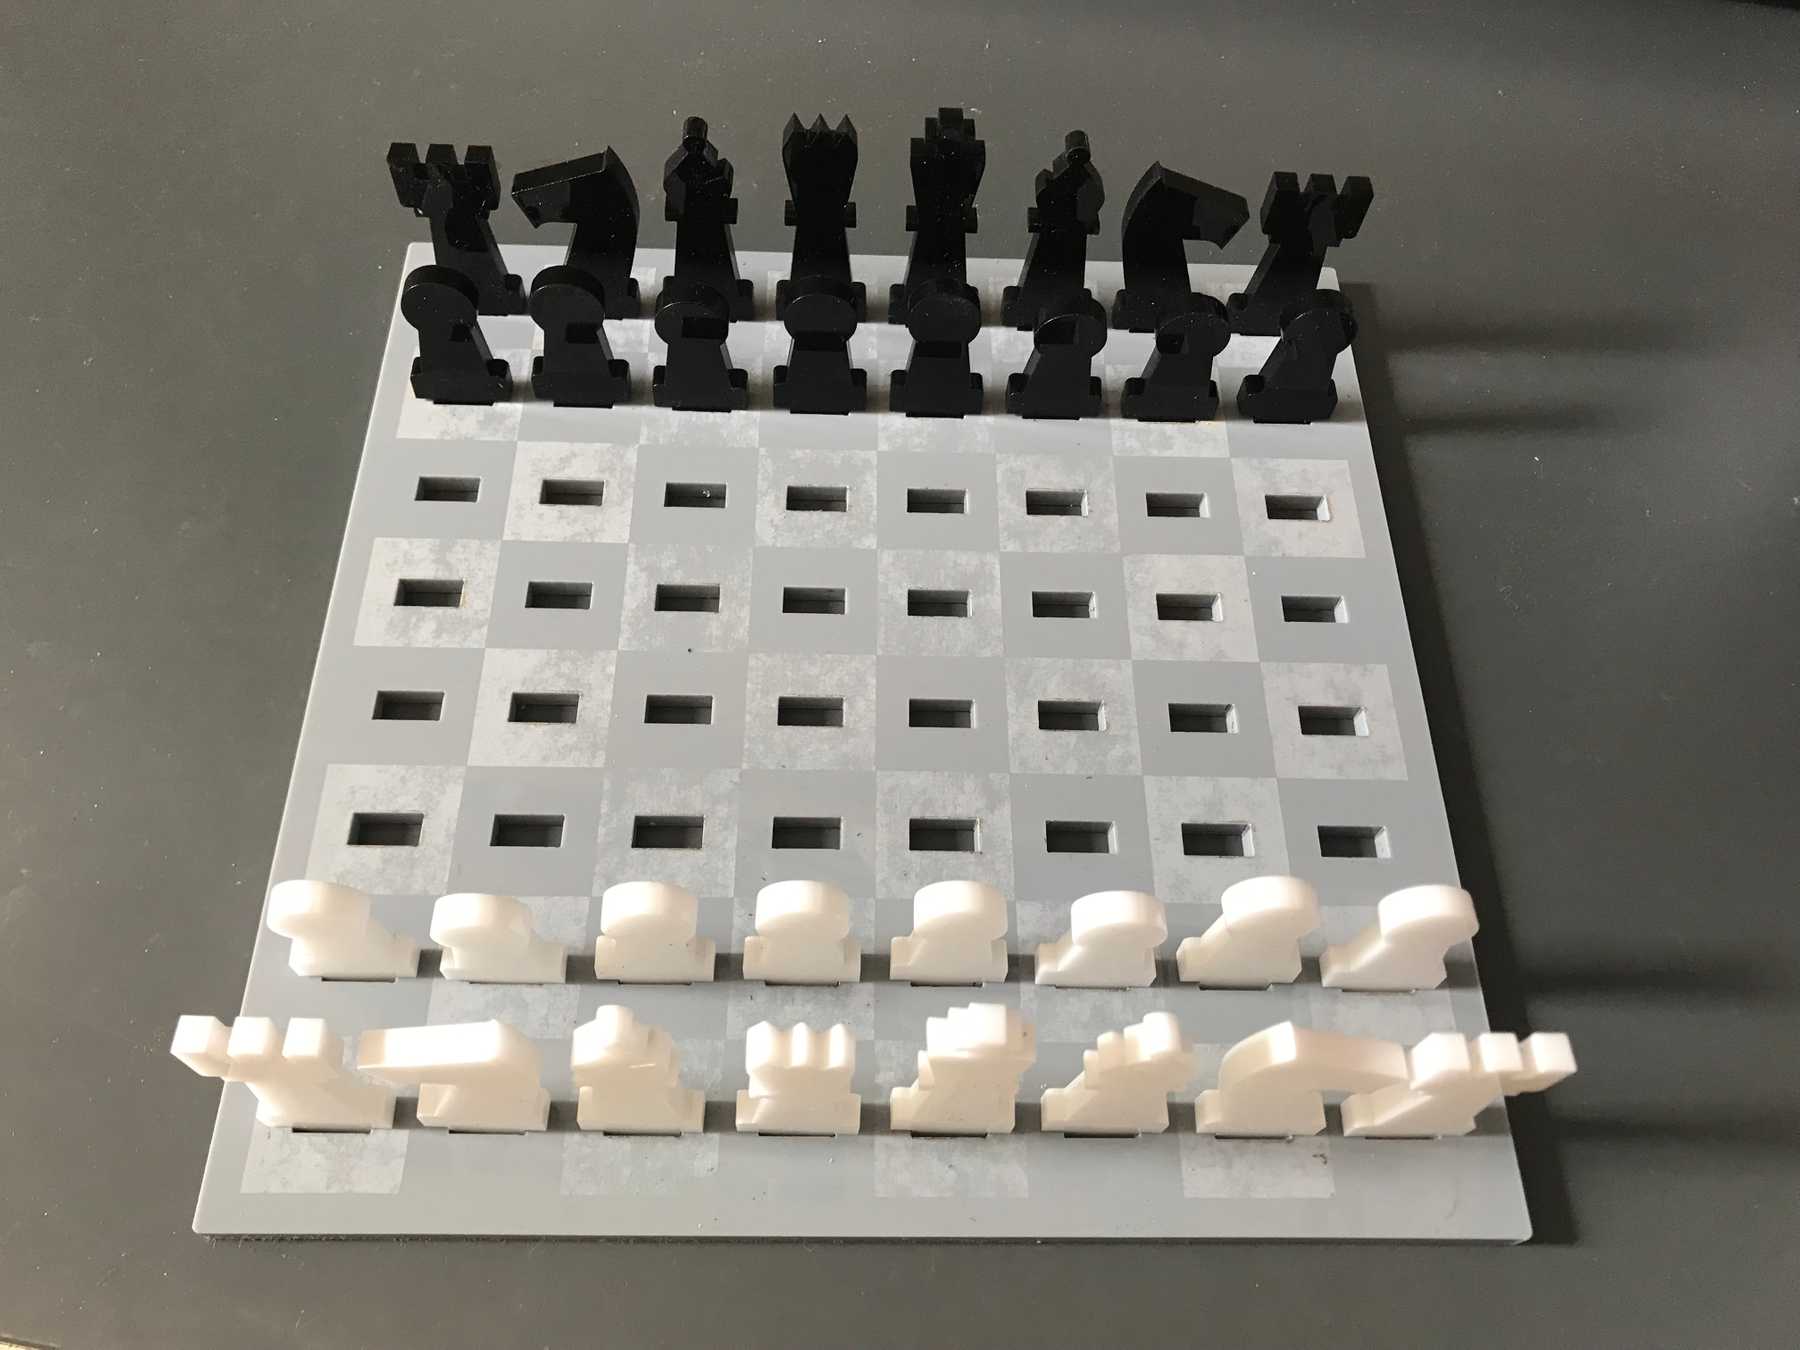 The board from white’s perspective
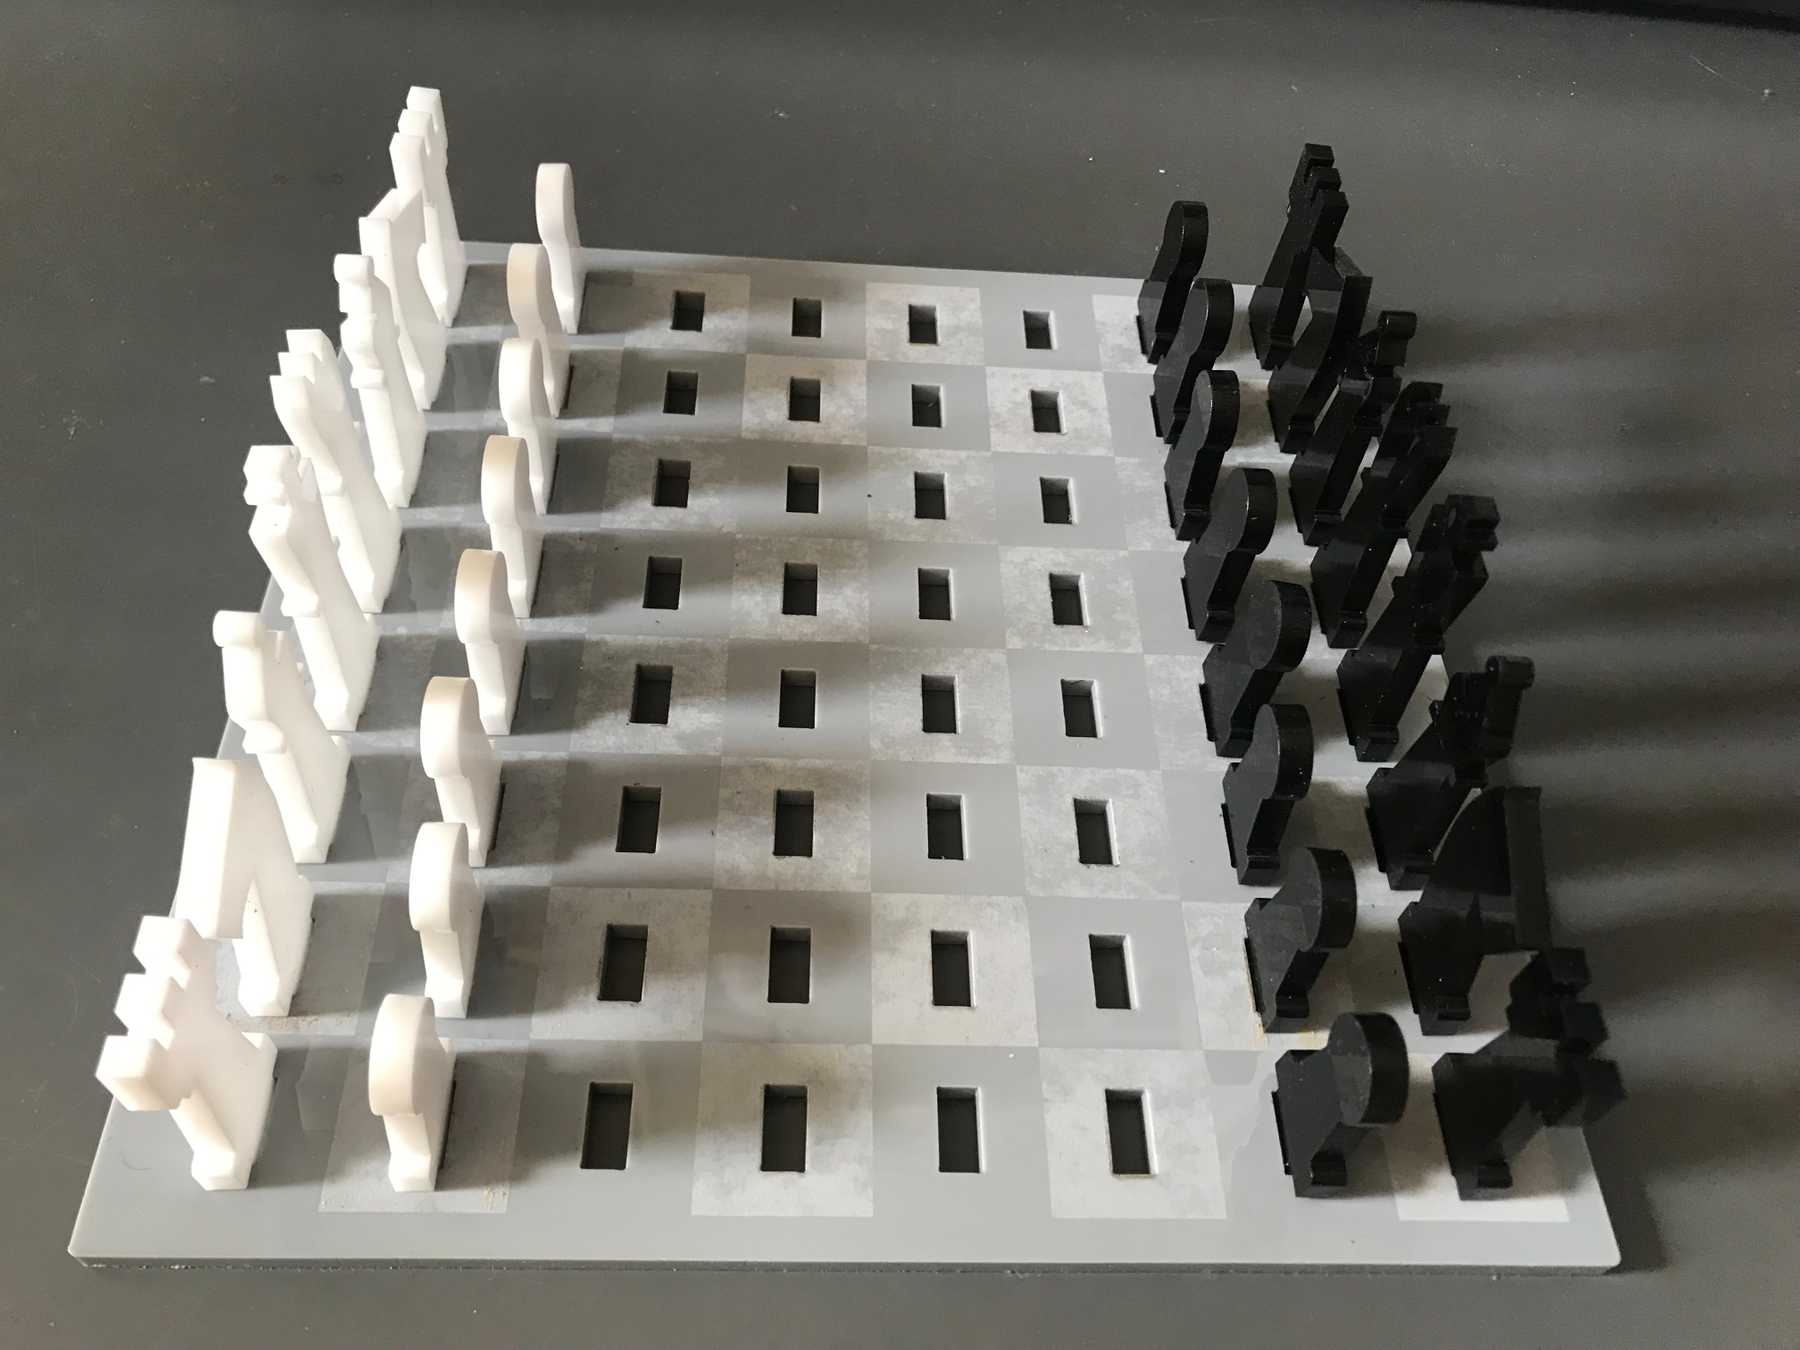 Side view of the board with pieces
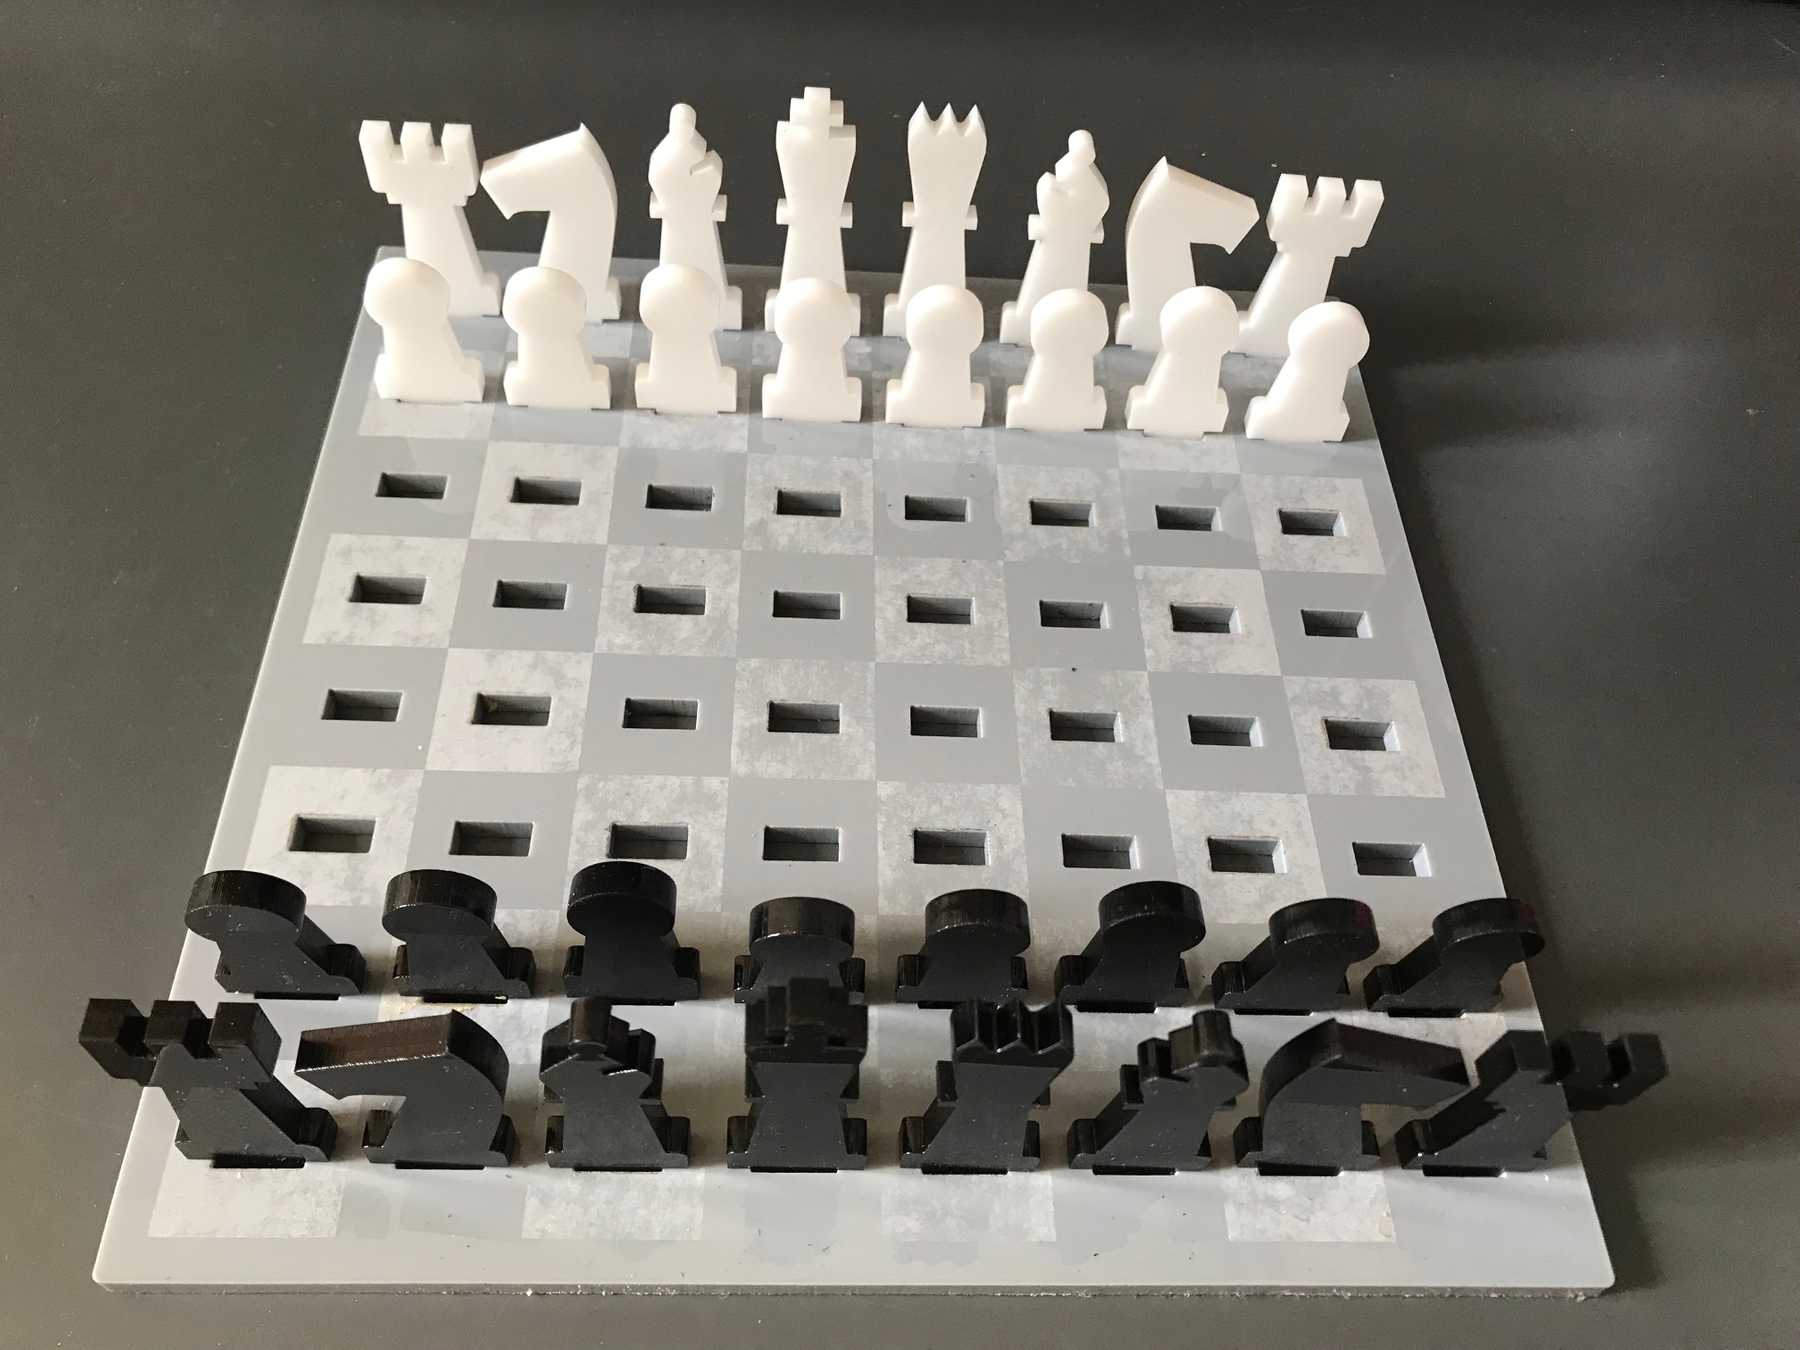 The board from black’s perspective
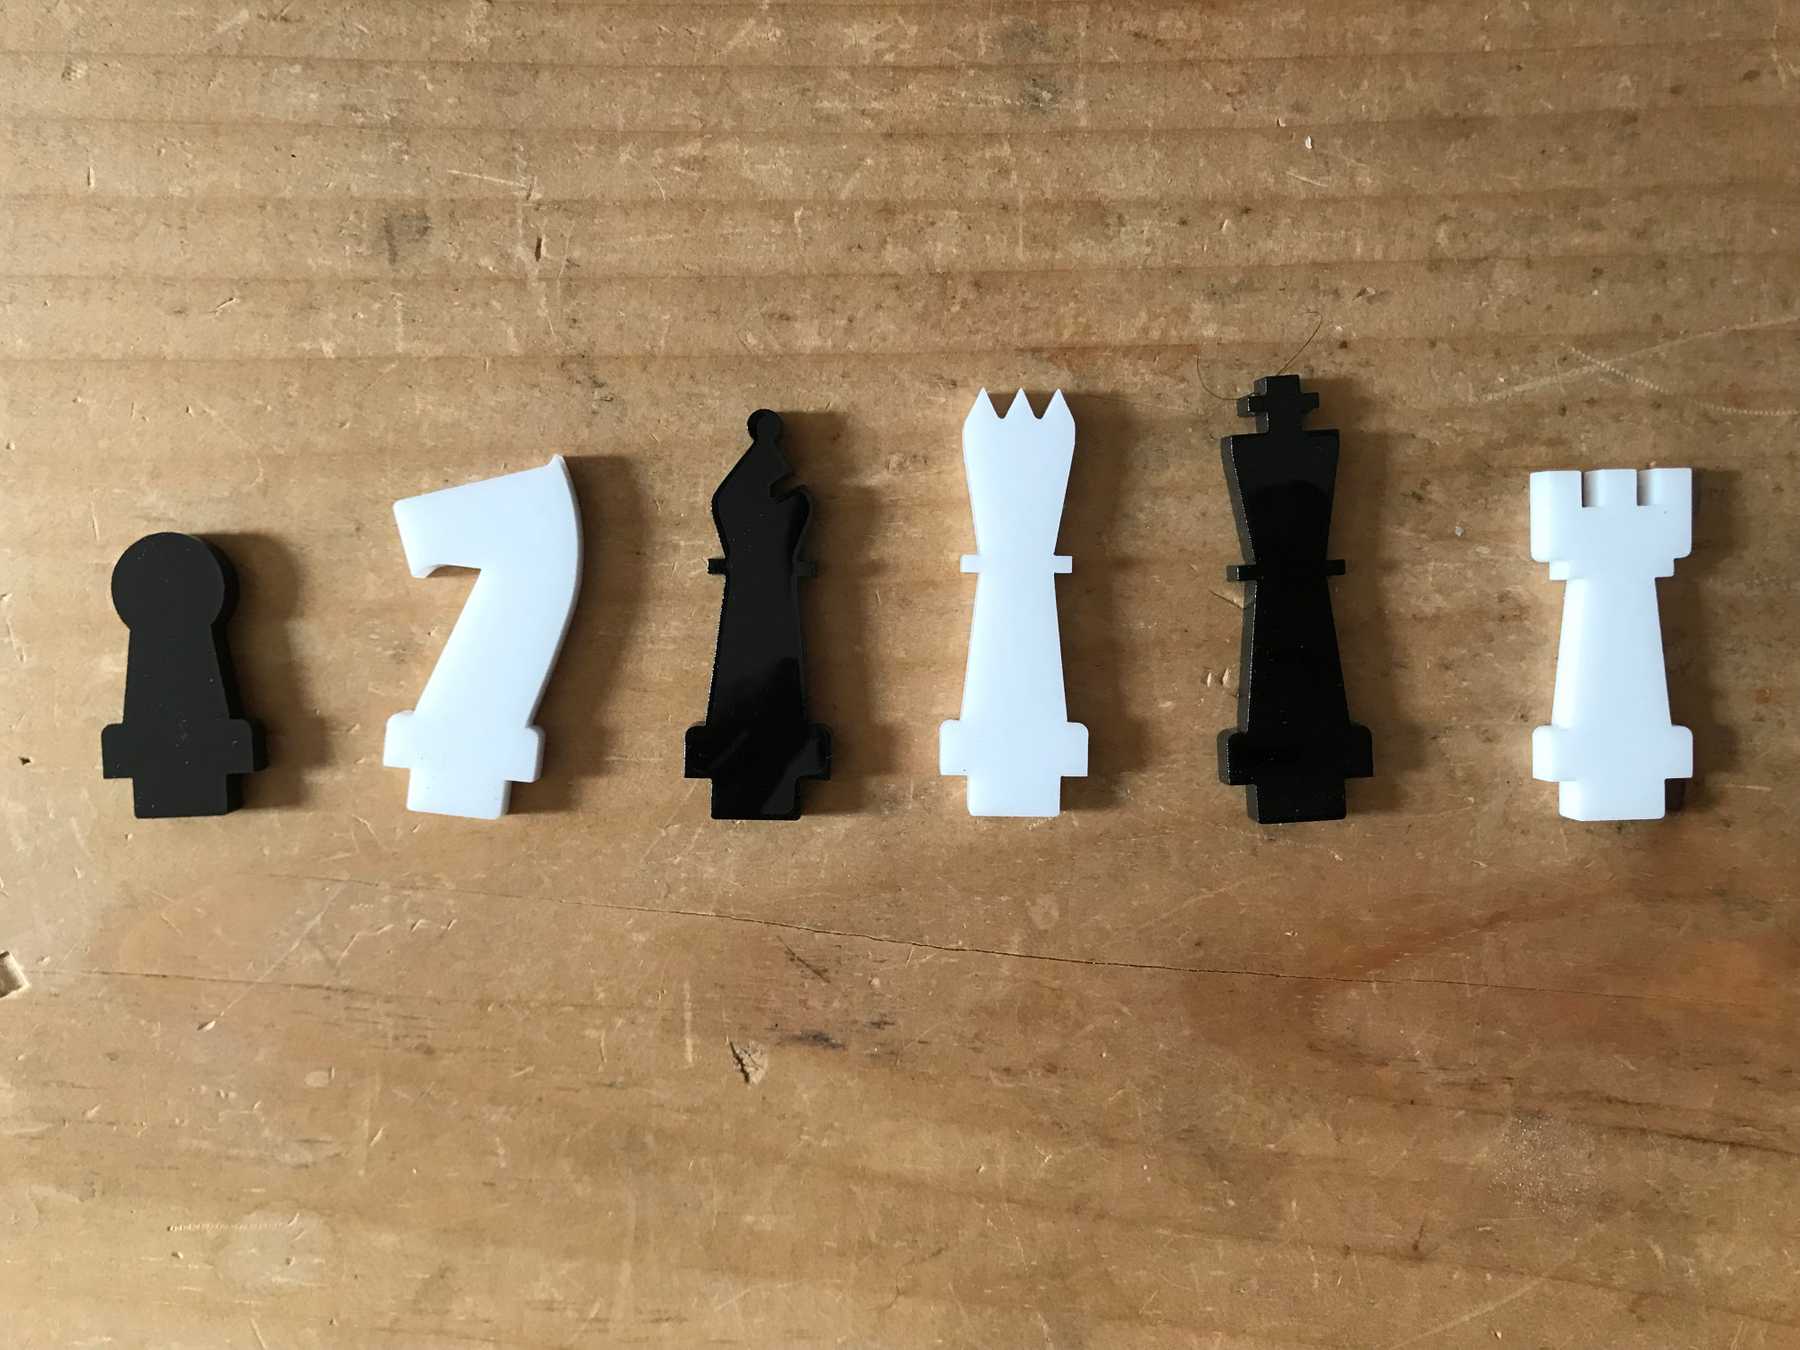 One of each piece laying flat on the table, alternating colors
